5 Fun Techniques To Try When Making a Friendship Bracelet
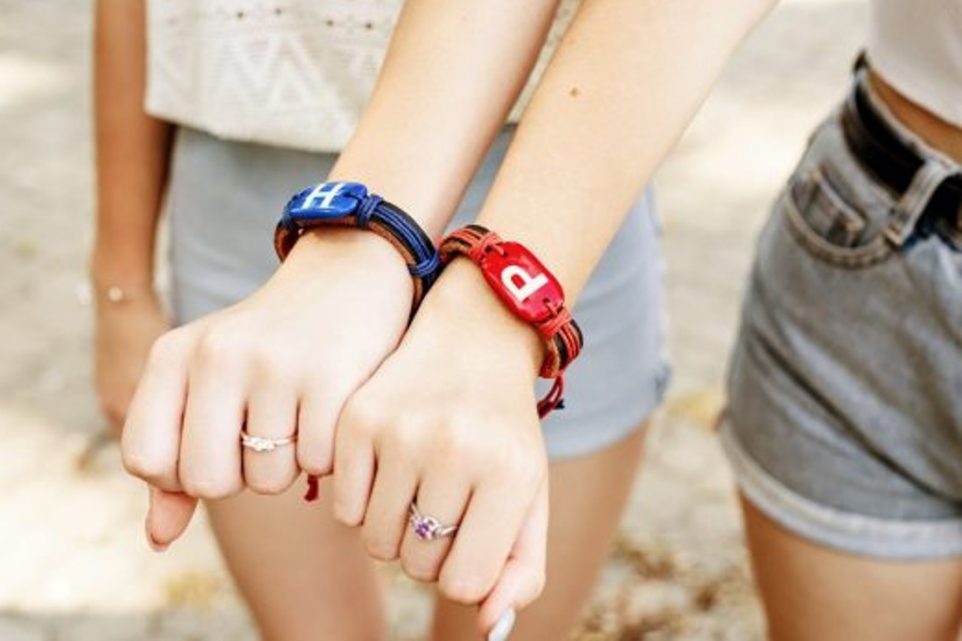
Friendship bracelets have truly stood the test of time. They originally became popular in the 70s and we continue to see them on your peoples’ wrists today. And it’s no wonder, they are a great way to show appreciation and love amongst friends. What is more, making friendship bracelets is a fun, creative, and affordable way to make something special for your loved ones.
If you’re ready to start making your own friendship bracelets, we’ve got you covered! In this post, we’ll show you five of the most popular friendship bracelet-making techniques, as well as the supplies you’ll need to get started. We’ll also provide a few tips and tricks to help ensure your handmade gifts turn out perfect every time. So grab your friendship bracelet kit and let’s get started!
Introduction
Friendship bracelets have been widely popular since the 1970s, although there is evidence of them being thousands of years old. Today, friendship bracelets come in an array of styles and colors. Some popular variations include the traditional “chain style” bracelet made from embroidery thread, beaded friendship bracelets, or stretchy cord versions with charms or jewels added.
Gathering the Supplies
Thread
When selecting your thread, you need to make sure that it is strong and durable enough to hold up against wear and tear, yet pliable enough to knot easily. Embroidery floss is ideal as it comes in bright colors and is both strong and flexible. You will need at least six strands of floss per bracelet, but you can use more threads for an intricate design with multiple colors.
Embellishments/Charms
If you want to add some additional flair to your bracelet, try adding charms or beads for decoration. You can use charms with special meanings such as religious symbols, initials, birthstones, or images of animals or nature scenes. Pick charms that represent your interests or personalities to create something special.
Traditional Friendship Bracelet
Step-by-Step Instructions
Begin by cutting each strand of thread into two pieces that are about 20 inches long each (you will need eight pieces for two bracelets). Tie the middle of the eight pieces together in an overhand knot forming two sets of four strands each. Separate the two sets into left and right strands — four on the left and four on the right side — keeping in mind that the left side strands are only ever used on the left side while the right side strands are used only on the right side (this will make sense once you start knotting).
After separating the thread into left and right sides, take the outermost strand from either side (right or left) and tie it into an overhand knot around the strand immediately next to it (forming two separate knots). Repeat this pattern until you reach your desired length (about 12-15 inches for an adult bracelet) ending with a set of knots on either side. Then tie off with an overhand knot again at the end (for a total of four overhand knots).
Tips
When selecting colors for your friendship bracelets it is best to avoid using matching colors because they tend to blend when finished making it difficult to distinguish one thread from another once knotted into place.
Different Tying Techniques
Lark’s Head Knot
To create the Lark’s Head Knot begin by taking one strand of thread (left or right) wrapping it around all four strands of thread one time then passing it through itself forming a loop. Leave 2–3 inches of excess/tail from either direction after pulling tight. Repeat with the other three strands creating four separate loops at the base/center of your project holding everything together and you can now start tying knots.
Alternating Square Knot
Once your loops have been tied off, begin by taking one strand from either side and tying them together into a square knot. Alternate between the left and right sides until the desired length is reached. Each square knot should produce four knots and be pulled tight before repeating with the next pair of strands.
Alternating Half Hitch Knot
Take one strand from either side and tie them together into a half-hitch knot. Alternate between the left or the right sides until the desired length is reached. Pull tight after each set of knots is finished before switching from one side to another. Each half-hitch knot should produce two knots and then be pulled tight before repeating with the next pair of strands!
Alternating Lark’s Head Knot
Take one strand from either side and tie them together into a lark’s head knot. Alternate between left/ right sides until the desired length is reached. Pull tight after each set of knots before switching to another. Each lark’s head knot should produce four knots and then be pulled tight.
Alternating Reverse Half Hitch Knot
Take one strand from either side and tie them together into a reverse half-hitch knot. Alternate between the left and right sides until the desired length is reached. Pull tight after each set of knots before switching from one side to another. Each reverse half-hitch knot should produce two knots and then be pulled tight before repeating with the next pair of strands!
Trusted Insights from Artists
At Art Life Today, our passion for arts and crafts is at the heart of everything we do. We understand that the right tools and materials can make all the difference in your creative projects, so we take our responsibility as reviewers seriously. Our goal is to help you discover the best products that will inspire your creativity and bring your artistic visions to life.