How to Make a Clay Dragon with Air-Dry Clay
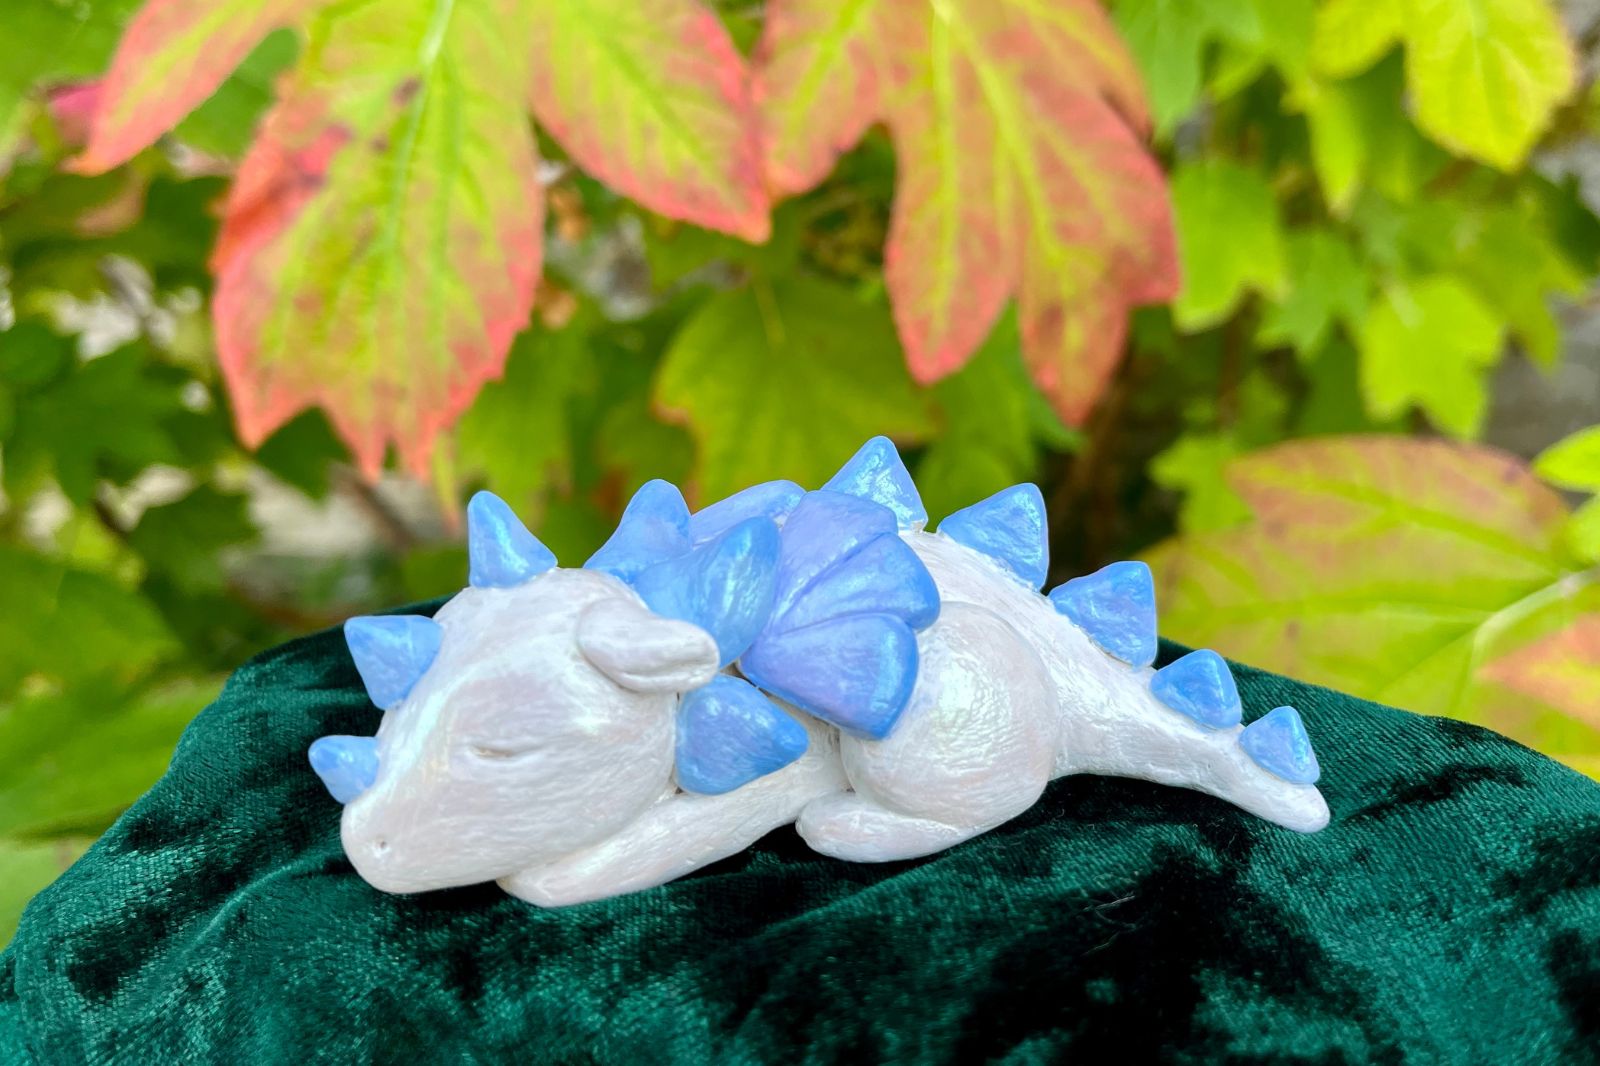
If you’re a fantasy lover, creating a clay dragon is a fantastic way to explore your creativity and start a collection of works to display. Using air-dry clay makes things easy because you don’t need a kiln or oven for curing. Whether you’re making a dragon for a school project or to add as decor in your room, this guide will walk you through the process of making a charming clay dragon from start to finish!
Materials Needed
Before diving into the crafting process, gather the following materials:
- Air-Dry Clay: Choose a high-quality air-dry clay that is easy to work with and holds its shape well. I’m using Crayola air-dry clay.
- Sculpting Tools: A set of basic sculpting tools will help with details and smoothing.
- Rolling Pin: For flattening the clay.
- Clay Sculpting Knife: To cut and shape the clay.
- Water: To keep the clay workable and smooth.
- Clay Sealer/ Modge-Podge: To serve as a primer before painting
- Paints and Brushes: For decorating your finished dragon.
- Clear Shimmer Nail Polish (optional): I use it as a protective sealer! You can also use a craft sealer too.
Step-by-Step Instructions
1. Prepare Your Workspace
Start by setting up a clean, flat workspace. Cover your table with a protective mat or plastic sheet.
2. Make the Basic Dragon Shape
Create the Head:
Roll a smaller piece of clay into a ball and shape it into a more rounded form for the head. Pinch the front a little to make a little snout.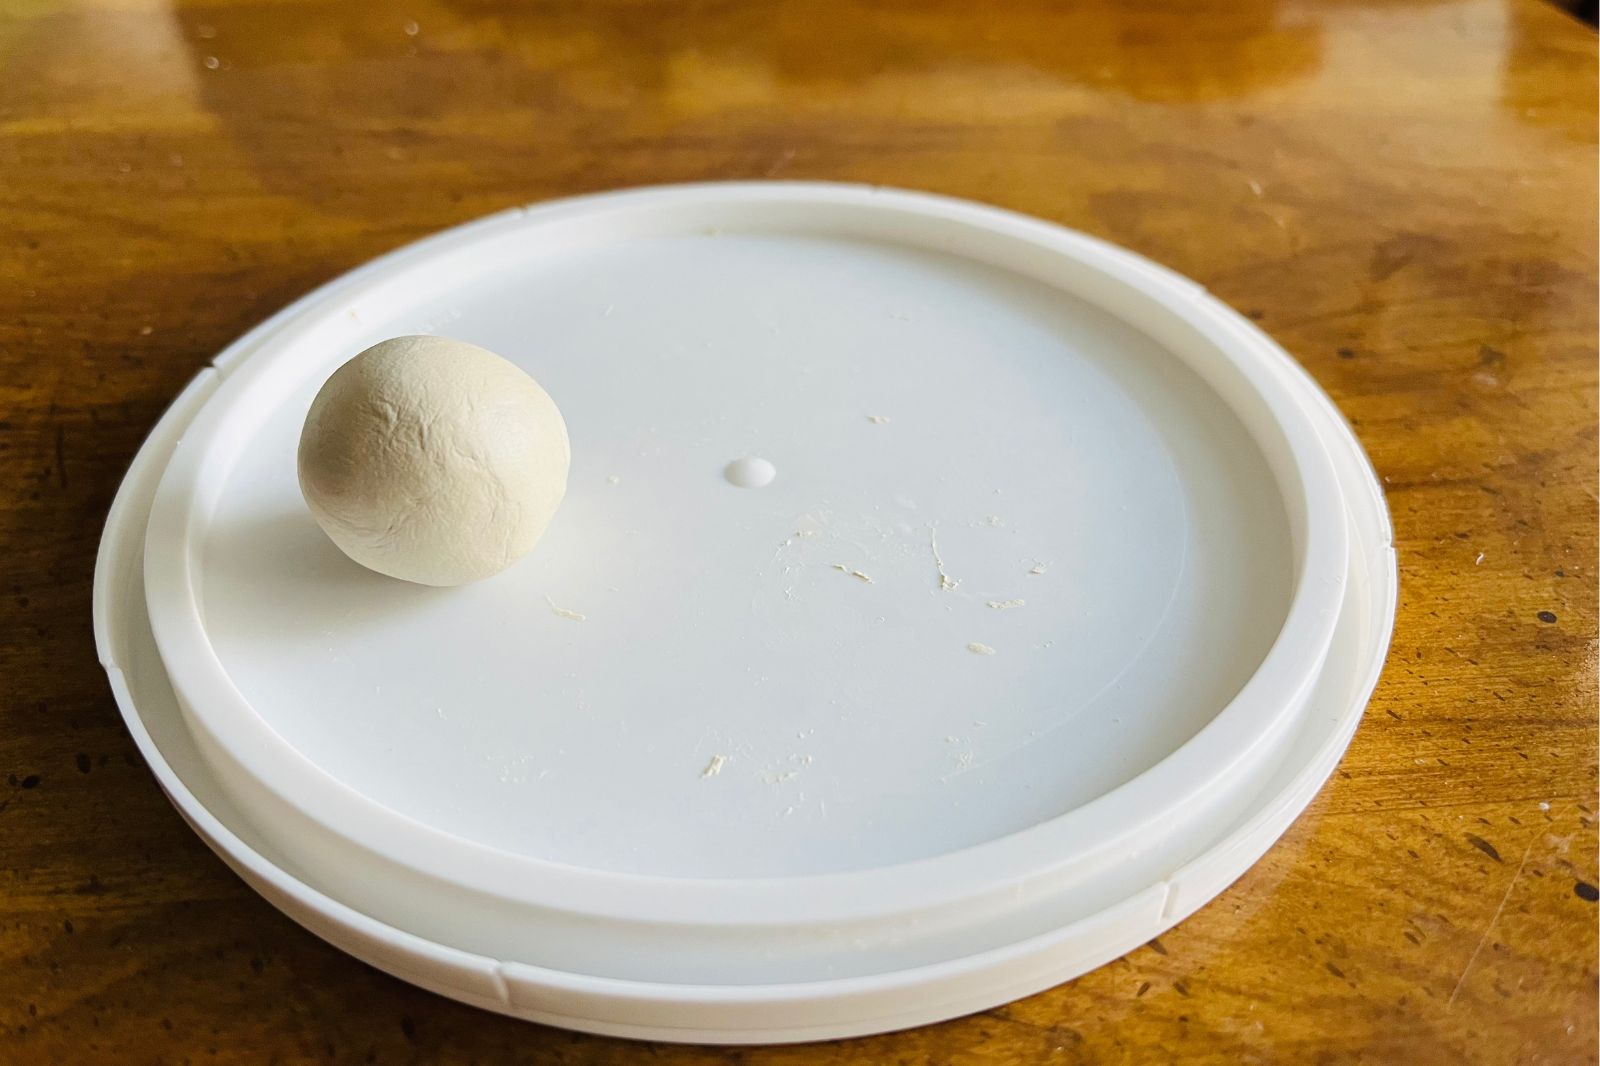
Form the Body:
Take a large piece of air-dry clay and roll it into an elongated oval shape. This will be the dragon’s body. Use your fingers to gently shape and smooth the clay. Use water if the clay starts to get too dry or crack. Create a slightly tapered end for the tail and a broader end for the head. 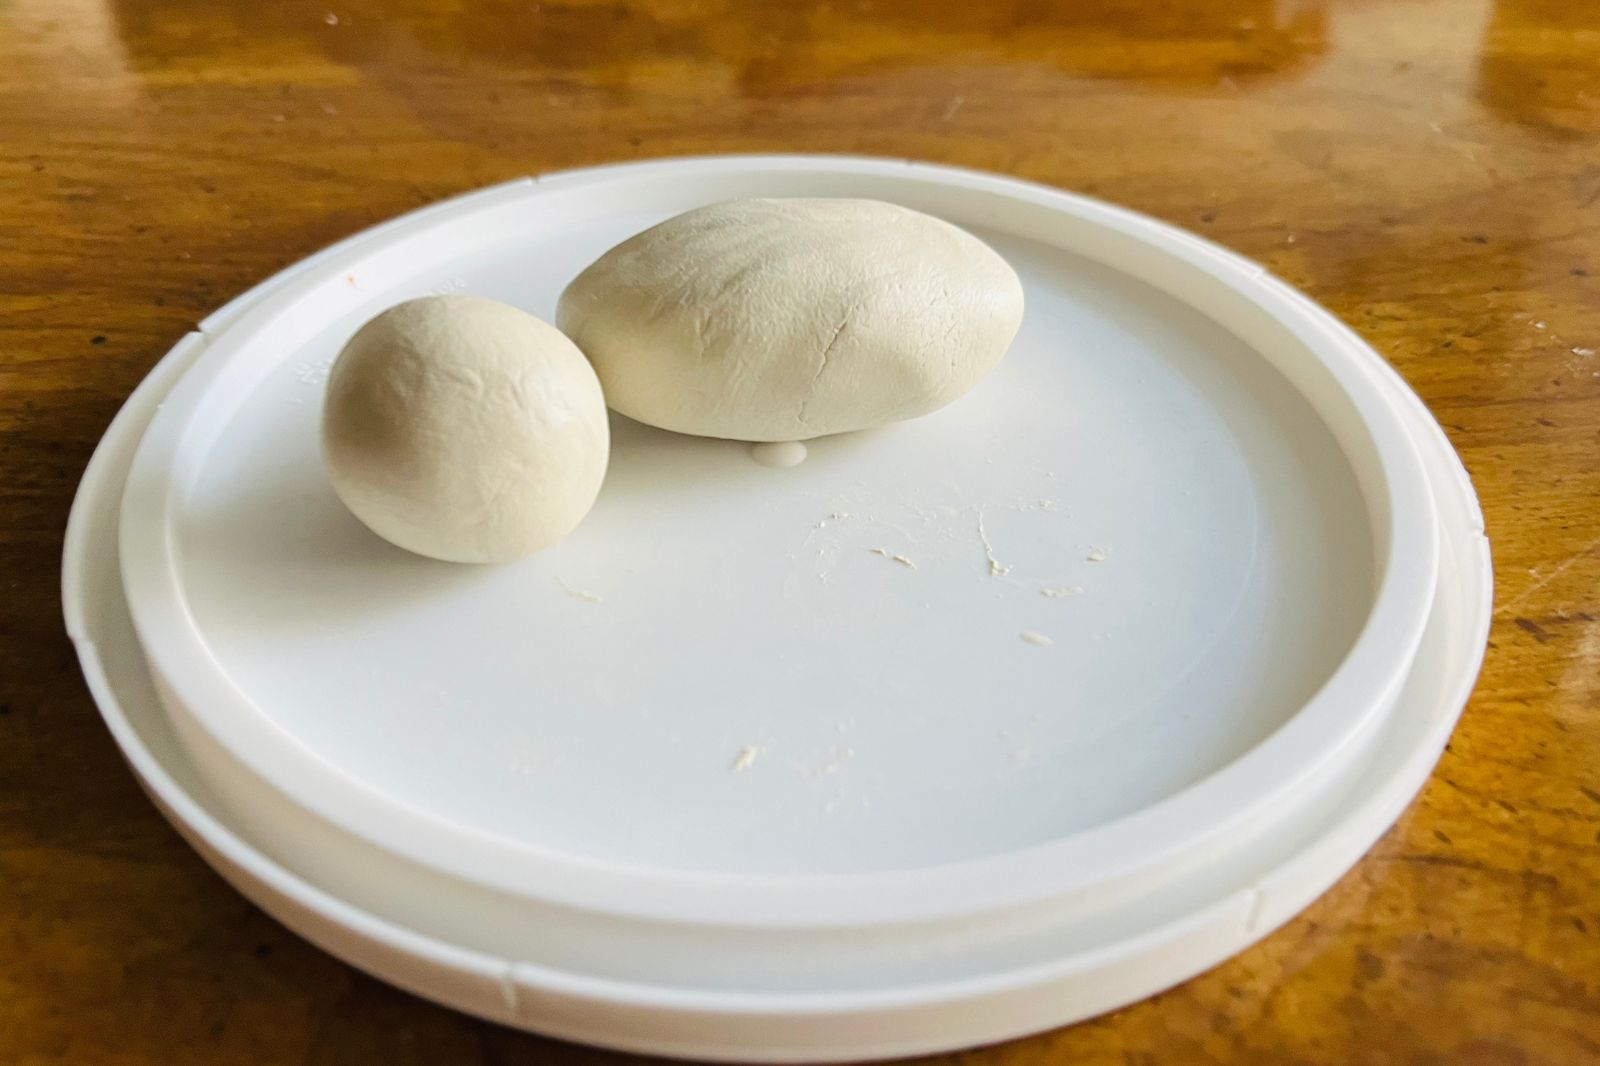
Shape the Front Limbs:
Roll out two small, flat sausage-shaped pieces of clay for the front legs. 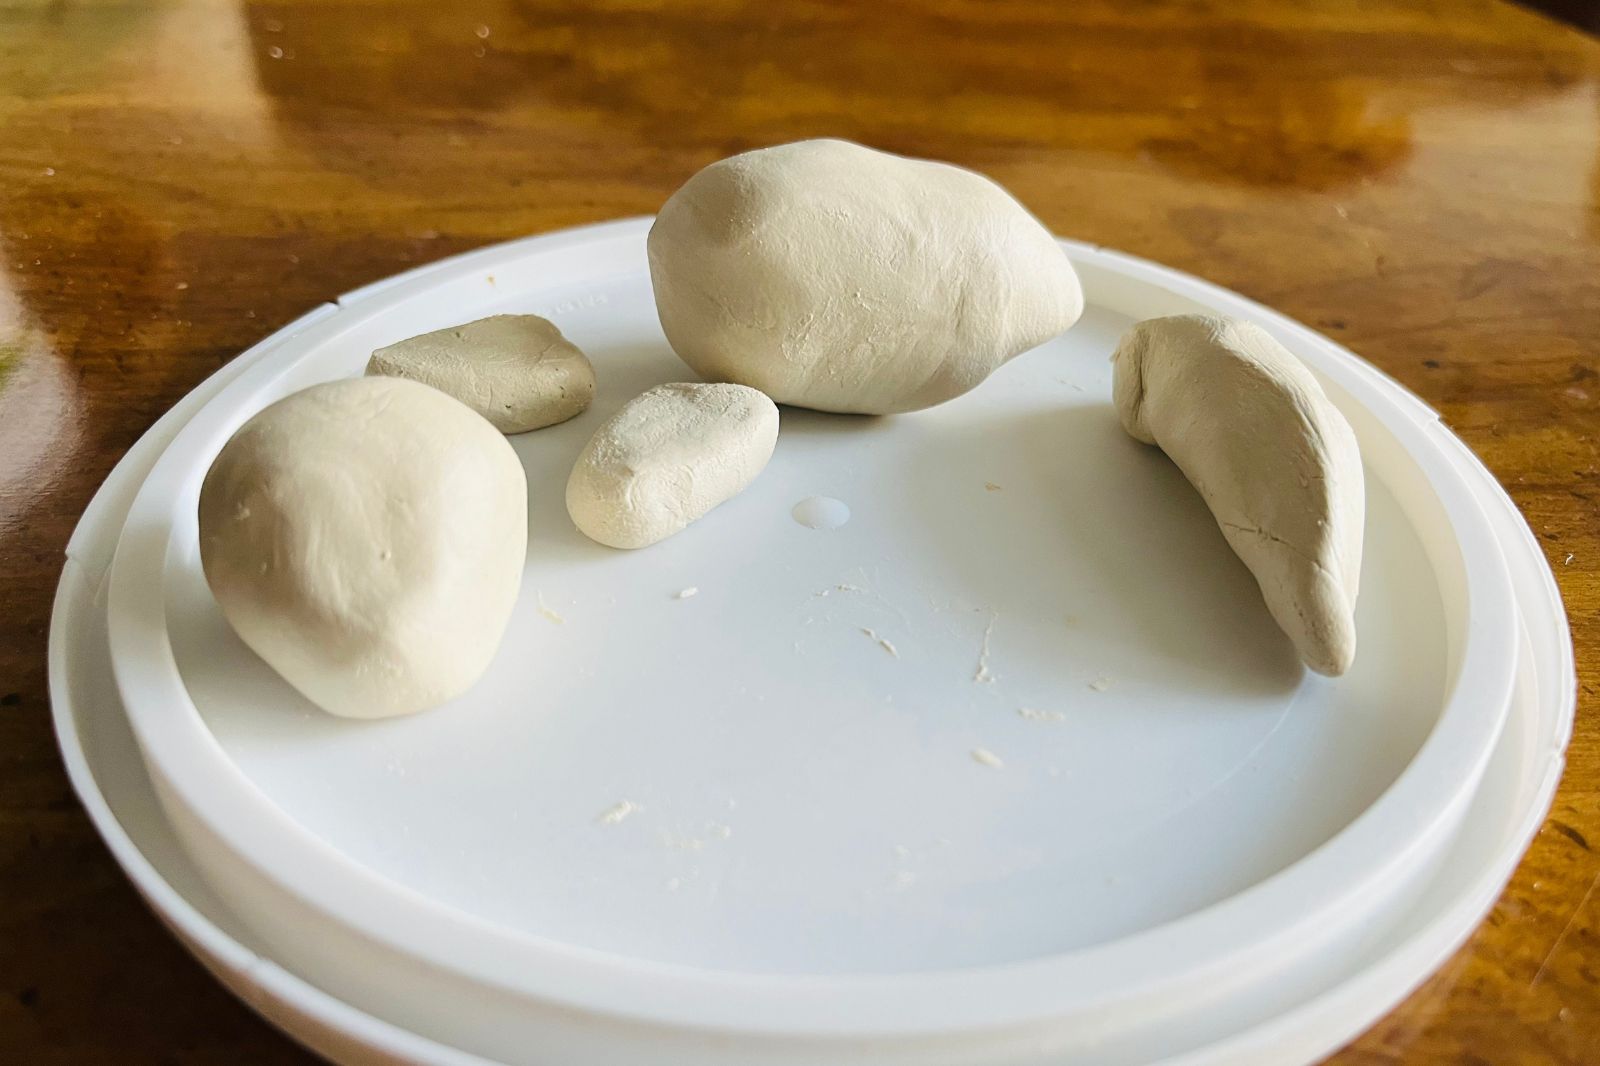
Make the Tail:
Roll out a long piece of clay for the tail. Create a hole in the body piece to attach the tail and use water as “glue”. Smooth out the two pieces.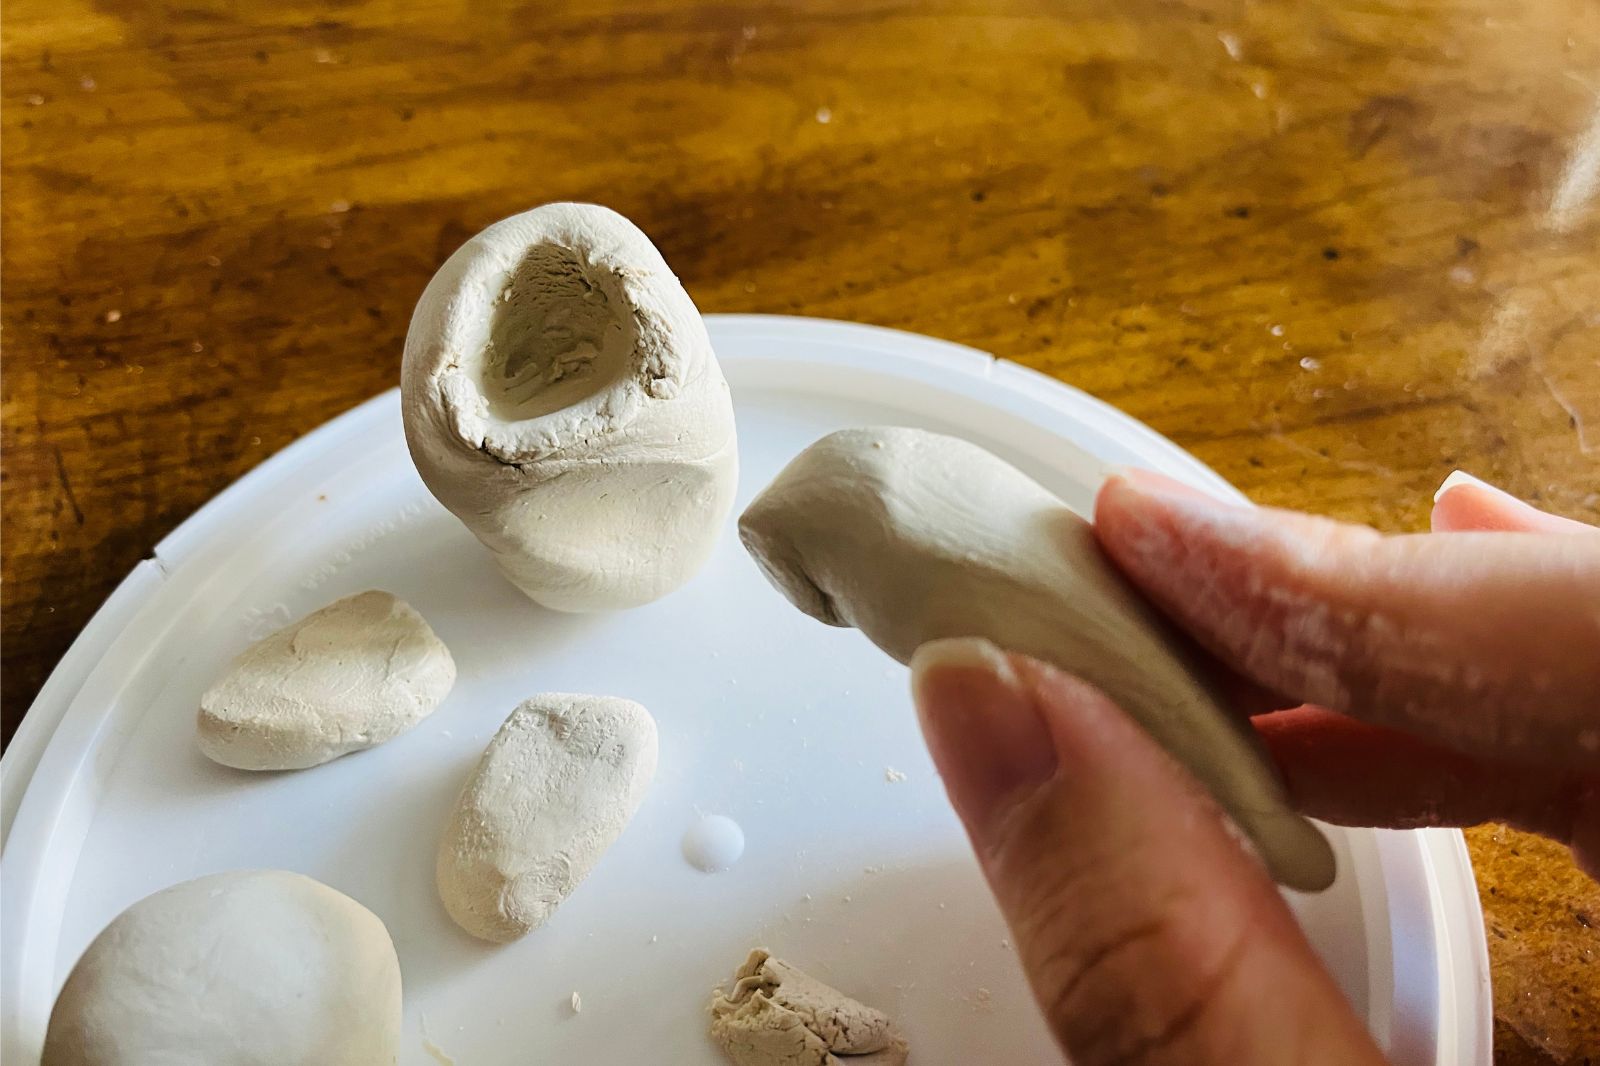
Shape the back Limbs:
Since I’m making a sleeping dragon, the hind legs will consist of two circular pieces and little flattened cylinders for feet. Attach them to the sides of the body using water and smoothing the edges. Shape the legs into more defined forms with sculpting tools. 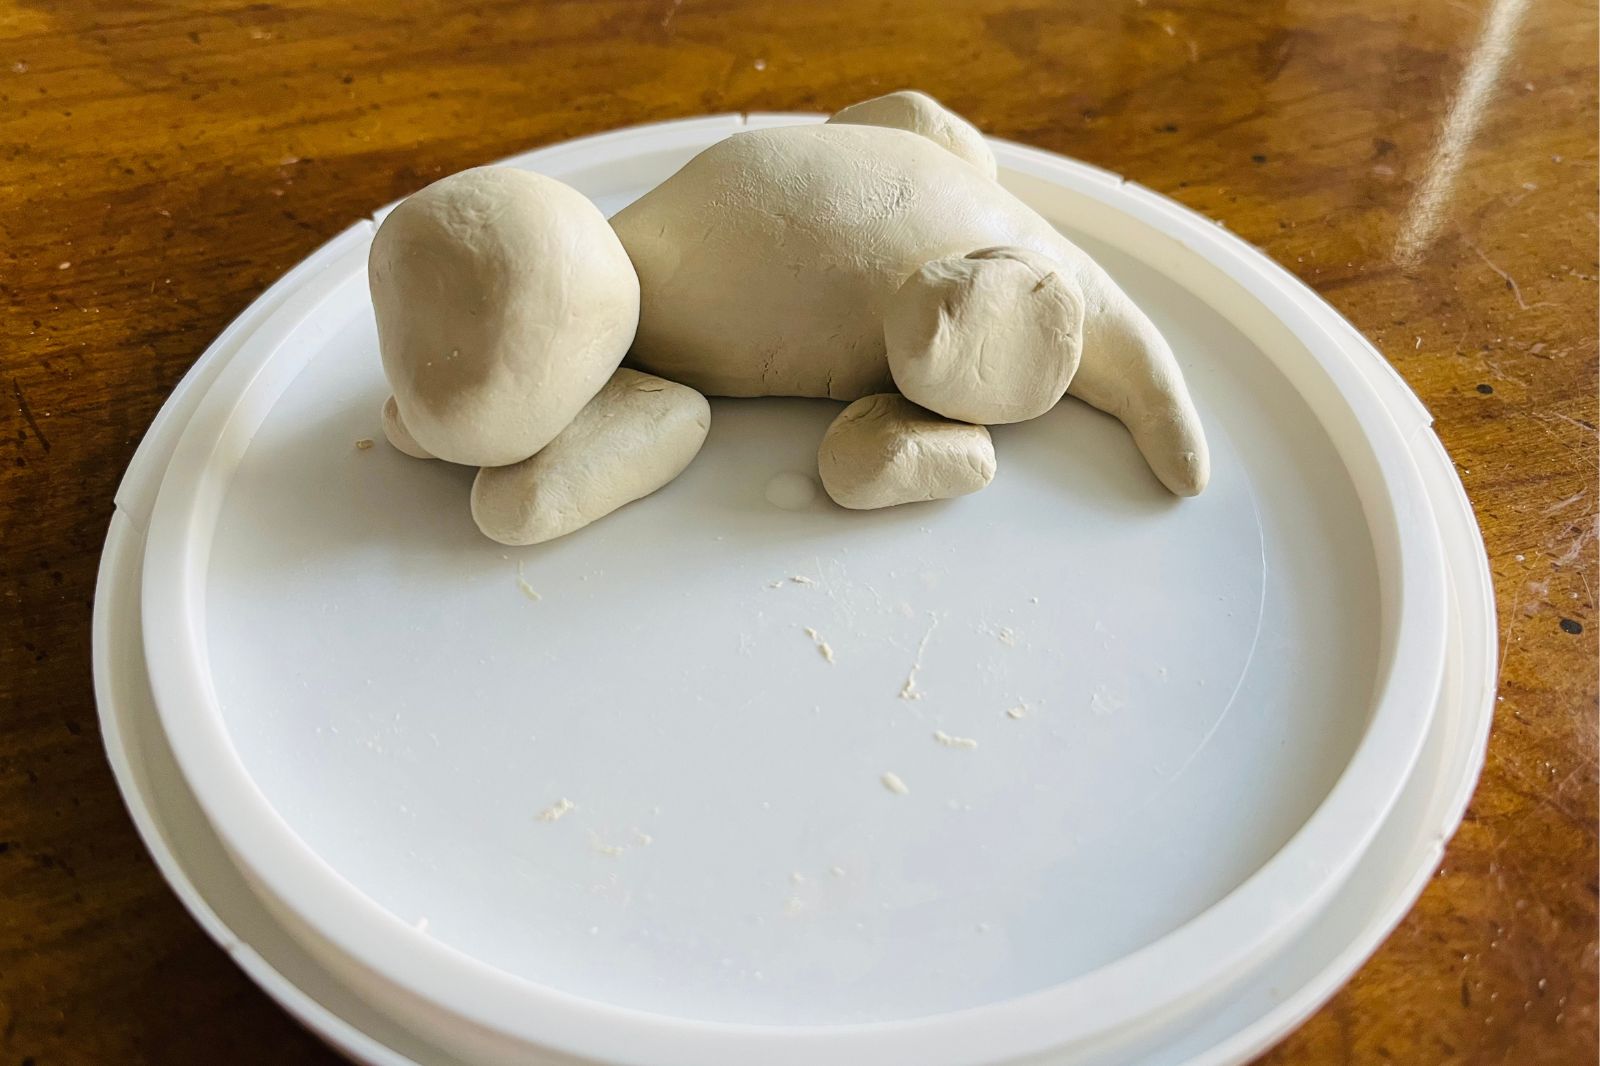
Make the Wings:
Make long acute triangle pieces in three different sizes to attach together to make one wing. Make another copy. Place them on each side of the dragon.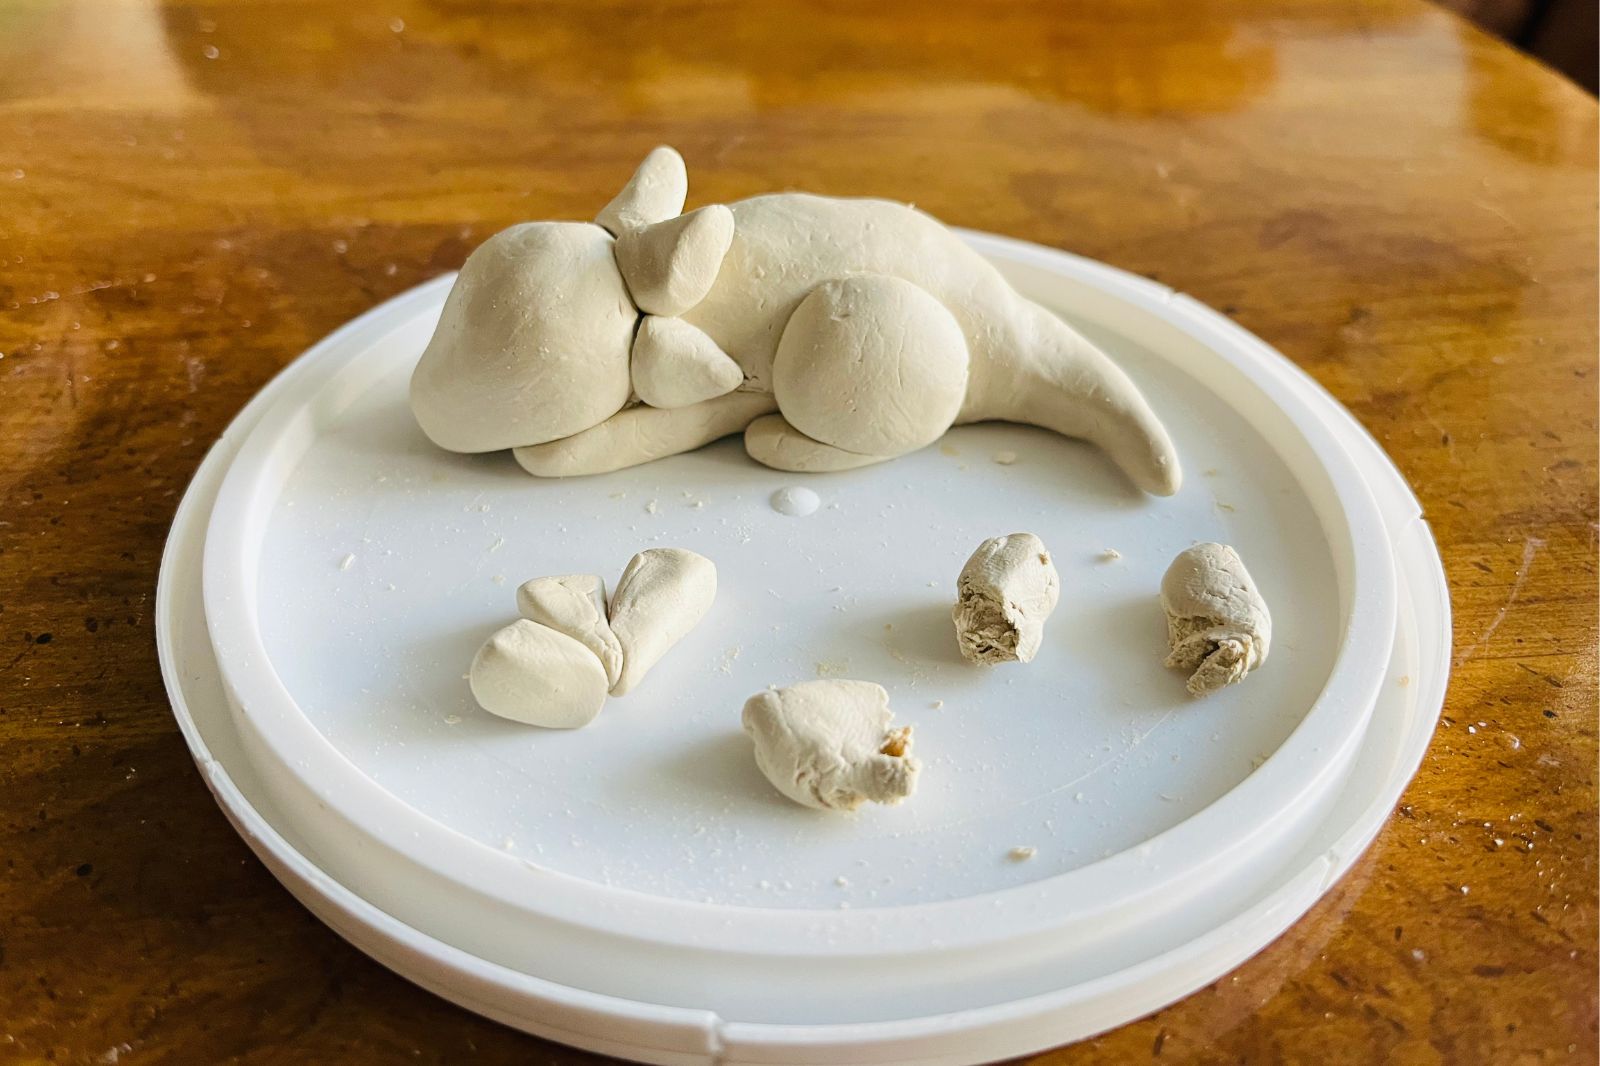
3. Detail the Dragon
Add Facial Features:
Use small triangles to make details for the dragon’s head. I added horns all around the head and on along the face 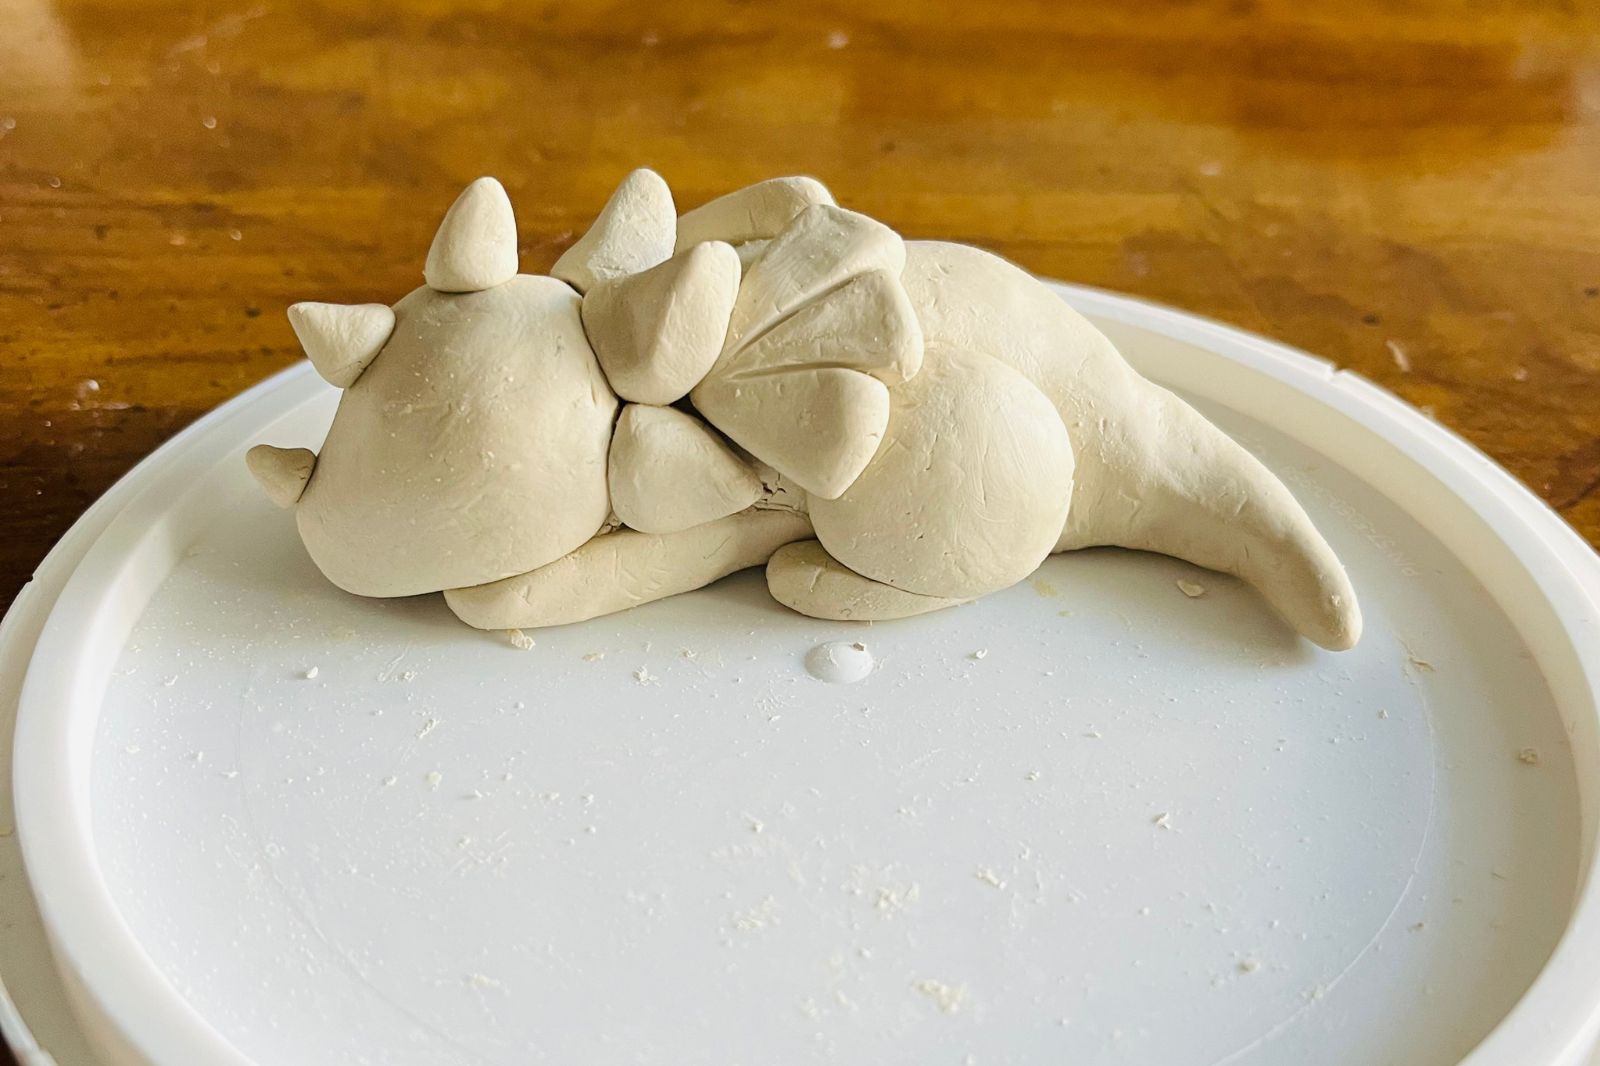
Add Other Details:
I also made small triangles to add to the body. Create a small little disc and fold it in half to create an ear. Make two! I also used a small needle to create the sleeping eye and nostril details on the face. 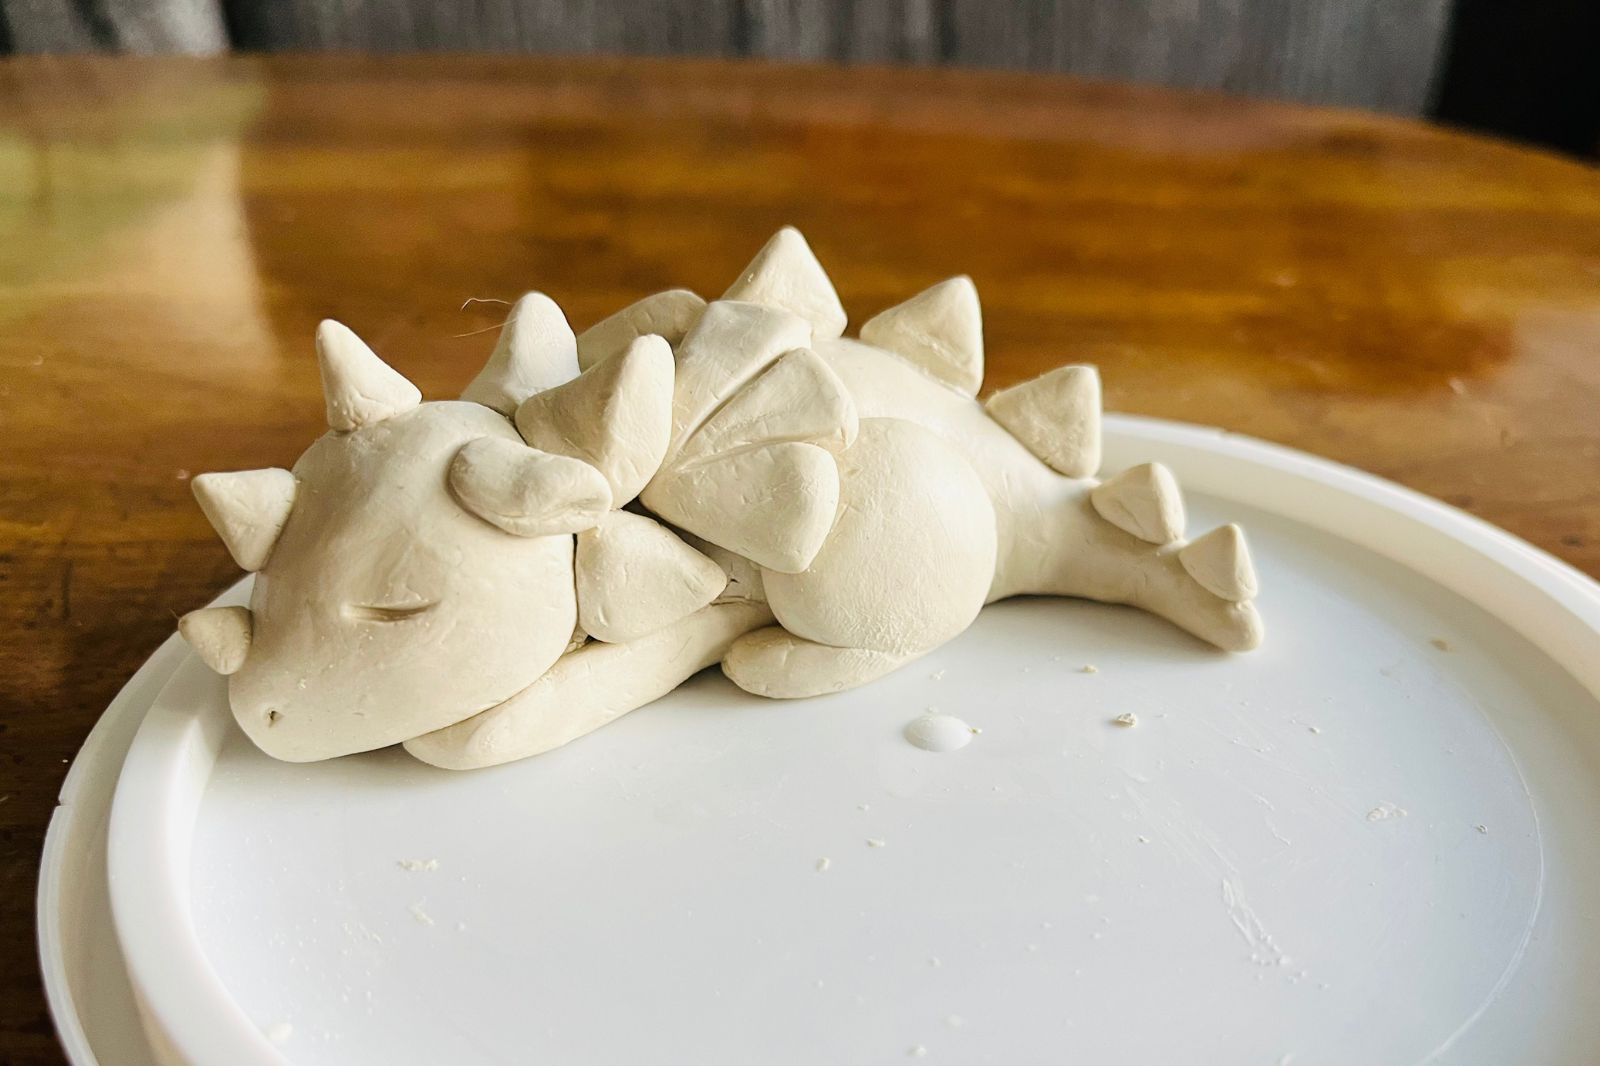
4. Dry and Finish
Let the Dragon Dry:
Allow your clay dragon to air dry completely. This can take anywhere from 24 to 48 hours, depending on the size and thickness of your piece.
Use Modge Podge as a Sealer:
Once the dragon is dry, use a craft sealant like Modge Podge to create an even base for painting.
Paint Your Dragon:
Apply base colors first and add any fun details. After the paint has dried, you can apply a clay sealer to protect your dragon and give it a glossy finish. I used shimmer nail polish!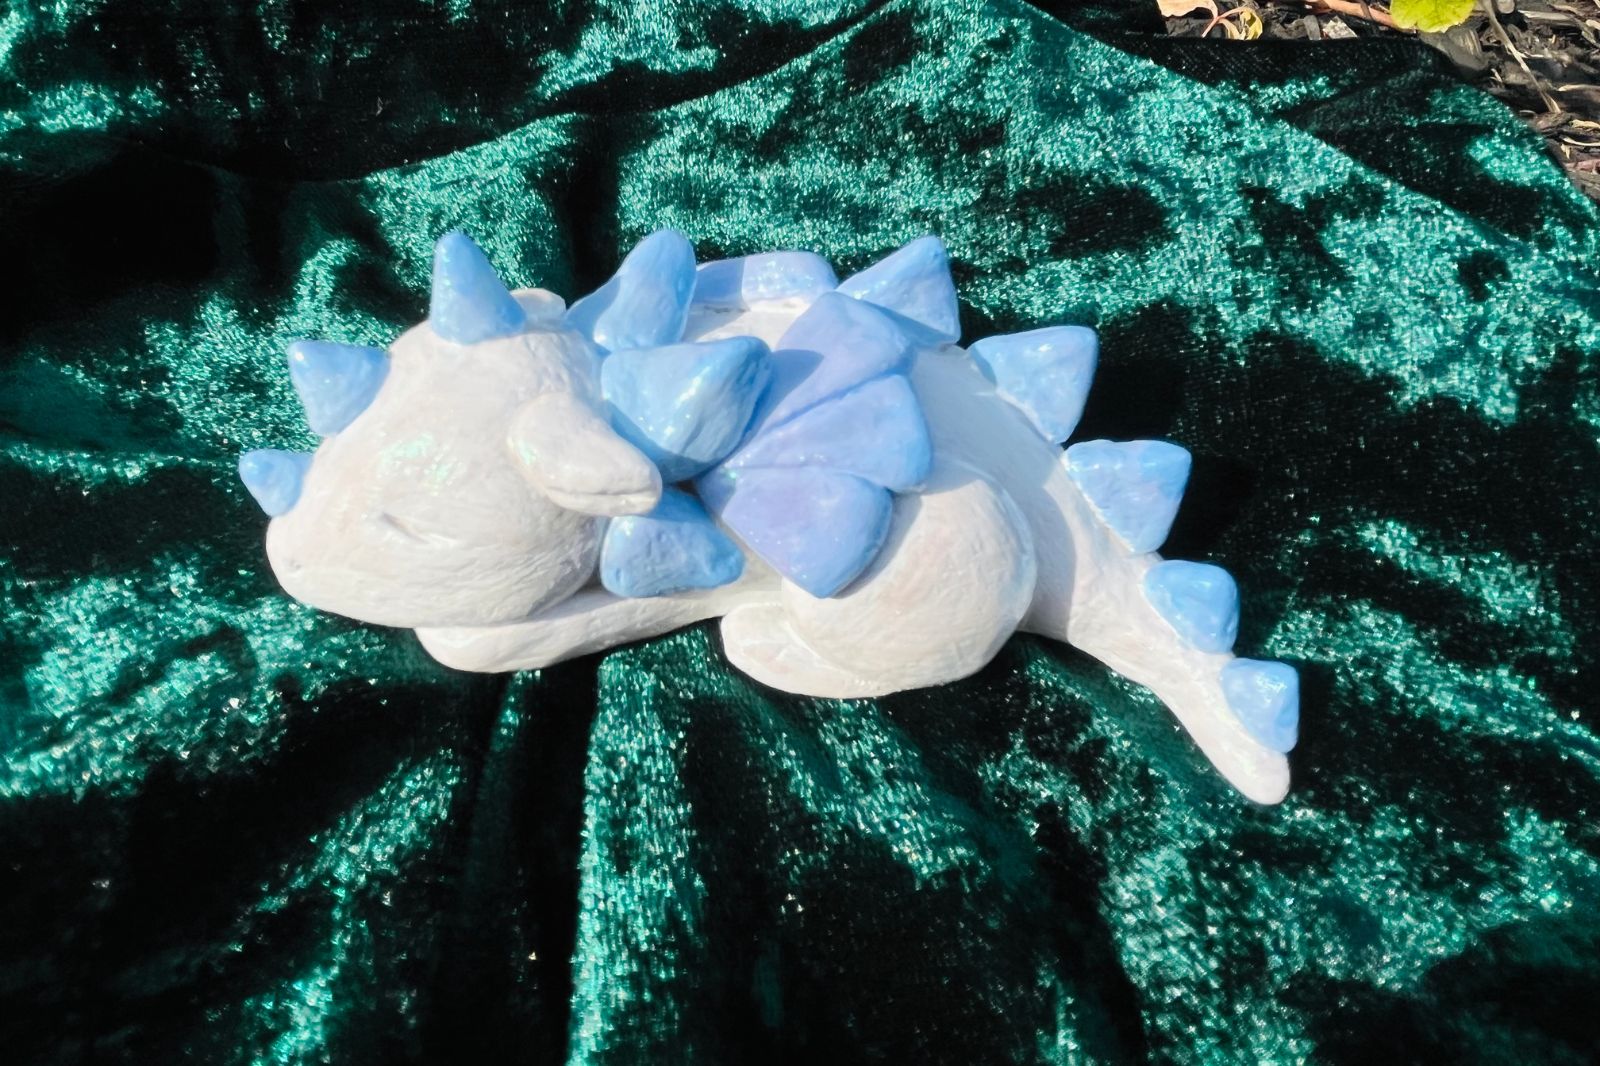
5. Display Your Dragon
Your clay dragon is now complete and ready to be displayed! Find a special place to showcase your creation, whether it’s on a shelf, a desk, or a display case. It can also make a thoughtful and unique gift for friends and family.
Tips for Success
- Work in Small Sections: If you’re new to sculpting, consider working on smaller sections of the dragon at a time to manage the drying process and details more easily.
- Keep Clay Moist: If the clay’s surface looks uneven, smooth it out with water. You’ll find that clay dries out quickly when you’re, continue to dampen it with a small amount of water to keep it pliable.
- Experiment with Textures: Don’t be afraid to experiment with different tools and techniques to add texture and detail to your dragon! You can also explore making other clay animals or creatures.
Conclusion
Making a clay dragon with air-dry clay is a rewarding and enjoyable craft project that allows you to unleash your creativity. With a few basic materials and some patience, you can create a stunning and personalized piece of art. Whether you’re a beginner or an experienced artist, this step-by-step guide will help you bring your clay dragon to life.
Trusted Insights from Artists
At Art Life Today, our passion for arts and crafts is at the heart of everything we do. We understand that the right tools and materials can make all the difference in your creative projects, so we take our responsibility as reviewers seriously. Our goal is to help you discover the best products that will inspire your creativity and bring your artistic visions to life.