How to Make a DIY Candle Holder

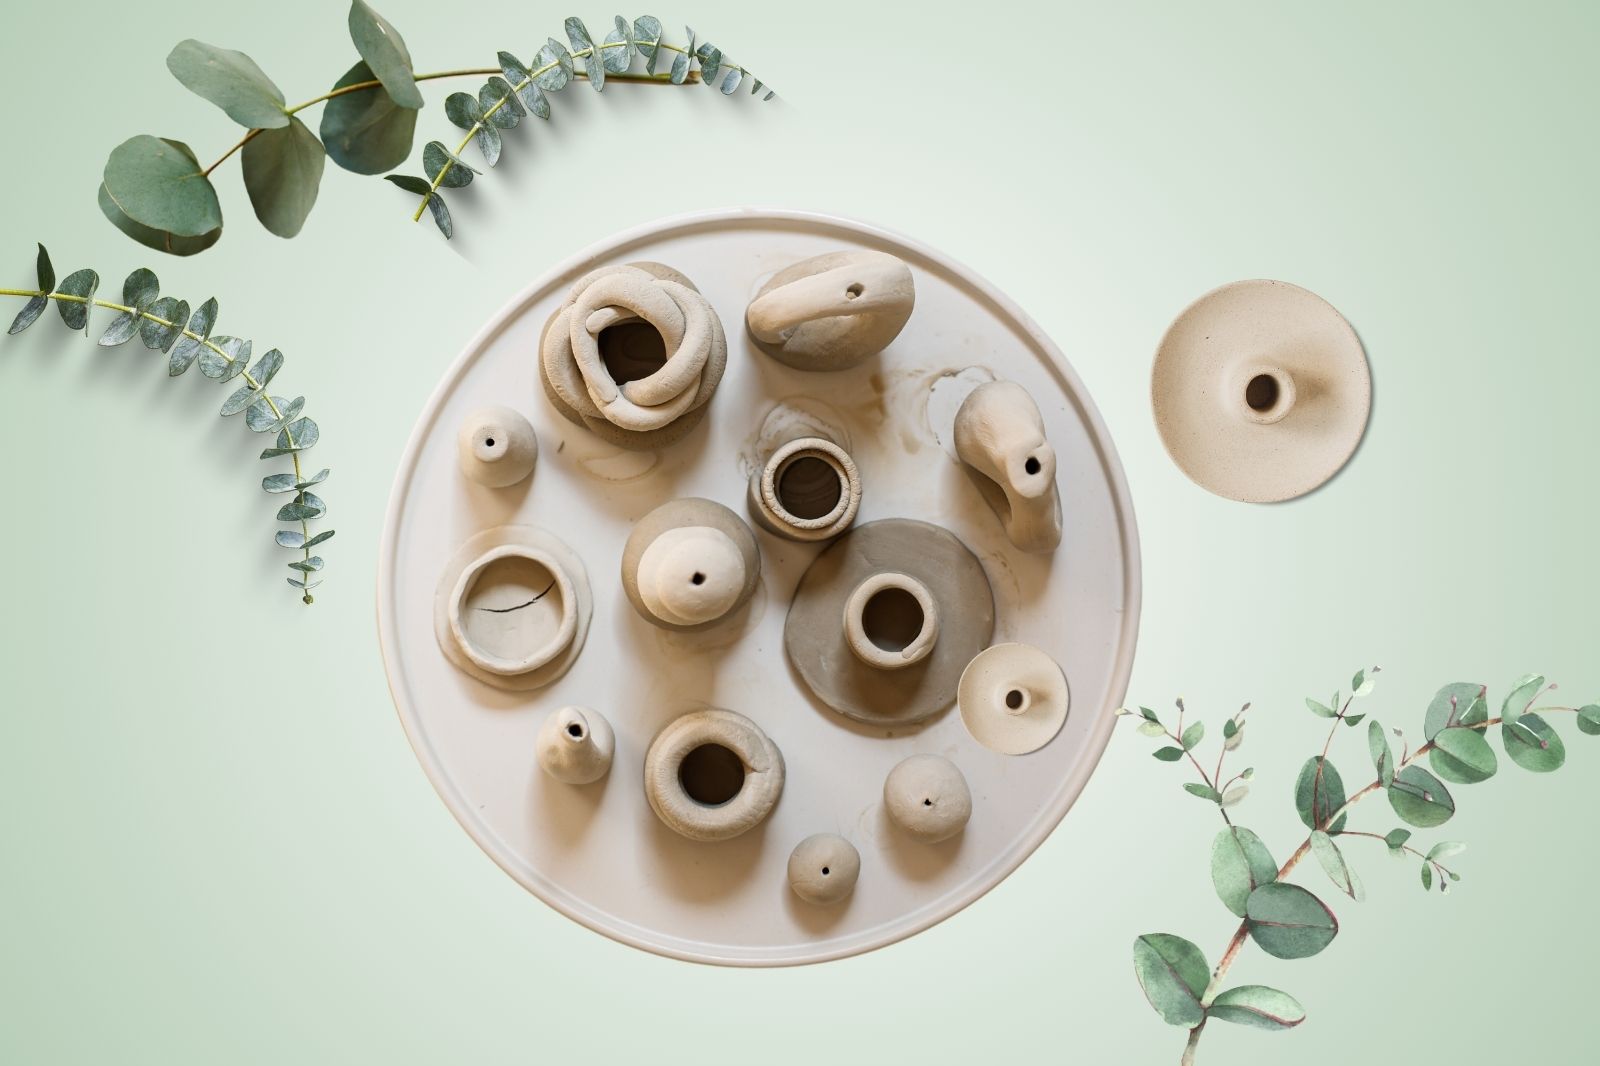
Creating a candle holder from air-dry clay is a cute and satisfying craft that adds a personalized touch to your home decor. Air-dry clay is also an accessible medium that doesn’t require any special equipment or kiln firing, so it’s perfect for DIY projects. In this guide, we’ll walk you through the process of making a functional candle holder, and offer some creative tips to customize it to suit your style.
Materials Needed
- Air-dry clay (available at craft stores or online)
- Rolling pin or a similar flat object
- Knife or clay cutter
- Small bowl or cup for shaping
- Water (to moisten and smooth the clay)
- Paint and brushes (optional, for decoration)
- Sealer (optional, for finishing)
- Sandpaper (optional, for smoothing)

Step-by-Step Instructions
Prepare Your Workspace
Before you begin, set up your workspace to avoid any mess. Lay down a protective surface, like a plastic sheet, to catch any clay scraps.
Condition the Clay
Knead the air-dry clay to soften it. This makes it more pliable and easier to work with. If the clay is too dry or hard, you can add a small amount of water to make it more workable, but be careful not to add too much.
Roll Out the Clay
Use a rolling pin or a similar flat object to roll out the clay into a sheet. Aim for a thickness of about 1/4 inch. If you’re planning to create a candle holder with intricate details, make sure the clay is evenly.
Cut and Shape the Base
Decide on the shape of your candle holder. For a simple round base, use a circular object like a cup or a bowl as a template to cut out the clay. Place the object on the rolled clay, and use a knife or clay cutter to trace around it. Gently lift the cut-out piece and smooth the edges.
Form the Candle Holder Walls
To create the walls of your candle holder, roll out another piece of clay into a strip. The width of this strip should be slightly larger than the height you want for the walls. Wrap the strip around the base, joining the edges with water and smoothing them together. Press the walls gently to adhere them to the base.
Create the Candle Well
To make space for the candle, create a small mound of clay in the center of your candle holder. Make sure the cavity is slightly larger than the candle you want to choose, then make a hole for the candle. Smooth the edges of the cavity to ensure they’re even and neat.
Add Decorative Elements
This is where you can get creative. Use sculpting tools or simple objects like toothpicks, stamps, or texture mats to add intricate patterns. You can also embed small beads or shells into the wet clay, and consider nature-inspired elements by adding imprints of leaves or flowers. If you’re adding any intricate details, be sure to keep the clay moist to prevent cracking.
Dry the Clay
Allow your candle holder to dry completely. Air-dry clay typically takes 24 to 48 hours to fully harden, but drying time can vary based on the thickness of the clay and the humidity in your home.
Sand and Smooth
Once the clay is dry, you might notice some rough edges or uneven spots. Use fine-grit sandpaper to gently smooth out any imperfections. Be careful not to sand too aggressively.
Paint and Seal (Optional)
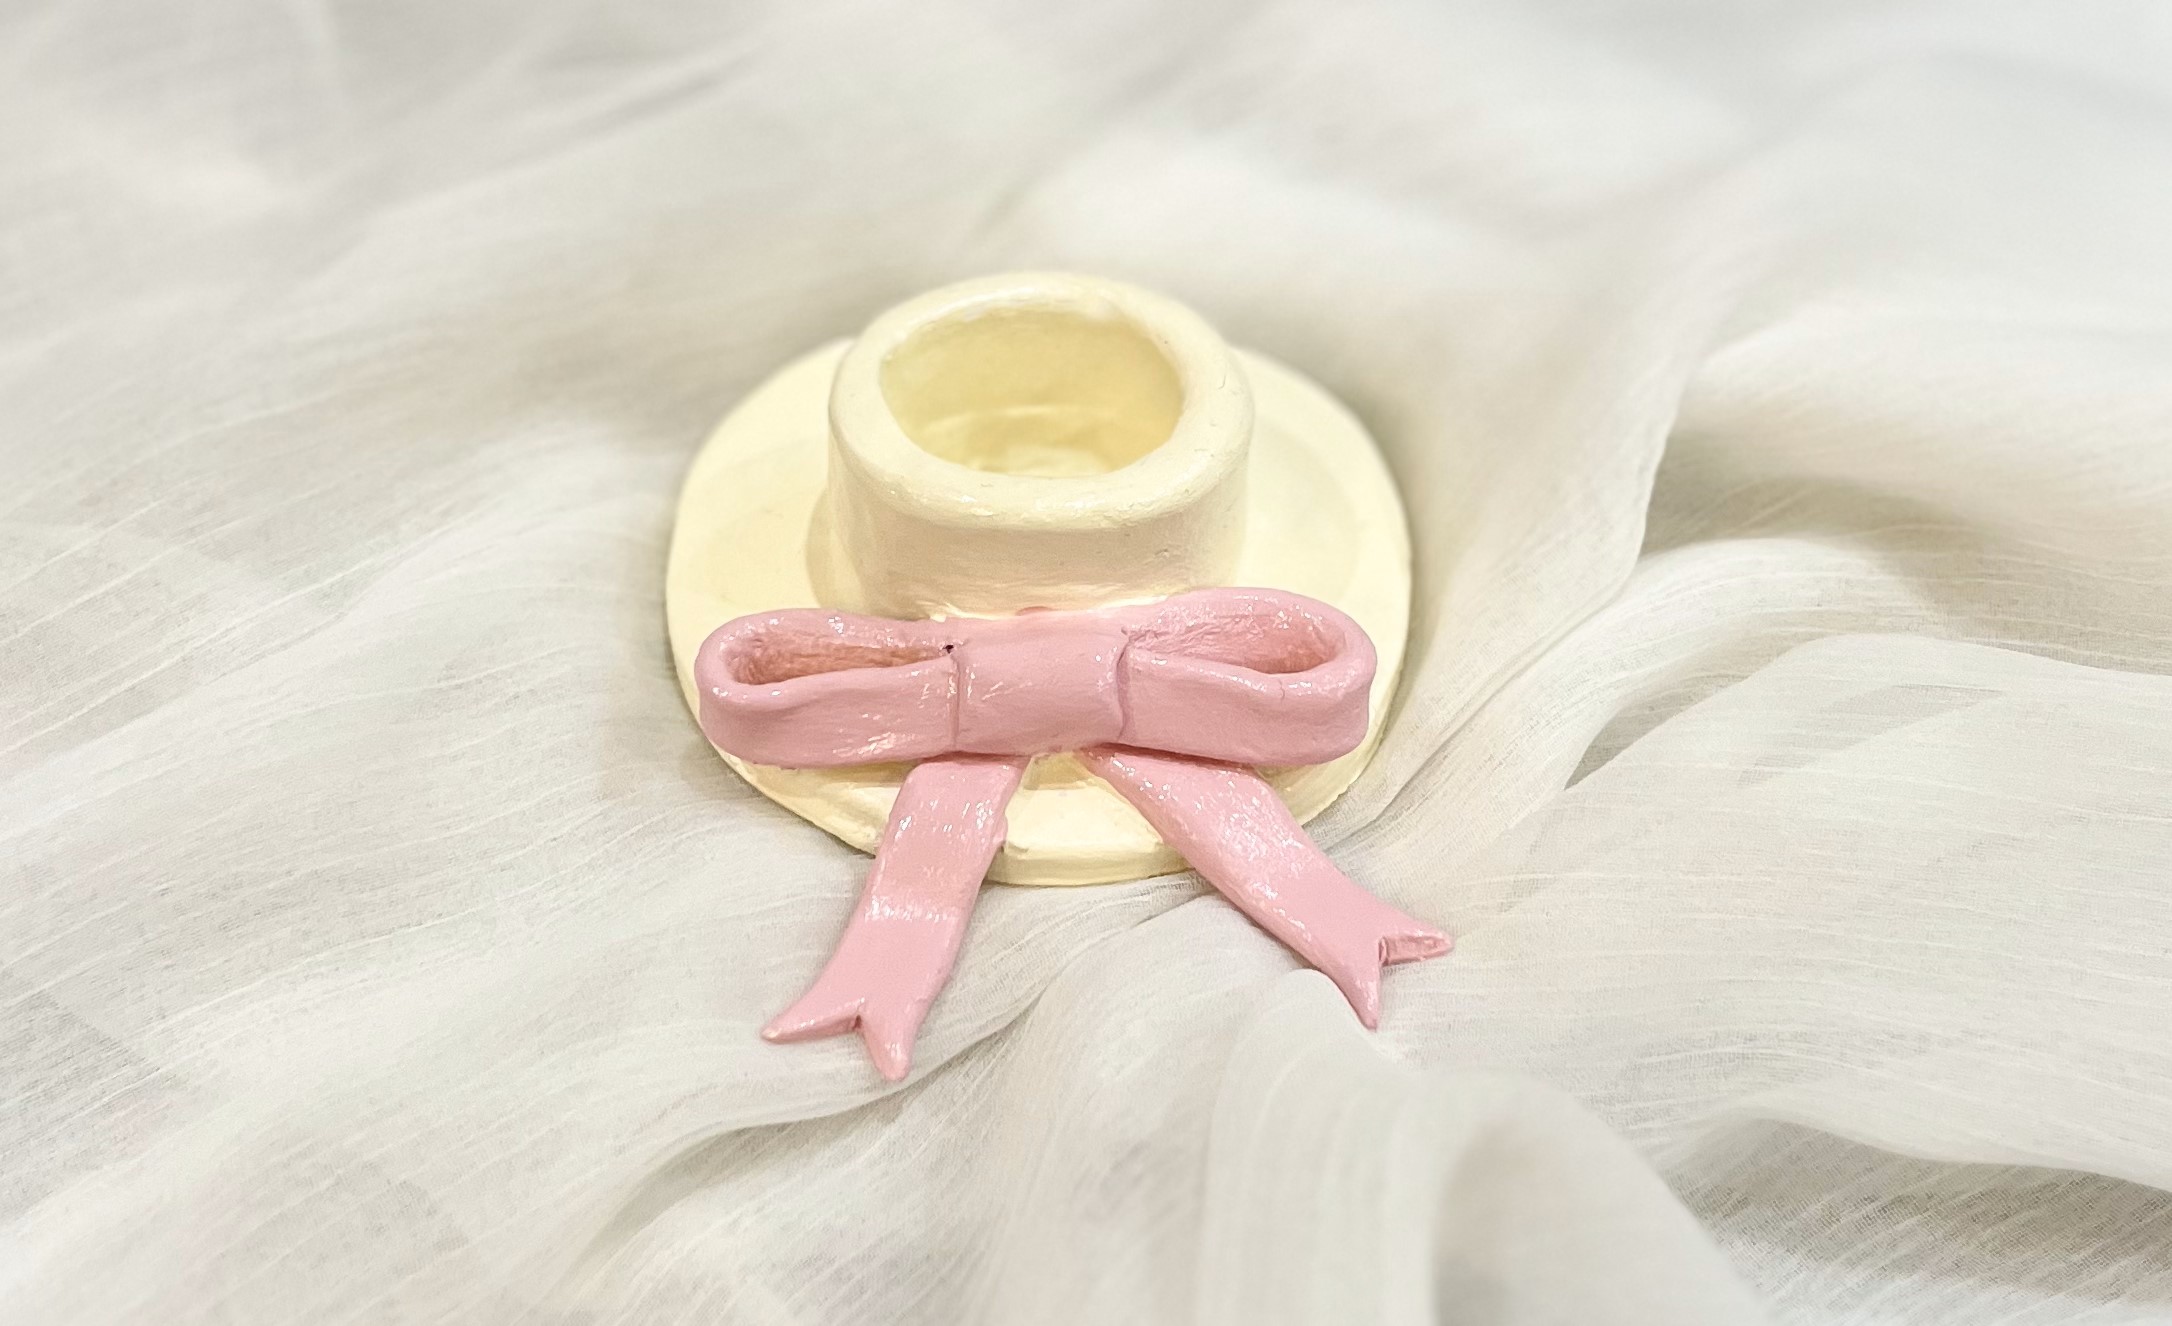
If you’d like to add color or design to your candle holder, now is the time to paint it. Use acrylic paint for a wide range of colors and effects. Once the paint is dry, you can apply a sealer to protect the surface and give it a glossy finish. Be sure to choose a sealer that is compatible with air-dry clay.
Add Your Candle
Finally, place a candle in the well of your candle holder. Choose a candle that fits snugly but can be easily removed. You can make candle holders for tea candles, votive candles, or small pillar candles depending on the size of your holder.
Conclusion
Making a candle holder from air-dry clay is a rewarding project. With just a few materials and some creativity, you can craft a beautiful holder. Whether you keep it simple or go all out with decorations, your handmade candle holder will add a special touch to any room.
Trusted Insights from Artists
At Art Life Today, our passion for arts and crafts is at the heart of everything we do. We understand that the right tools and materials can make all the difference in your creative projects, so we take our responsibility as reviewers seriously. Our goal is to help you discover the best products that will inspire your creativity and bring your artistic visions to life.