How to Make a Tic-Tac-Toe Board from Air-Dry Clay!
@aleehazai on Instagram
Tic-tac-toe is a classic game that’s easy to learn and fun for players of all ages. If you’re looking to create a unique, handmade version of this timeless game, consider making a tic-tac-toe board from air-dry clay. Not only is it a creative way to pass the time, but you can also personalize the game board and proudly display it or gif it. Here’s a comprehensive guide on how to make a tic-tac-toe board using air-dry clay.
Materials You’ll Need
- Air-Dry Clay: Choose a good quality air-dry clay that is easy to work with and dries hard.
- Rolling Pin: For flattening the clay.
- Ruler: To measure and cut the clay accurately.
- Craft Knife or Clay Cutting Tool: To cut the clay into precise shapes.
- Pencil or Clay Tool: For marking lines and details.
- Acrylic Paint and Brushes: To paint and decorate your tic-tac-toe board.
- Sealant (Optional): To protect and seal the clay before and after painting.
- Sandpaper (Optional): For smoothing out any rough edges.
Step-by-Step Instructions
Prepare Your Workspace
Start by setting up a clean, flat workspace. Cover it with parchment paper or a non-stick surface to prevent the clay from sticking.
Condition the Clay
Before you begin, knead the air-dry clay to soften it and make it more pliable. Make sure to have a little bowl of water nearby to keep the clay moist. This step ensures that the clay is easy to roll out and work with.
Roll Out the Clay
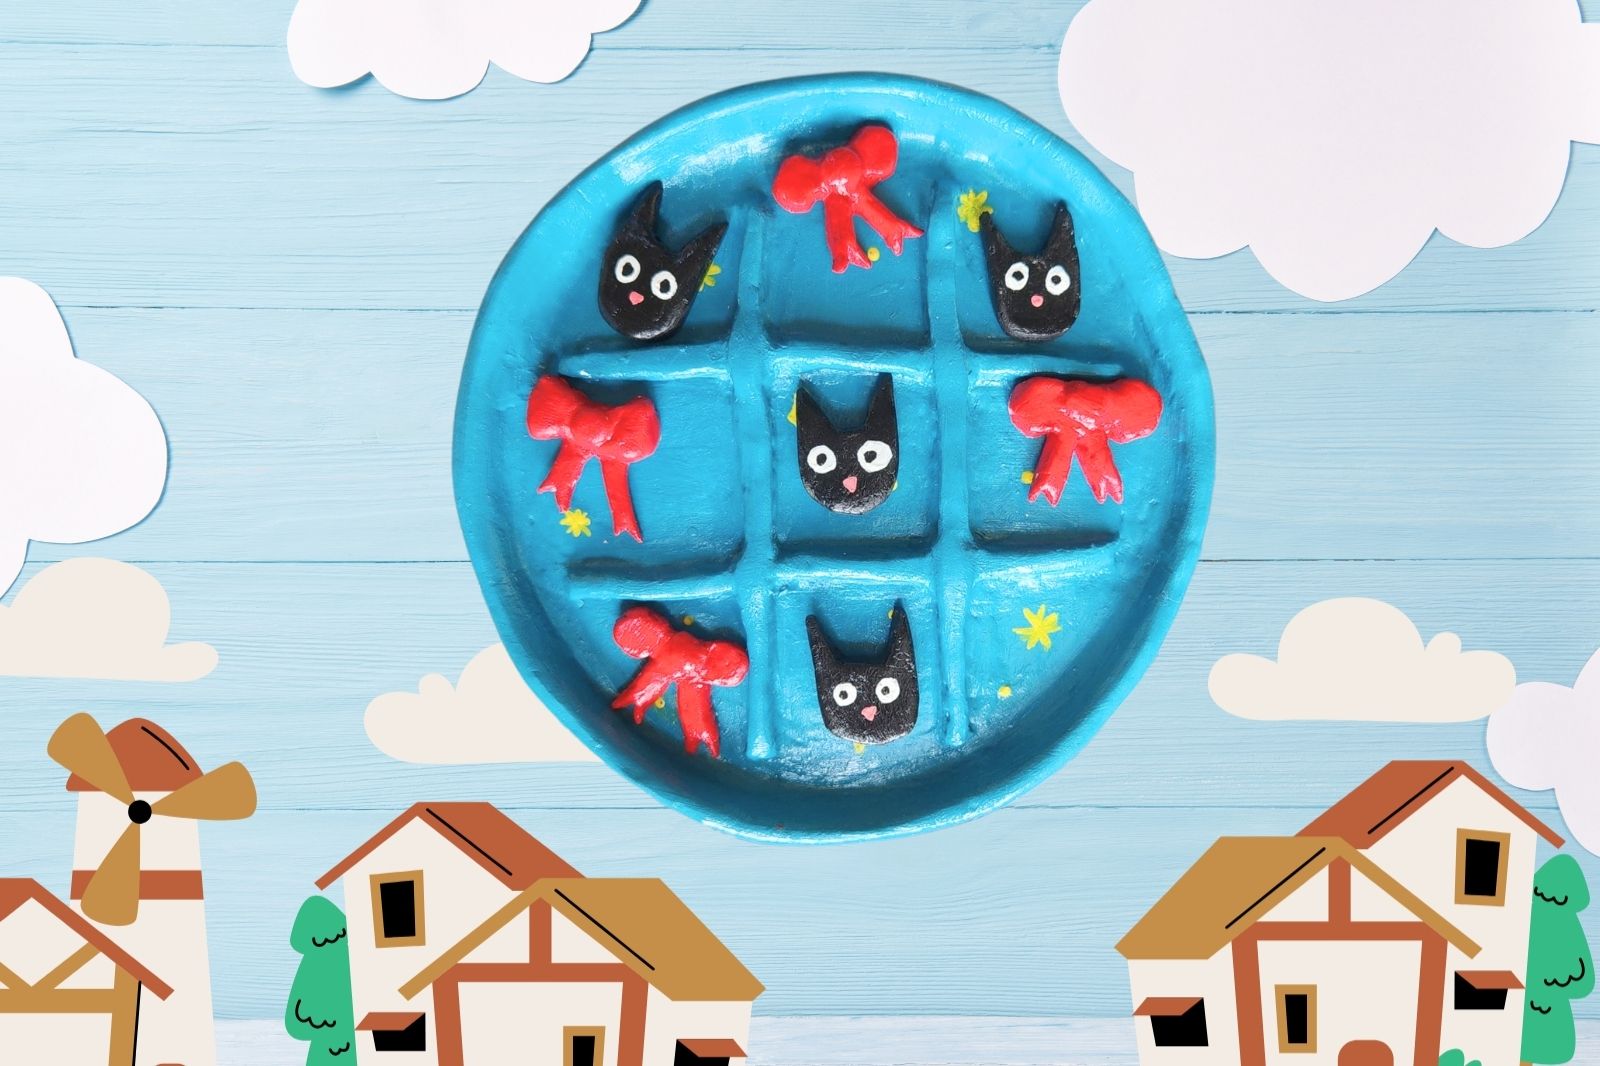
Use a rolling pin to flatten the clay to an even thickness, about 1/4 inch thick. Try to roll it into a square or rectangular shape, depending on the size of the tic-tac-toe board you want. You can also do a circle as shown in the cover photo! Make sure the board is smooth and free of air bubbles.
Cut the Board
Using a ruler and a craft knife or clay cutting tool, cut the flattened clay into a square or rectangle. The standard size for a tic-tac-toe board is 9 inches by 9 inches, but you can adjust the size based on your preference.
Mark the Grid
With a pencil or a clay tool, lightly mark the grid lines for the tic-tac-toe board. You’ll need two horizontal lines and two vertical lines, each evenly spaced to create a 3×3 grid. Ensure the lines are straight and evenly spaced for a professional look. You can also make little wall pieces if you want the board to be a little more 3D-looking.
Create the Game Pieces
Roll out a small amount of clay to create the game pieces. Traditional tic-tac-toe pieces are Xs and Os, so you’ll need to make six pieces—three Xs and three Os. Shape the clay into Xs and Os or use small cookie cutters to create uniform shapes.
Let the Clay Dry
Allow the clay to dry completely according to the manufacturer’s instructions. This usually takes about 24 to 48 hours. Ensure the board is placed in a dry, well-ventilated area to prevent any warping or cracking.
Sand and Smooth
Once the clay is fully dried, you can sand the board lightly to smooth out any rough edges or imperfections. Use fine-grit sandpaper for this task, and be gentle to avoid damaging the surface. After you’re satisfied, use a sealant to prime the clay for painting.
Paint and Decorate
After smoothing, you can paint the board and game pieces. Choose colors and designs that match your style or theme. You might want to paint the grid lines and add color to the Xs and Os. Acrylic paint works well for this purpose. Use fine brushes for detailed work and let the paint dry completely between coats.
Apply a Sealant (Optional)
To protect your painted design, apply a craft sealant once the paint is dry. A clear acrylic sealer or varnish will help preserve the board and make it more resistant to wear and tear.
Final Touches
Inspect your tic-tac-toe board and make any final adjustments or touch-ups. Now that your tic-tac-toe board is complete, it’s time to enjoy the game! Gather some friends or family members and take turns playing.
Conclusion
Creating a tic-tac-toe board from air-dry clay is a rewarding project that combines creativity and craftsmanship. By following these steps, you can make a personalized and functional game board that’s perfect for game nights, gifts, or home décor. Whether you’re an experienced crafter or a beginner, this project is a great way to enhance your skills and create something special.
Trusted Insights from Artists
At Art Life Today, our passion for arts and crafts is at the heart of everything we do. We understand that the right tools and materials can make all the difference in your creative projects, so we take our responsibility as reviewers seriously. Our goal is to help you discover the best products that will inspire your creativity and bring your artistic visions to life.