How To Make Pottery at Home Without a Kiln
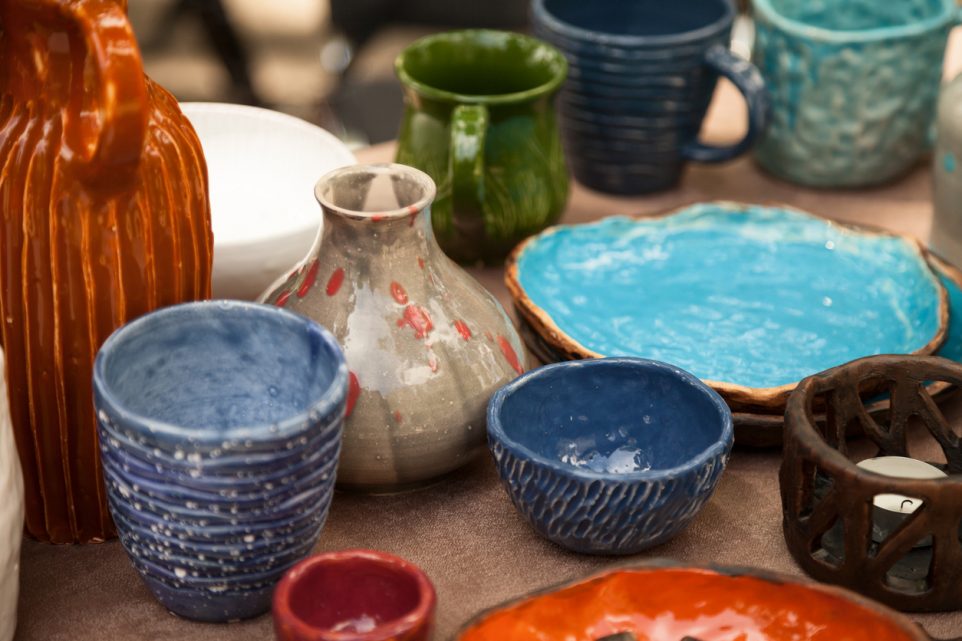
There’s something so satisfying about creating something with your own hands, and pottery is one of those crafts that connects us to ancient traditions while allowing for modern creativity. When I first started making pottery at home, I was living with my parents, and they weren’t too thrilled about the mess. But with a little bit of creativity and a few household items, I found that you don’t need a fancy studio or a kiln to make beautiful ceramic pieces.
Making pottery at home without a kiln might seem challenging at first, but with the right approach, it’s not only possible but also a rewarding experience. You can use simple tools you probably already have lying around your kitchen, set up a comfortable workspace, and even fire your creations right in your backyard. Let’s turn a ball of clay into a stunning piece of pottery using nothing more than basic materials and a bit of ingenuity.
Tools for Making Pottery at Home
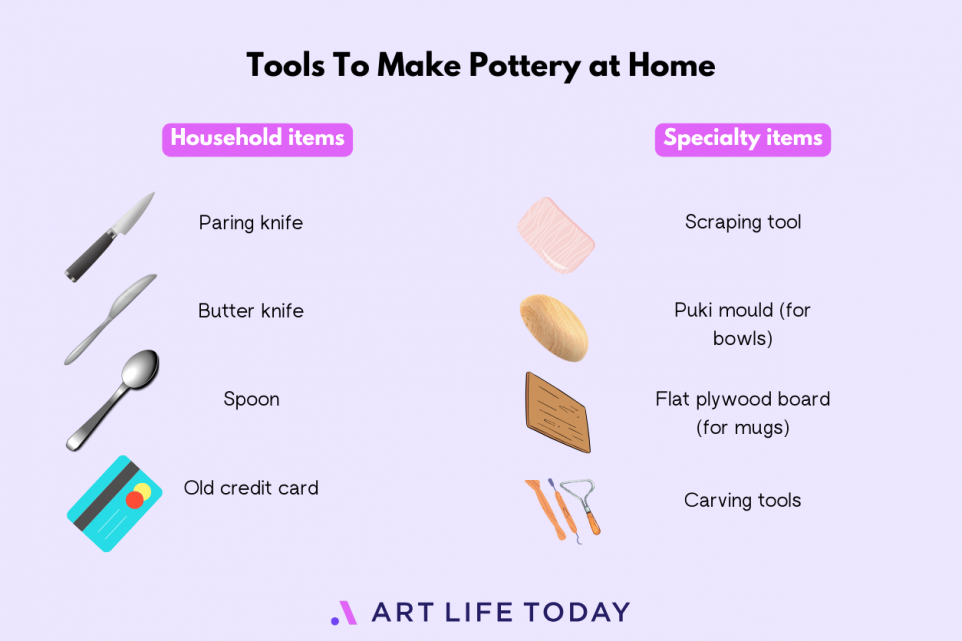
You might think that making pottery requires a lot of specialized equipment, but the truth is that the best tools are the ones you already have. Your hands are your primary instruments. However, a few common household items can make the process easier and more precise.
For instance, a paring knife is perfect for trimming rims, while a butter knife can smooth out the sides of your pots. A spoon, particularly the back of one, is excellent for burnishing and smoothing surfaces. An old credit card can be a versatile tool for scraping and shaping your clay, both when it’s wet and leather-hard.
If you’re up for a bit of DIY, you can make some tools yourself. I’ve made a handy gourd scraper by cutting and shaping a gourd with a rasp. You can also use materials like plastic jugs to create custom tools that suit your needs.
Of course, if you prefer, you can purchase basic pottery tools. These usually come in affordable kits that include items like metal ribs, wooden shaping tools, and wire cutters. These tools can be found at craft stores and will make your pottery-making experience smoother and more enjoyable.
Setting Up Your Work Area
When it comes to setting up your work area, you don’t need a dedicated studio. Your kitchen table or a small corner of your living room can be transformed into a pottery workspace. The key is to keep things tidy and organized.
I recommend using a piece of plywood as your work surface. You can get these at any hardware store, and they can even cut it to size for you. To protect your table from scratches, place an old towel under the plywood. This setup not only safeguards your furniture but also helps contain the mess.
If you’re working indoors, try to keep your workspace as clean as possible. Clay can get everywhere, and trust me, it’s much easier to manage if you clean as you go. If possible, working outside on a porch or patio can be a great alternative, especially for the messier parts of the process.
Forming Your Pottery
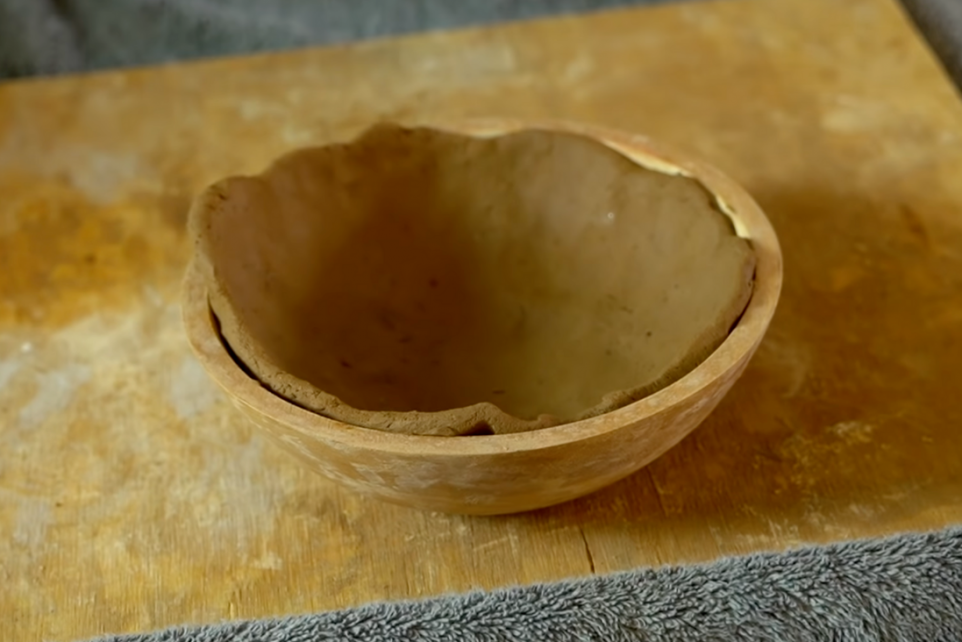
The actual process of forming your pottery can be as simple or as complex as you want it to be. Starting with a basic pinch pot is a great way to get a feel for the clay. Begin with a ball of clay, and use your thumb to press into the center, creating the base of your pot. Gently pinch and shape the walls, working your way around to ensure even thickness.
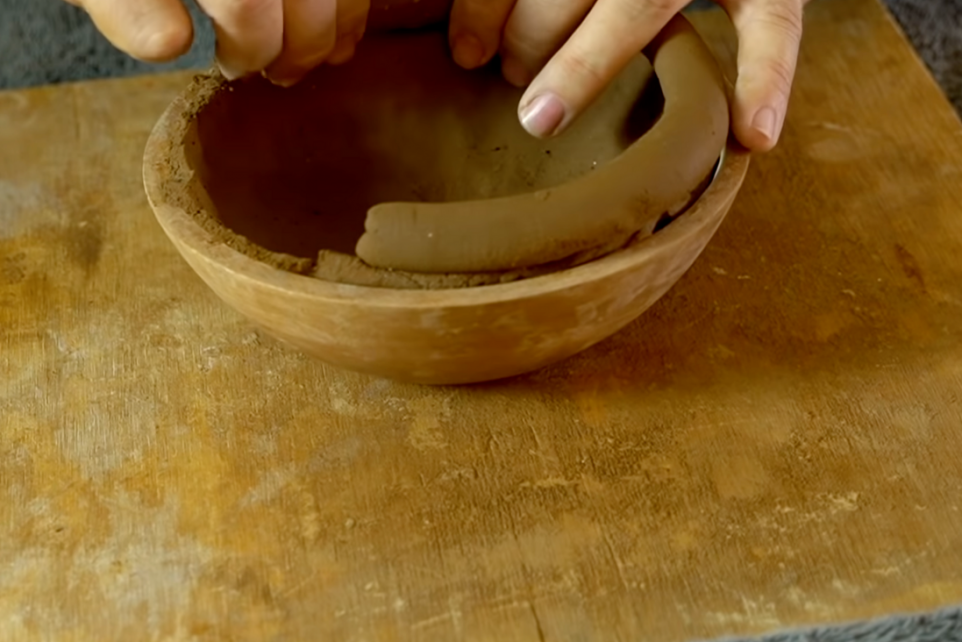
If you want to make larger or more complex pieces, you’ll need to add coils. Roll out a coil of clay about the thickness of your thumb, attach it to the base, and continue pinching to build up the walls. Smooth out any seams with your fingers or a tool to ensure your pot holds together.
Smoothing and Drying
Once you’ve shaped your pot, it’s time to smooth it out. Using a smooth stone or the back of a spoon, gently rub the surface to achieve a nice finish. Wet the tool slightly to help it glide over the clay without sticking. Now, use a paring knife to trim the edges to your desired height. With wet fingers, go over the trimmed edges to smooth them out. Take your time with this and keep re-wetting your fingers if needed to get a smooth finish.
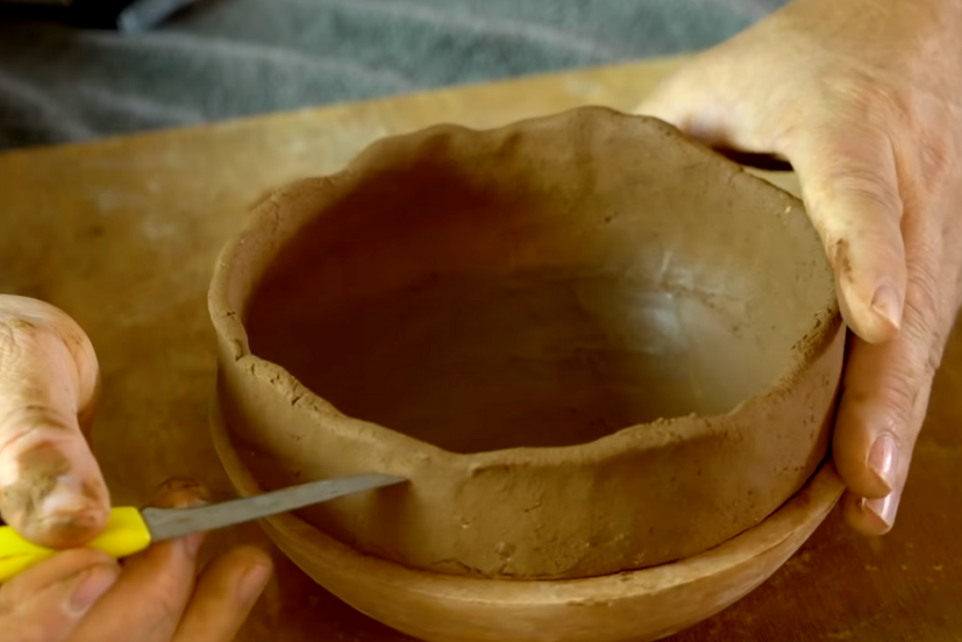
Drying your pottery is an important step. Place your pots in a dry, warm area and let them dry slowly. Rushing this process can cause cracks, so be patient. If the weather is damp, it might take a bit longer, but it’s worth the wait.
Firing Without a Kiln
Firing pottery at home without a kiln is where the real ingenuity comes in. While an oven won’t get hot enough to fire clay properly, a makeshift kiln can be created using some bricks and charcoal.
Set up a base with sand to protect your driveway or yard, then loosely stack bricks to form a firing chamber. Place your pots inside, upside down, to help trap the heat. Cover the pots with a small metal tub to keep the fuel off them, ensuring they stay clean.
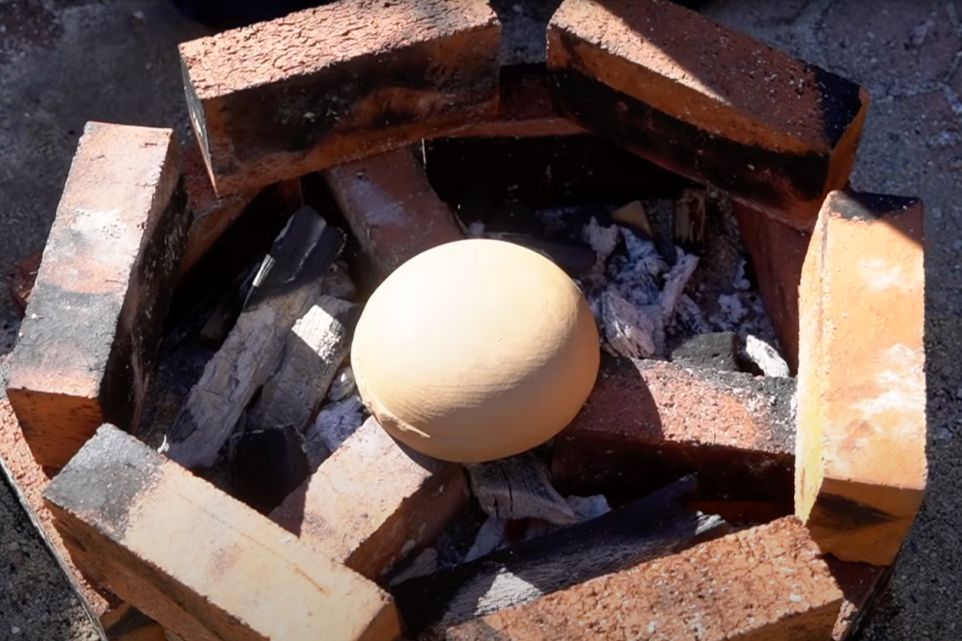
Light your charcoal and let it burn until it reaches a high temperature. This process takes time, so be patient. The charcoal will get hot enough to turn your clay into ceramic, just like a kiln would. After the firing is complete, let the pots cool slowly to avoid thermal shock.
After the firing process, carefully remove your pots and admire your work. The transformation from clay to ceramic is always magical. Your pots should have a beautiful, even color and be ready to use or display.
Making pottery at home without a kiln is not only possible but also a deeply satisfying experience. With a bit of creativity and some basic tools, you can create beautiful, functional pieces that add a personal touch to your home. So roll up your sleeves, grab some clay, and start crafting your own pottery right at home.
Trusted Insights from Artists
At Art Life Today, our passion for arts and crafts is at the heart of everything we do. We understand that the right tools and materials can make all the difference in your creative projects, so we take our responsibility as reviewers seriously. Our goal is to help you discover the best products that will inspire your creativity and bring your artistic visions to life.