How To Make Your Own Clay Out of Baking Soda

Ready for a super fun and easy DIY project? Let’s make our very own clay using baking soda. This is a fantastic project whether you’re a seasoned crafter or just starting out, and it’s great for kids, too, since all the ingredients are non-toxic. So, let’s get our hands a little dirty and make something cool!
Ingredients You’ll Need
First things first, you’ll need to gather your materials. For this project, you’ll need:
- Baking soda (about half a cup)
- Cornstarch (also about a quarter cup)
- Water (a quarter cup should do it)
- A saucepan
- A wooden spoon or fork for stirring
View this post on Instagram
How To Make the Clay
Alright, once you have all your ingredients and tools ready, let’s get to the mixing part. Start by measuring out the water and pour it into your saucepan. Next, take your baking soda and cornstarch and add them to the water in the pan. Just dump them right in there—no need for any fancy techniques.
Now, here’s where the magic starts to happen. Move your saucepan to the stove and set your burner to a low heat. You want it just warm enough to start the reaction but not so hot that it bubbles away into a science experiment gone wrong. With your wooden spoon or fork in hand, start stirring the mixture gently.
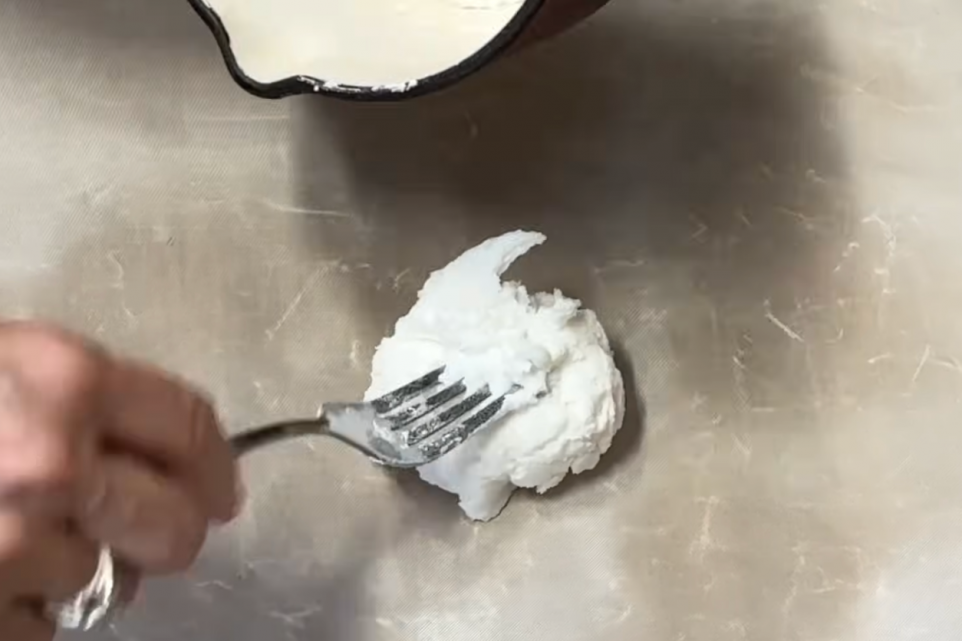
Keep that stirring action going. As the mixture heats up, you’ll notice it beginning to thicken. This is the cornstarch reacting with the water and heat, turning from a liquid into a more dough-like substance. It’s crucial to keep stirring to avoid any lumps or burning. The mixture will gradually thicken until it starts to pull away from the sides of the pan and clumps together into a doughy ball. This doesn’t take long—just a few minutes—so don’t wander off!

Once it reaches this stage, remove the saucepan from the heat. Carefully scoop out your clay and place it on a surface to cool down. You can use a silicone baking mat or a piece of parchment paper to keep it from sticking. Let it sit until it’s cool enough to handle. If you’re impatient like me, you might hover around waiting to get your hands on it!
Now’s the fun part—shaping your clay. You can start molding it into whatever shapes you like. If you want to add some color to your creations, now is the time to knead in some food coloring. I usually leave mine natural because I love that chic, minimalist look, but colors can make it extra fun, especially if you’re crafting with kids.

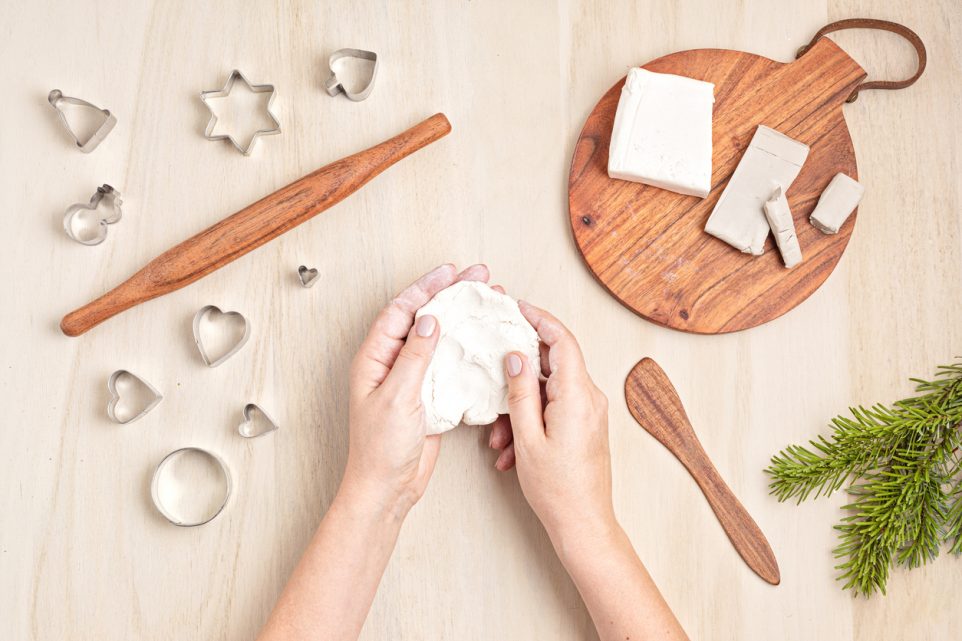
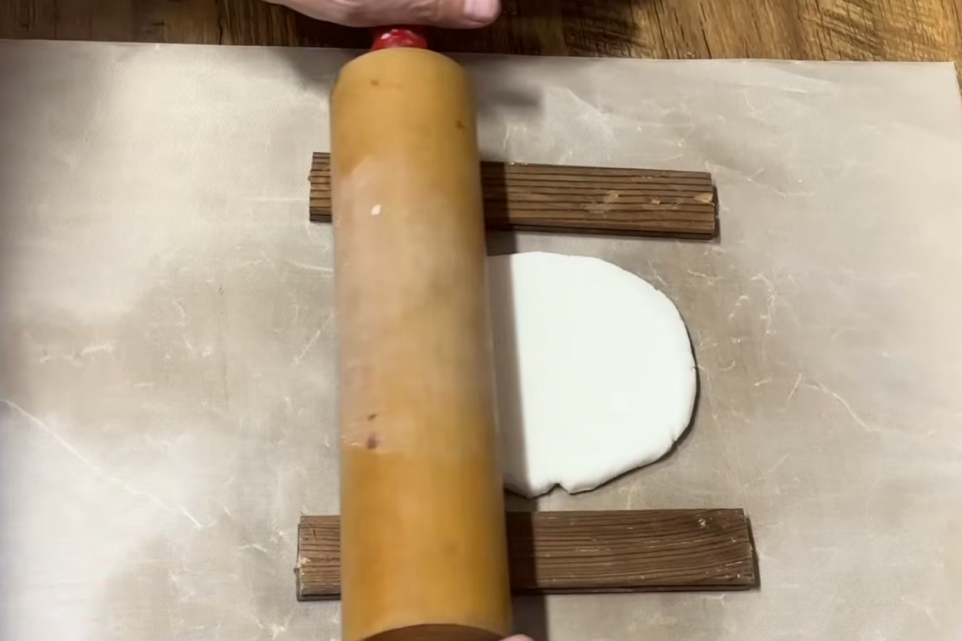
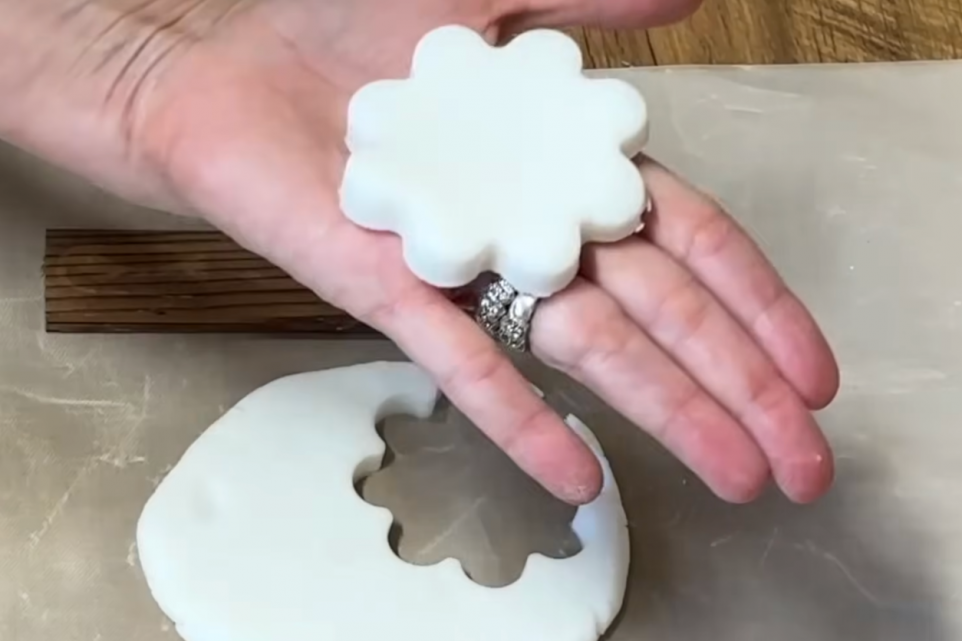
If you’re aiming for uniform thickness in your creations, rolling the clay out can help. You can use rolling pins or even just a smooth bottle to roll the clay flat. If you’ve ever baked cookies, here’s where it feels familiar! Grab some cookie cutters and start punching out shapes from the flattened clay.
Baking soda clay, also known as cold porcelain, is fantastic for detailed work. It holds impressions well, so it’s perfect for more intricate designs. You can use it with molds, as I’ve shown in some of my tutorials, to create beautiful, detailed pieces like decorative elements for picture frames or even jewelry.
Once you’ve shaped your creations, just leave them to air dry. This might take a day, depending on the size and thickness of your pieces. The air-drying part is super convenient—no oven or kiln needed, which makes this project accessible for everyone.

After your pieces have dried, you might find a few rough edges. A little sandpaper can smooth these out easily. If you’ve made ornaments or tags, you can drill a small hole before it dries completely, or just stick a piece of twine on with a dab of glue.
And there you have it—your very own homemade baking soda clay creations, ready for whatever use you had in mind. From hanging ornaments to custom coasters, the possibilities are endless. I’d love to see what you come up with, so don’t hesitate to drop a comment below or share your projects with me. Happy crafting, and see you in the next DIY adventure!
Trusted Insights from Artists
At Art Life Today, our passion for arts and crafts is at the heart of everything we do. We understand that the right tools and materials can make all the difference in your creative projects, so we take our responsibility as reviewers seriously. Our goal is to help you discover the best products that will inspire your creativity and bring your artistic visions to life.