How To Make Beautiful Plates Out of Paper Clay
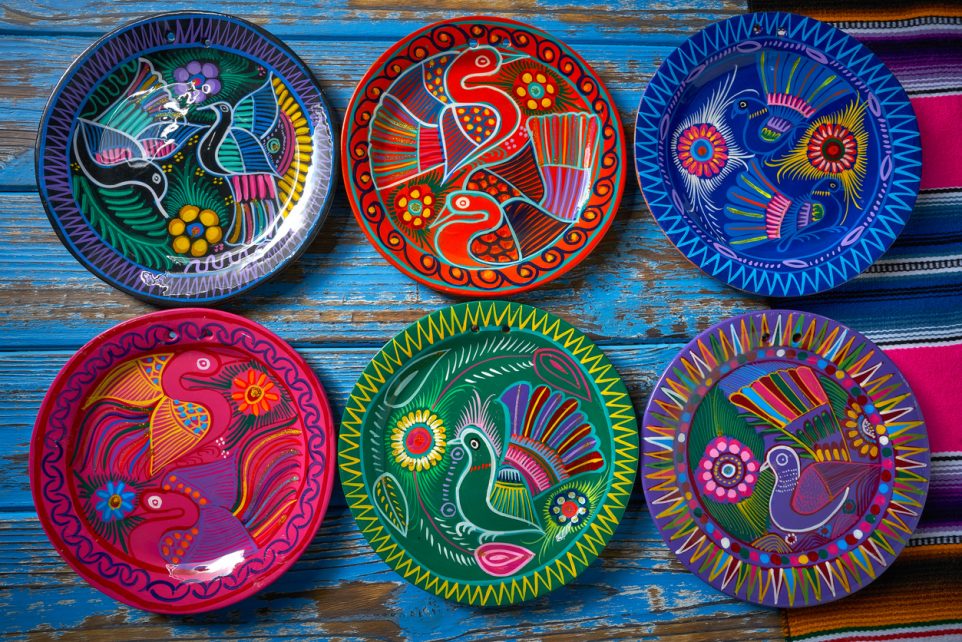
Creating your own DIY plates using paper clay is a fun and rewarding project that lets you combine creativity with practicality. Here’s a detailed guide on how to craft your own unique plates from paper clay.
Materials Needed
- Paper clay
- Rolling pin
- Bowl (for cutting and molding)
- Stencil (with your chosen design)
- Shallow bowl (for shaping the plate)
- Multi-surface metallic paint
- Sandpaper
- Cutting tool (like a knife or clay cutter)
- Work mat
Step-by-Step Process
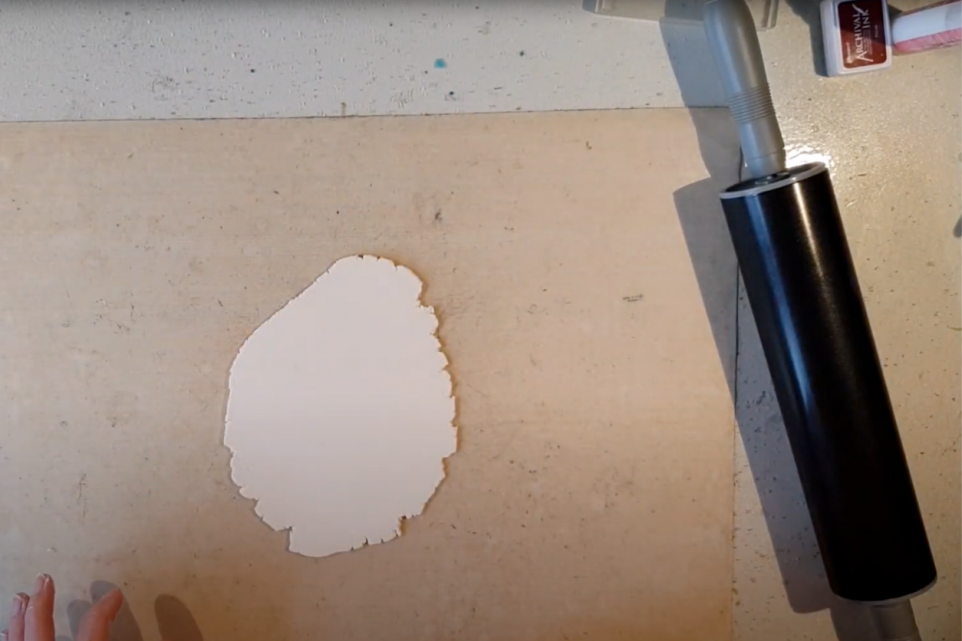
Step 1: Preparing the Paper Clay
Start by taking a lump of paper clay and rolling it out into a thin sheet on your work mat. The goal is to roll it out evenly to help it dry out a little. This also makes it easier to work with and reduces the risk of cracking.
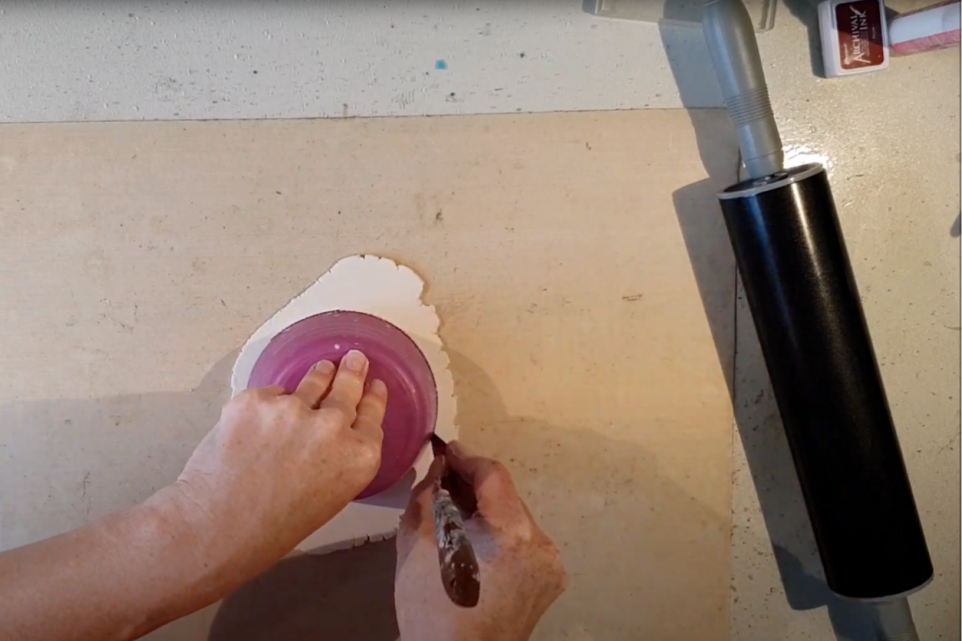
Step 2: Cutting Out the Plate Shape
Choose a bowl that you like for the size and shape of your plate. Place the bowl upside down on the rolled-out clay and use it as a guide to cut out a perfect circle. A sharp knife or clay cutter works best for this. Remove the excess clay around your cut-out circle.
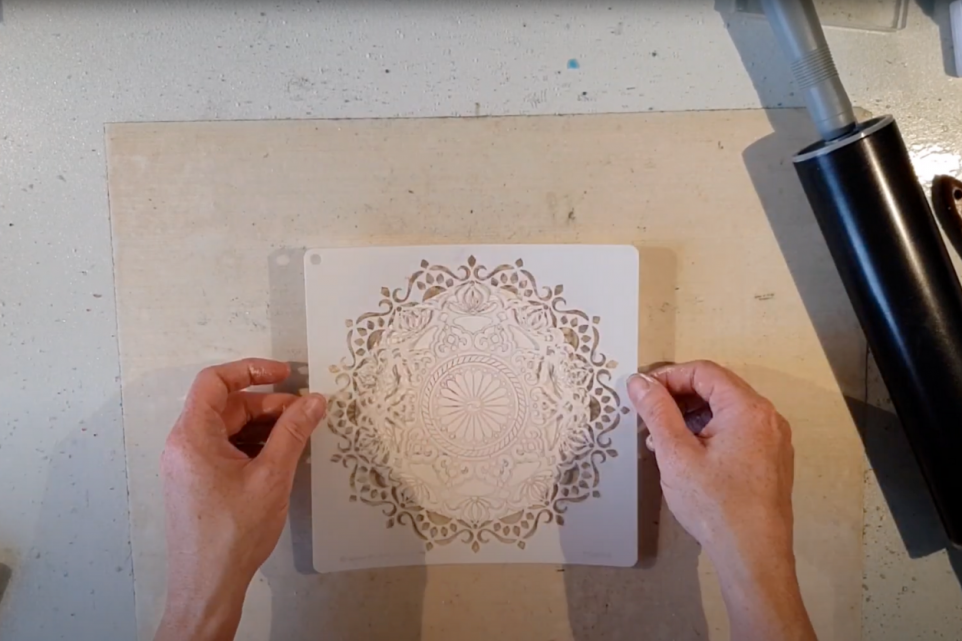
Step 3: Adding a Design
Now that you have your clay circle, it’s time to add some flair. Take a stencil with a design of your choice and place it carefully on top of the clay circle. Using a rolling pin, gently press the stencil into the clay. This step requires a steady hand to ensure the stencil’s design is imprinted evenly without breaking the clay.
Step 4: Refining the Shape
After imprinting the design, slowly and carefully remove the stencil to avoid breaking the clay. If the edges of your circle have become a bit uneven from the rolling, use your cutting tool to trim and refine them back to a perfect circle.
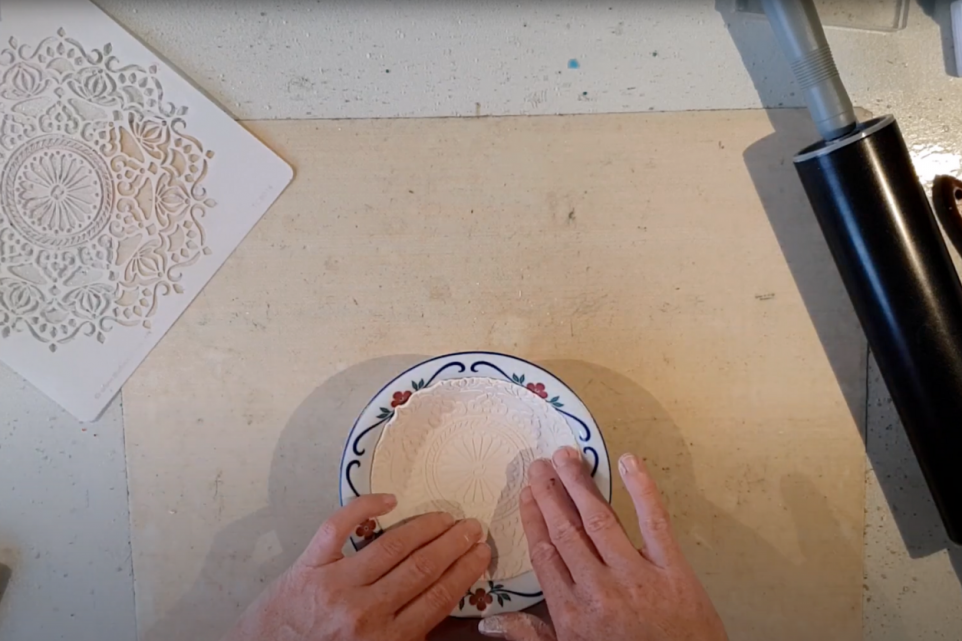
Step 5: Shaping the Plate
Next, gently lift the clay circle from the work mat and place it inside a shallow bowl. This bowl will act as your mold, giving the plate its final shape. Carefully pat the edges of the clay so they lay smoothly against the bowl without any crimping. Adjust the clay as needed to ensure it is centered and evenly pressed against the bowl.
Step 6: Drying the Plate
Allow your clay plate to dry in the bowl mold for several hours. The drying time can vary depending on the thickness of the clay and the humidity in your environment, so be patient. Ensure it’s completely dry before moving to the next step to avoid any breakage.
Step 7: Smoothing the Edges
Once the clay is fully dried, gently remove it from the bowl mold. The plate might feel fragile, so handle it with care. Use sandpaper to smooth out the edges of the plate, making sure there are no rough spots or sharp edges.
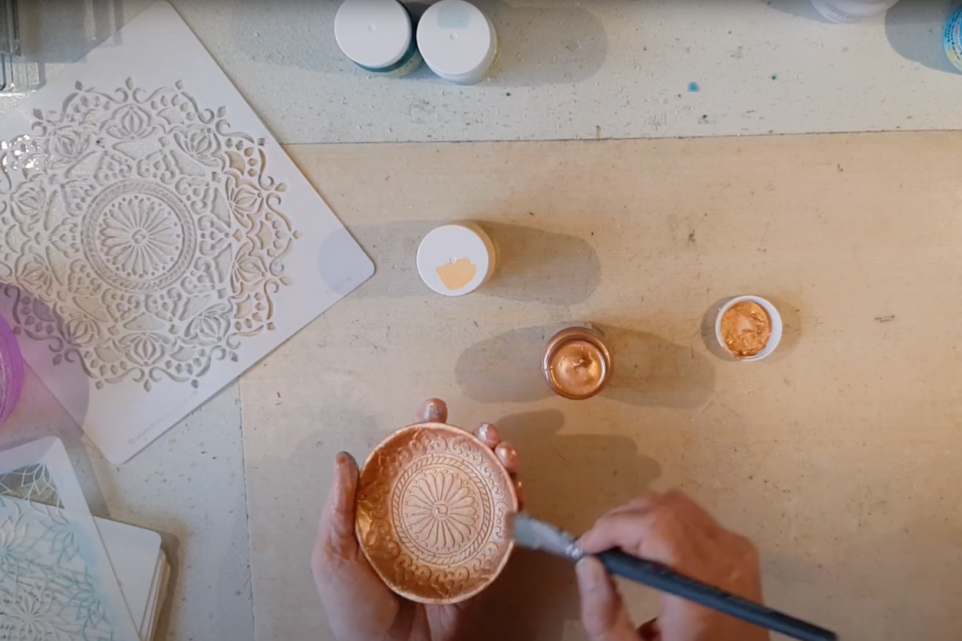
Step 8: Painting the Plate
Now it’s time to add some color. Using multi-surface metallic paint, start painting one side of the plate. Apply the paint evenly and let it dry completely before flipping the plate to paint the other side. This ensures a smooth and professional finish. Depending on the paint, you might need to apply multiple coats, so follow the instructions on the paint can for the best results.
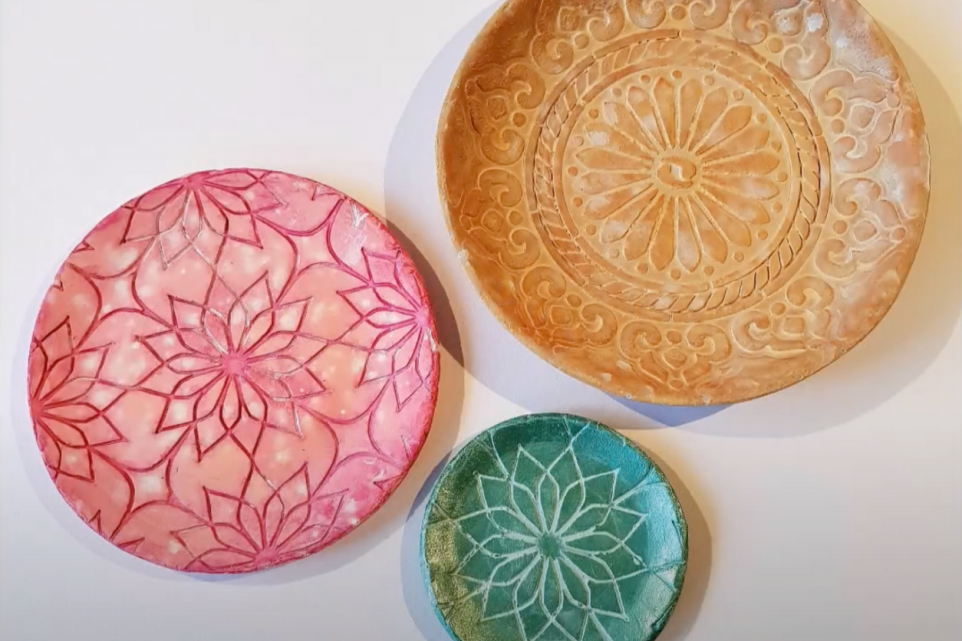
Final Touches
After the paint has dried thoroughly on both sides, your DIY paper clay plate is ready to use or display. The metallic finish adds a chic, modern look, making it a perfect piece for any setting. Creating your own plates from paper clay is a delightful project that not only enhances your crafting skills but also adds a personalized touch to your home decor.
Trusted Insights from Artists
At Art Life Today, our passion for arts and crafts is at the heart of everything we do. We understand that the right tools and materials can make all the difference in your creative projects, so we take our responsibility as reviewers seriously. Our goal is to help you discover the best products that will inspire your creativity and bring your artistic visions to life.