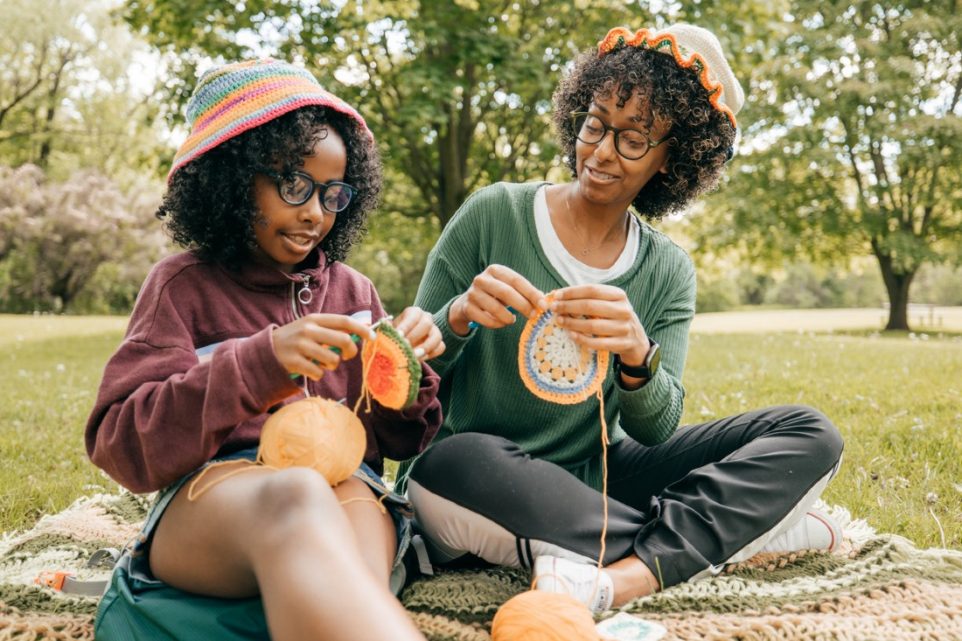
A Beginner’s Guide To Making a Crochet Bucket Hat

If you’ve been eyeing those cute crochet bucket hats floating around and thinking, “Hey, I could make that!”—you’re absolutely right. Crocheting a bucket hat isn’t just for the pros; it’s a fun project that even newbies to the crochet world can tackle with a bit of guidance. Let me walk you through how to craft your own crochet bucket hat, stitch by stitch.
Getting Started: What You’ll Need
First off, let’s talk about materials. You’ll need about 170 yards of cotton, so one ball should do the trick unless you’re mixing colors.
- Mercerized cotton yarn
- Hook: Size J (6.0 mm) or whatever gets you the right gauge
- Other tools: Tapestry needle, stitch markers (in a couple of colors)
Step 1: Crafting the Top of Your Hat
Start with a magic loop. It’s a handy technique for starting projects that work in rounds because it allows you to pull the center tight, eliminating any hole at the top of your hat. Work 6 single crochets (sc) into this loop.
Foundation Round Alternative: If the magic loop isn’t your jam, chain 4, slip stitch (slst) to form a loop, and make 6 sc into this loop.
Step 2: Working the Increase Rounds
- Round 2: Make 2 sc in each stitch around (you’ll have 12 stitches).
- Round 3 and beyond: Continue to increase in every round. For a smooth and even increase, spread your increases evenly around each round. By the time you’re a few rounds in, your work should start to look like the top of a hat.
Step 3: Creating the Bucket
Once your top is the size you need (check your head size and hat measurements!), stop increasing. Just crochet one sc in each stitch around until the bucket part reaches your desired depth. This is straightforward—just round and round you go.
Step 4: Adding the Brim
The brim is where you get a little more creative with increases to get it to flare out. Start by crocheting one or two rounds without increases to stabilize the edge of the bucket. Then, begin to increase at regular intervals to create a gentle flare. Don’t go too wild here; subtle increases are enough to give it that classic bucket hat shape.
Step 5: Finishing Touches
Once your brim is as wide as you like:
- Finish off with a slip stitch in the next two stitches to taper off the final round.
- Cut your yarn, leaving a long tail.
- Pull the tail through the loop on your hook to secure it.
- Weave in your ends with a tapestry needle.
Reverse Single Crochet Edge: For a nice finished edge, try a round of reverse single crochet (also known as crab stitch) around the final edge of the brim.
Pro Tips
- Check Your Gauge: Make sure to check your gauge. This isn’t just busywork; it ensures your hat comes out the right size.
- Color Changes: If you’re using multiple colors, try to plan your changes at the end of a round to keep things neat.
- Keeping It Tight: Ensure your stitches are tight enough to give the hat structure but loose enough to keep it comfy.
Customizing Your Bucket Hat
Here’s where you can really have some fun:
- Play with Colors: Mix and match colors, create stripes, or use ombre yarns.
- Experiment with Textures: Try using different crochet stitches to add texture to your hat.
- Add Appliques: Flowers, stars, or even your initials can make your hat truly one-of-a-kind.
So, there you have it—your own handmade crochet bucket hat! Whether you’re hitting the beach or just chilling in the backyard, this hat is sure to add a splash of style and a ton of fun to your summer wardrobe. Remember, crocheting is supposed to be relaxing, so take it one stitch at a time and enjoy the process.
Trusted Insights from Artists
At Art Life Today, our passion for arts and crafts is at the heart of everything we do. We understand that the right tools and materials can make all the difference in your creative projects, so we take our responsibility as reviewers seriously. Our goal is to help you discover the best products that will inspire your creativity and bring your artistic visions to life.