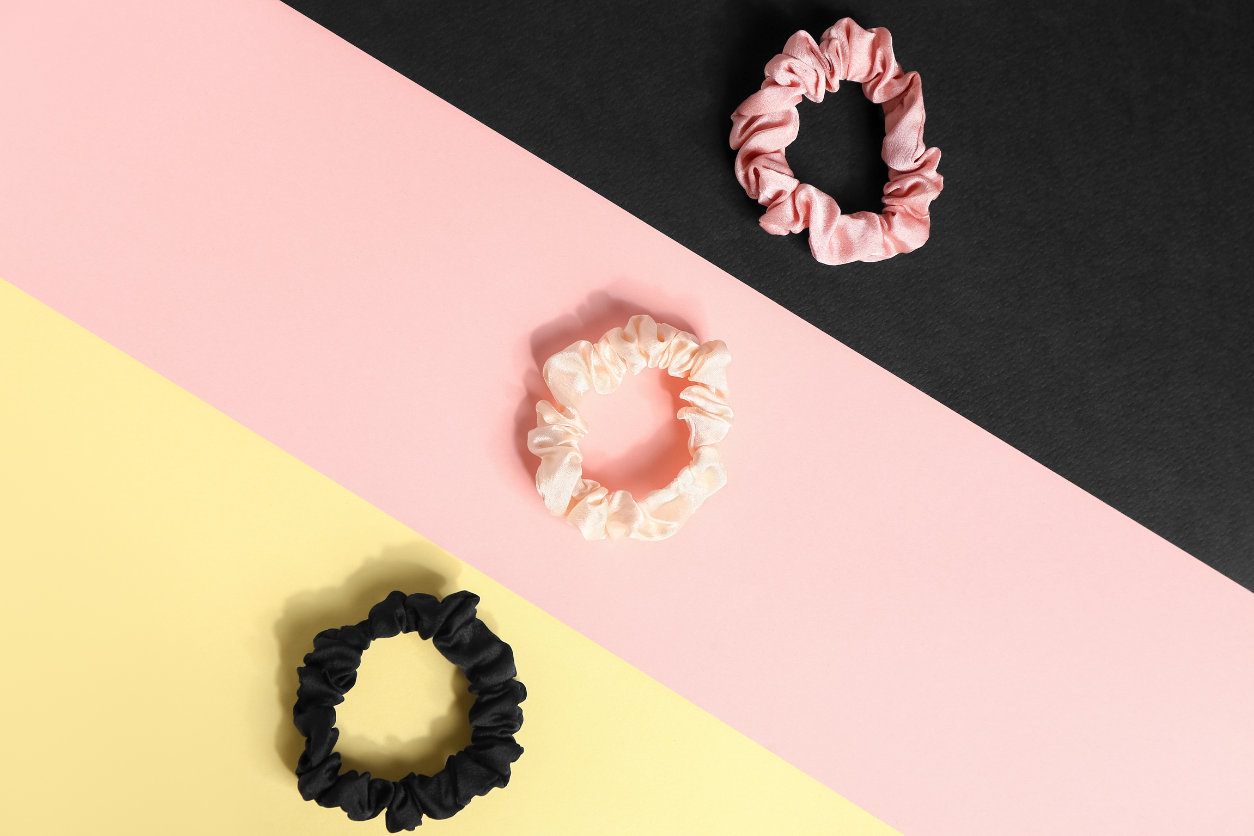
How To Make a Silk Hair Scrunchie

Silk scrunchies have become a staple in my nighttime routine, particularly because I’ve got long hair that likes to do its own thing while I sleep. If you’ve ever woken up with a tangled mess instead of locks, you know the struggle! That’s why I turned to a silk hair scrunchie—it prevents breakage and maintains the sleek texture of my hair throughout the night.
Finding true silk scrunchies can be a challenge, though. Many products marketed as ‘silk’ are often imitations that don’t offer the same benefits. Frustrated by the options available and inspired by the scraps of fabric from my other projects, I decided to take matters into my own hands. Making your own silk scrunchies not only ensures you’re getting the real deal but also opens up a world of possibilities. You can choose from endless designs and prints, making each scrunchie uniquely yours. Plus, it’s a fantastic way to repurpose those leftover fabric pieces into something both cute and functional.
Let’s learn how to make your own silk scrunchies, a fun DIY project that’s perfect for both beginners and seasoned crafters. This guide will walk you through creating a hair accessory that you’ll love to wear day and night.
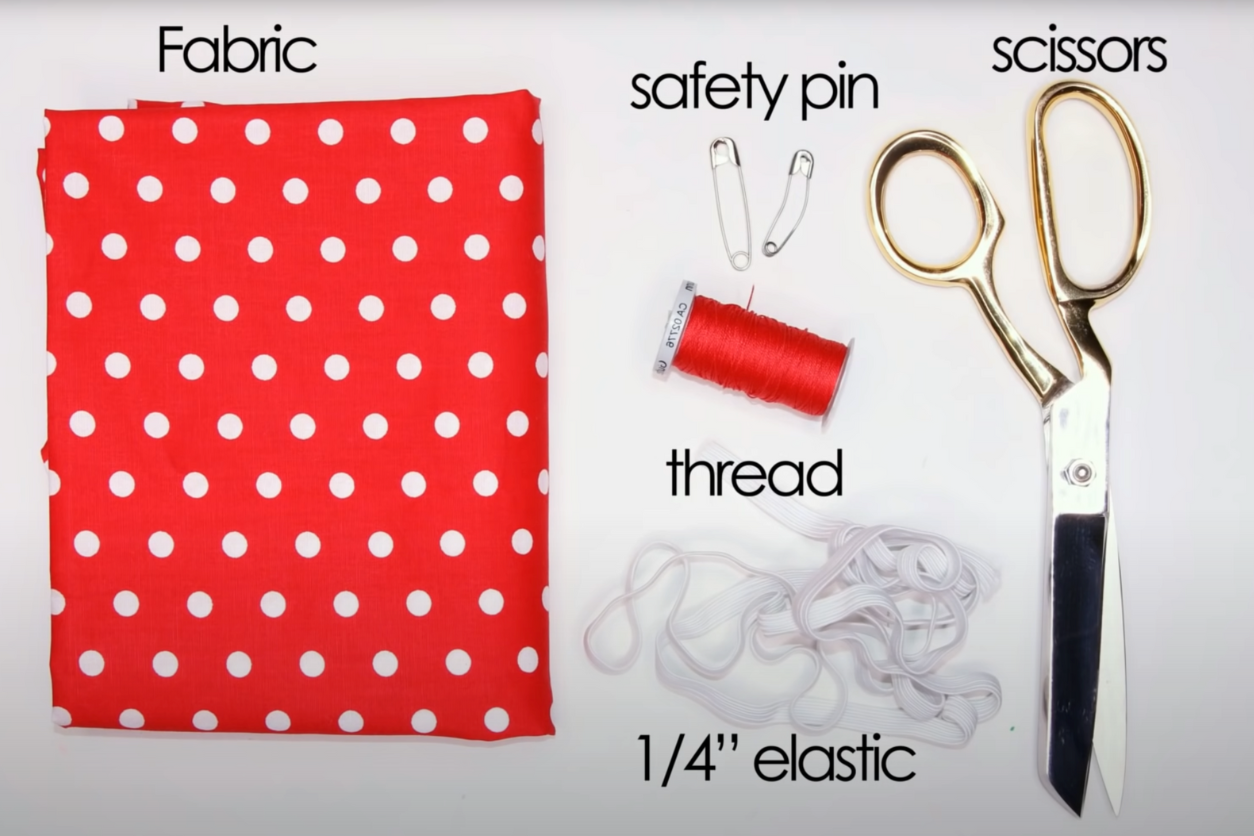
Materials Needed

- Silk fabric, 22 inches by 3.5 inches
- Elastic band, 9 inches long
- Thread that matches your fabric
- Needle or sewing machine
- Safety pin
- Scissors
Steps to Make a Silk Hair Scrunchie
Creating your own silk scrunchie is not only fun but also a gentle choice for hair care. Here’s a step-by-step guide to crafting a stylish silk scrunchie:
1. Prepare the Fabric
Cut your silk fabric to the specified dimensions. Since silk won’t fray much, you don’t need to finish the edges, but if you’re using a fraying fabric, fold over the short ends by ½ inch and press.
2. Fold and Pin
Fold the fabric lengthwise, right sides together, and pin along the long edge. Ensure the fabric’s print side (if it has one) is inside.
3. Sew the Long Edge
Sew along the pinned edge with an ¼ inch seam allowance, leaving both ends open. This can be done with a sewing machine or by hand using a back stitch for durability or a running stitch if you’re a beginner.
4. Turn Right Side Out
Turn the fabric tube right side out using a safety pin or a loop turner hook. Attach the safety pin to one end and carefully pull it through the tube.
5. Press the Fabric Tube
Iron the fabric tube to smooth out any wrinkles, especially along the seam. This helps in giving your scrunchie a neat finish.
6. Insert the Elastic
Attach a safety pin to one end of the elastic and thread it through the tube. Once the elastic is through, overlap the ends by about ½ inch and sew them together securely, or you can tie a knot if you’re in a hurry. However, sewing is recommended for a flat, comfortable fit inside the scrunchie.
7. Finish the Ends
Align the raw edges of the fabric tube, tucking one end into the other about ½ inch to conceal the raw edges, and sew around the circumference either by machine or with a hand ladder stitch for an invisible finish.
Additional Tips
- For a professional touch, you might consider top-stitching around the scrunchie or adding embellishments like beads or sequins
- Experiment with different fabrics and prints for various occasions, matching them with your outfits or even making them as gifte
This project offers a great way to create custom hair accessories that are gentle on your hair, fashionable, and practical. Whether you’re crafting for personal use or as gifts, homemade scrunchies add a personalized touch to your style.
Trusted Insights from Artists
At Art Life Today, our passion for arts and crafts is at the heart of everything we do. We understand that the right tools and materials can make all the difference in your creative projects, so we take our responsibility as reviewers seriously. Our goal is to help you discover the best products that will inspire your creativity and bring your artistic visions to life.