How to Sew Animal Finger Puppets
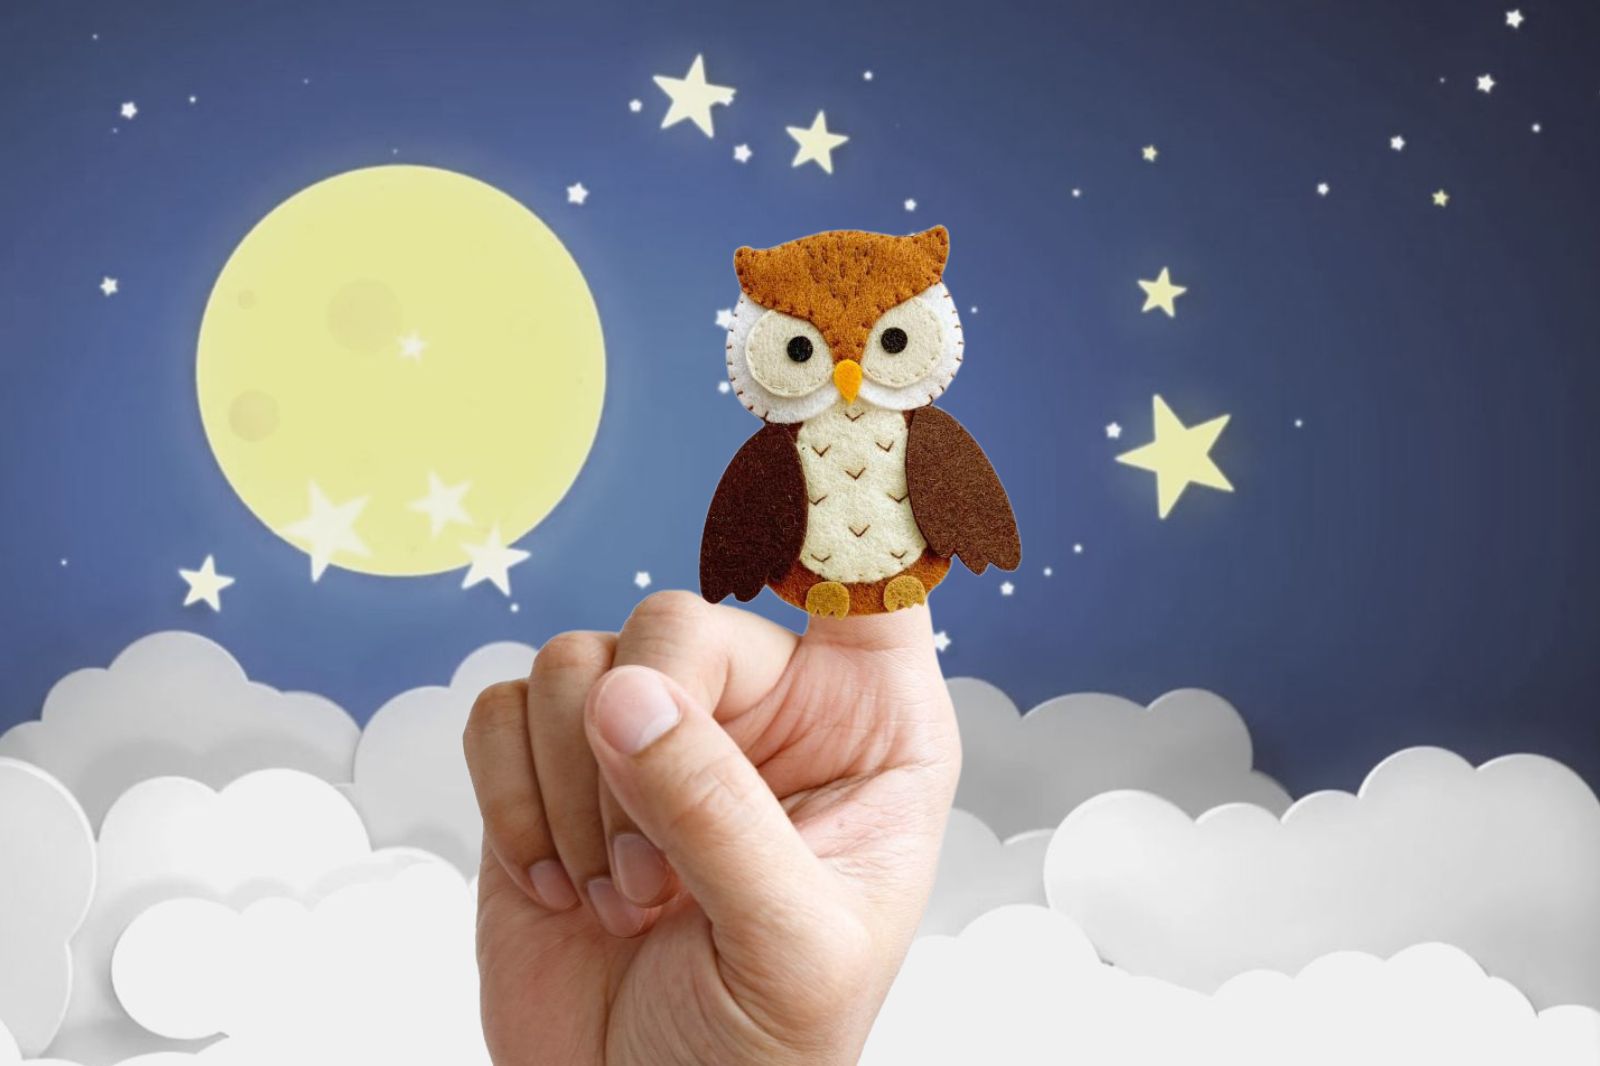
Sewing cute animal finger puppets is a delightful craft that brings joy to both children and adults. These little creations are perfect for kids to play with, using in little puppet shows, or incorporating in fun videos. Whether you’re a seasoned crafter or just starting out, this step-by-step guide will walk you through the process of making your very own animal finger puppets.
Materials You’ll Need
- Felt Fabric: Choose a variety of colors to represent different animals. Felt is ideal because it doesn’t fray and is easy to work with.
- Thread: Use thread that matches your felt colors.
- Needles: A basic sewing needle will do, but a tapestry needle can be useful for hand stitching.
- Scissors: For cutting out your fabric pieces.
- Fabric Glue: Useful for securing small pieces.
- Stuffing: A small amount of polyester stuffing can help give your puppets some shape, though this is optional.
- Buttons or Beads: For eyes, if desired.
- Patterns: You can either create your own or use pre-made templates.
Step 1: Choose Your Animal and Create a Pattern
Before you start sewing, decide which animal you’d like to make. Popular choices include cats, dogs, and bunnies, but the possibilities are endless. To create your pattern, draw the outline of your animal on a piece of paper. Keep the design simple and neat to make sewing easier. If you prefer, you can find downloadable templates online or in craft books.
Step 2: Cut Out the Felt Pieces
Using your pattern, cut out the felt pieces for your animal puppet. You’ll need at least two identical pieces for the body, and additional pieces for features such as ears, eyes, and tails. For example, if you’re making a bunny, cut out two body pieces, two ears, and small circles for the eyes. You can also choose to glue on googly eyes or beads for eyes and other small details.
Step 3: Assemble the Features
Before sewing the body pieces together, attach the animal’s features. For a bunny, sew or glue on the ears, eyes, and any other details like a nose or mouth. If you’re using buttons or beads for eyes, secure them in place with a few stitches or fabric glue. Make sure the features are firmly attached but don’t forget to leave space for the puppet’s opening.
Step 4: Sew the Body Pieces Together
Once the features are in place, it’s time to sew the body pieces together. Place the two body pieces on top of each other, aligning the edges. Using a simple running stitch or a whip stitch. Sew around the edge. Be sure to make small, even stitches for a neat finish. Then you can also add additional details, such as a tail or paws, by sewing or gluing on extra pieces of felt.
Step 6: Test Your Puppet
Slide your finger into the bottom opening of the puppet to test the fit. Make sure it’s comfortable and that the features are securely attached. If necessary, adjust the size of the opening or reinforce any loose parts.
Step 7: Make More Puppets
Once you’ve mastered one animal puppet, why not create a whole collection? Try making different animals or even a set of characters for a puppet show.
Tips for Successful Puppet Making
- Use Sharp Scissors: Sharp scissors will give you clean cuts and make the sewing process smoother.
- Take Your Time: Don’t rush the process. Carefully sewing each part will result in a more polished puppet.
- Experiment with Embellishments: Add small embellishments like ribbons, fabric scraps, or sequins to give your puppets extra personality.
- Involve Kids: If you’re crafting with children, let them choose the colors and help with simple tasks like gluing on features.
Final Thoughts
Creating animal finger puppets is a fantastic way to enjoy crafting. They’re great for young children to play with as well as to have to display as cute decor. With just a few materials and some creativity, you can bring a menagerie of delightful characters to life.
Trusted Insights from Artists
At Art Life Today, our passion for arts and crafts is at the heart of everything we do. We understand that the right tools and materials can make all the difference in your creative projects, so we take our responsibility as reviewers seriously. Our goal is to help you discover the best products that will inspire your creativity and bring your artistic visions to life.