Easy DIY Dried Flower Boutonnières for Your Wedding
Did you know making dried boutonnières only takes an hour or two of your time but lasts forever? Creating memorable floral details for your wedding doesn’t have to be complex or expensive. Dried flower boutonnières offer a charming, rustic alternative to traditional fresh blooms. Perfect for adding a unique touch to your special day, dried flower boutonnières are not only budget-friendly but also make beautiful keepsakes. Here’s a step-by-step guide to help you create easy, elegant dried flower boutonnières for your wedding.
Why Choose Dried Flower Boutonnières?
Dried flower boutonnières are a stylish choice for weddings for several reasons:
- Longevity: Unlike fresh flowers, dried blooms will last longer. They can be prepared well in advance and serve as mementos afterward.
- Customization: Dried flowers come in various shapes and colors. This allows you to create personalized, unique designs that match your wedding theme.
- Cost-Effective: You can buy flowers yourself and dry/press them, go outside and pick them, and even create a collection over time to use before the wedding. Making boutonnières yourself also cuts the cost of using a florist. This is a great option for those on a budget.
Materials Needed
To create dried flower boutonnières, you’ll need the following materials:
- Dried Flowers: Choose a variety of dried blooms such as baby’s breath, lavender, limonium, strawflowers, blue delphinium, or spray roses. Do not forget to press and dry small twigs of greens of your choice. I recommend eucalyptus (any variety works). Dried Israeli ruscus also works.
- Thin Floral Wire: If you need to, use wire to poke through certain buds and wrap around stems.
- Floral Tape: For wrapping the stems and giving the boutonnières a polished look.
- Scissors or Wire Cutters: To trim the flowers and wire.
- Glue Gun: Optional, for adding extra embellishments.
- Ribbon or Twine: Optional, for finishing touches and additional decoration.
Step-by-Step Instructions
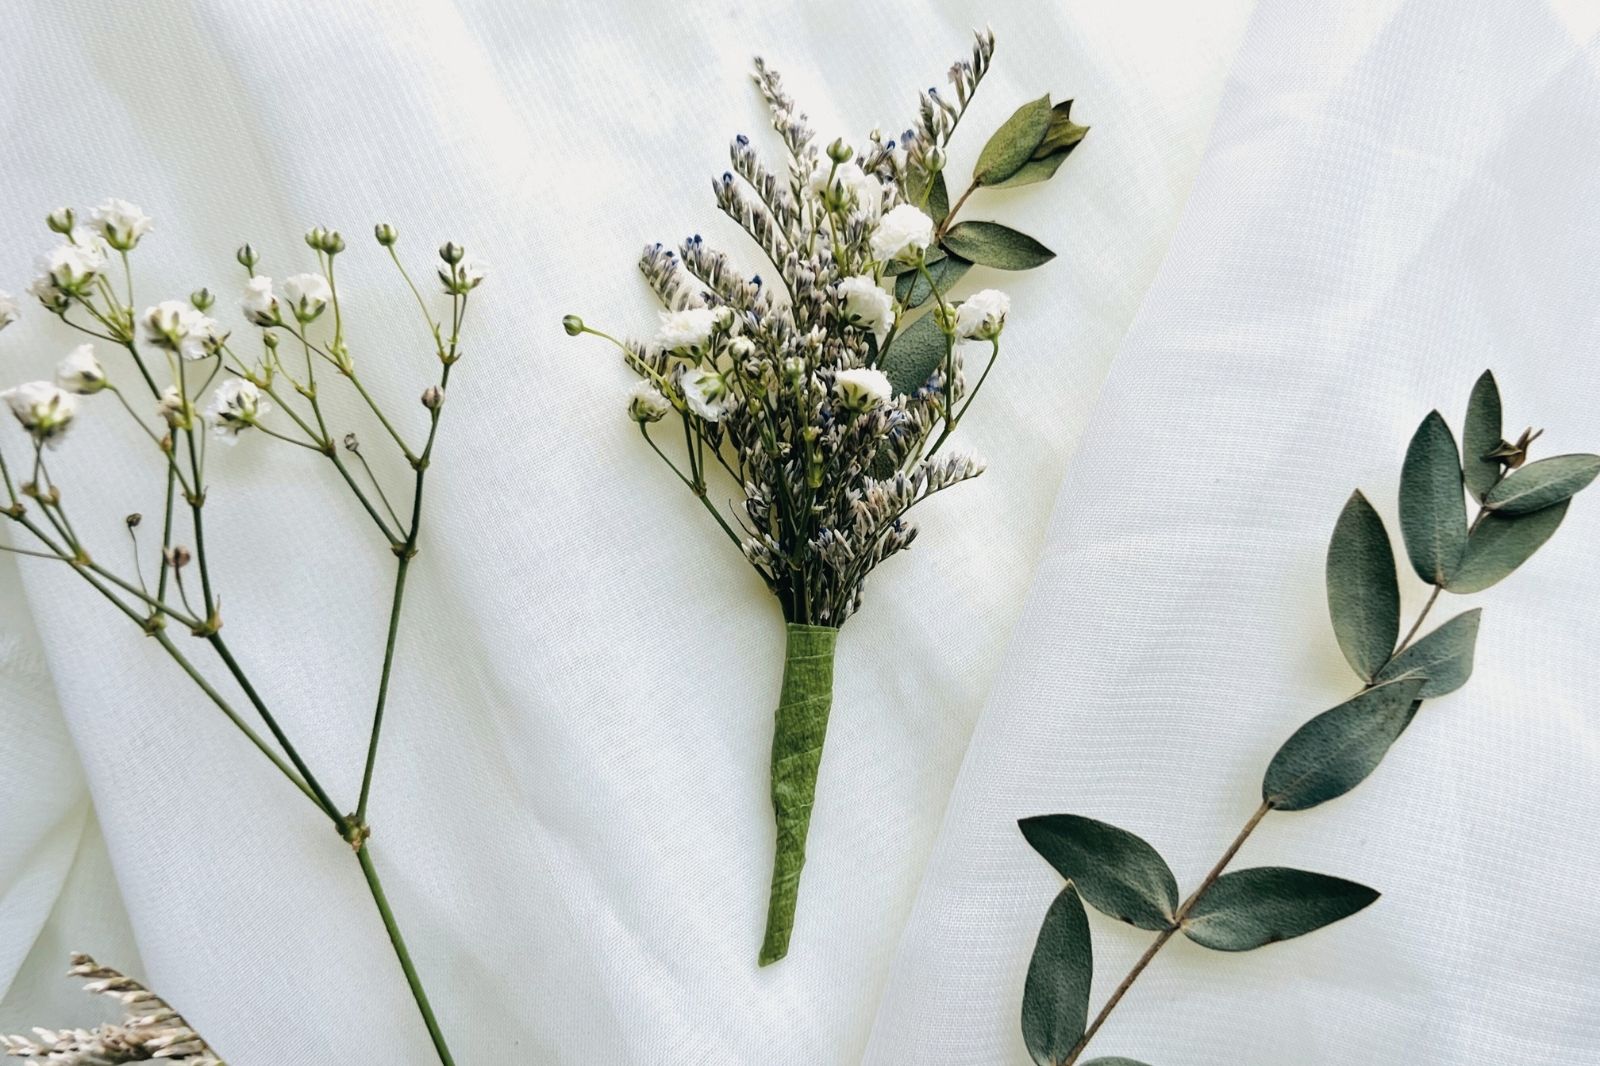
1. Select and Prepare Your Dried Flowers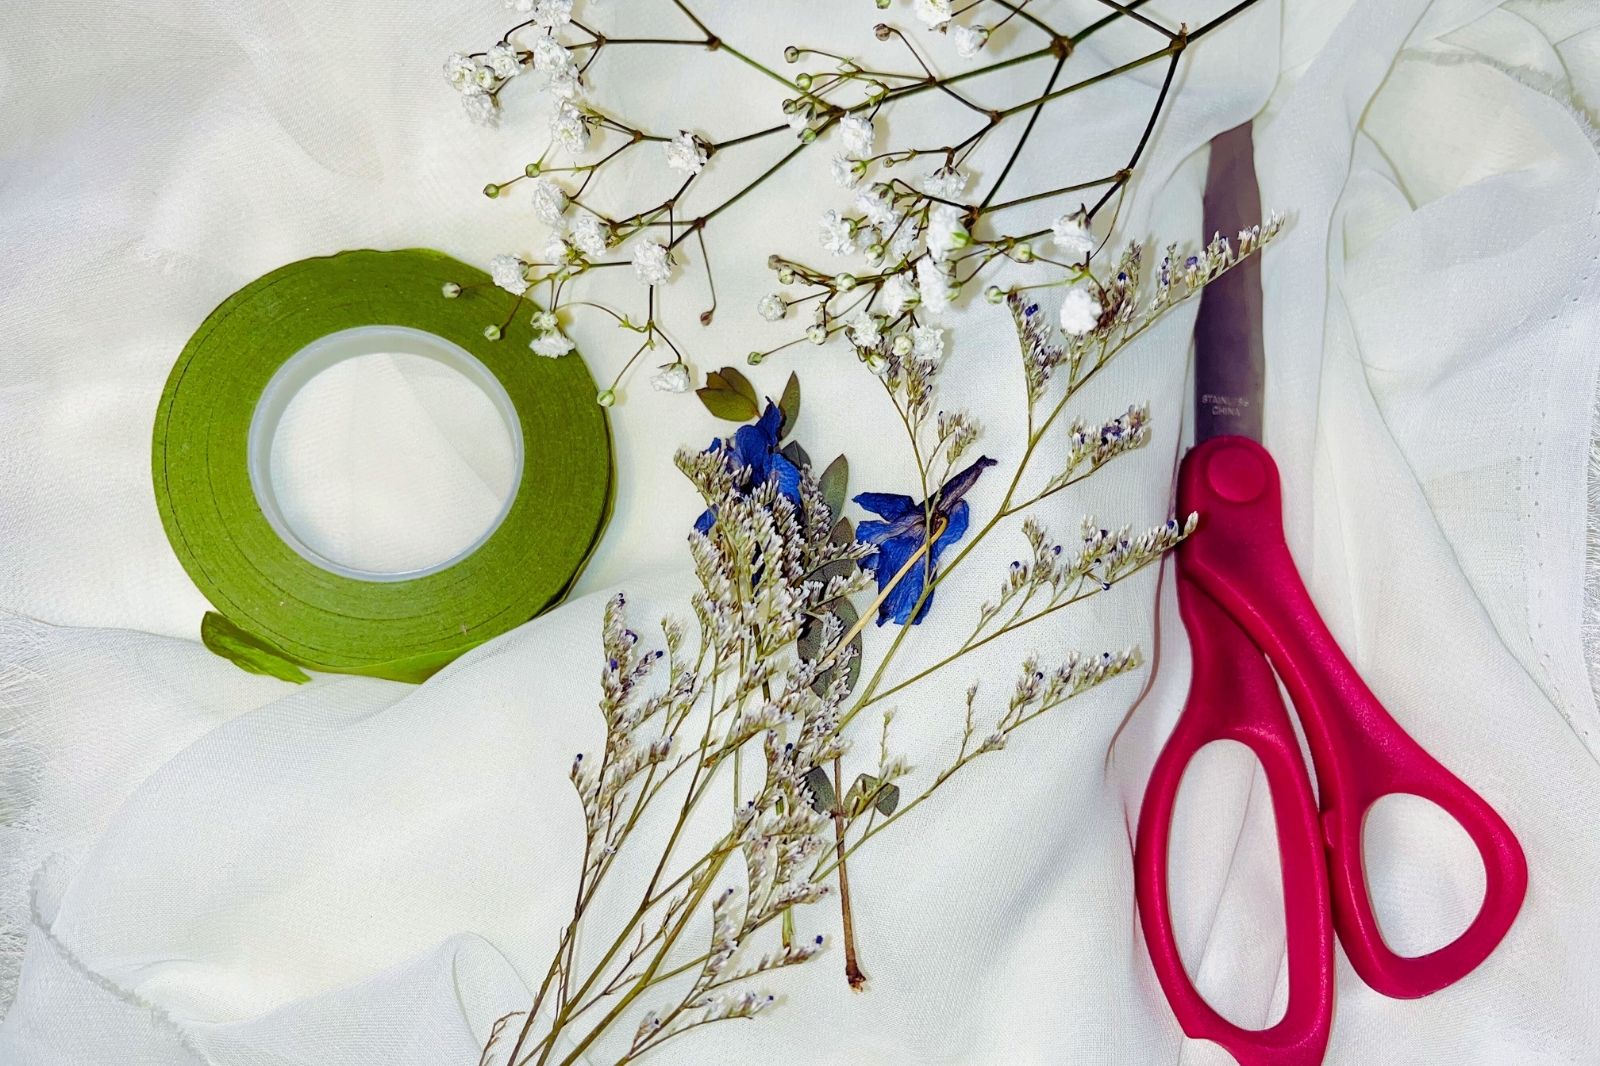 Start by choosing a selection of dried flowers that match your wedding theme or color scheme. Consider using a mix of textures and sizes for visual interest. The flowers shown in the photo are dried purple limonium, dried baby’s breath, and pressed blue delphinium buds for the groom’s boutonnière. I’ve also used a stem of gunni eucalyptus for the greens. Gather the rest of your materials as well.
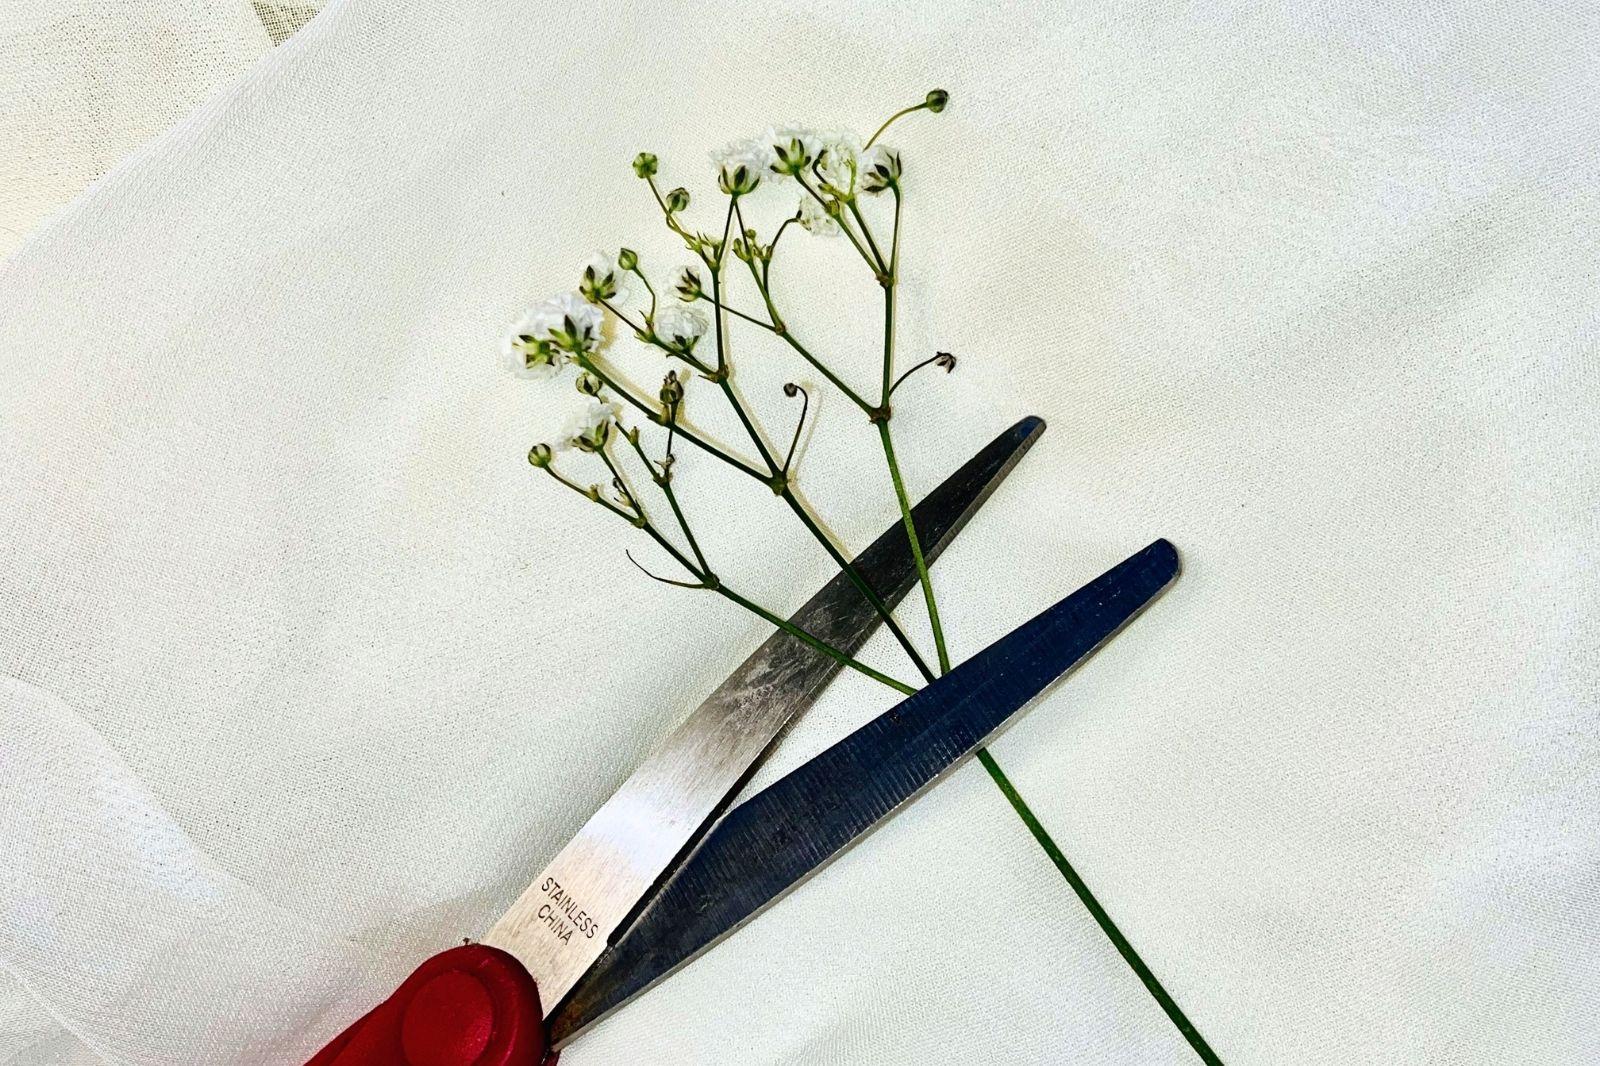
2. Create a Basic Flower Cluster
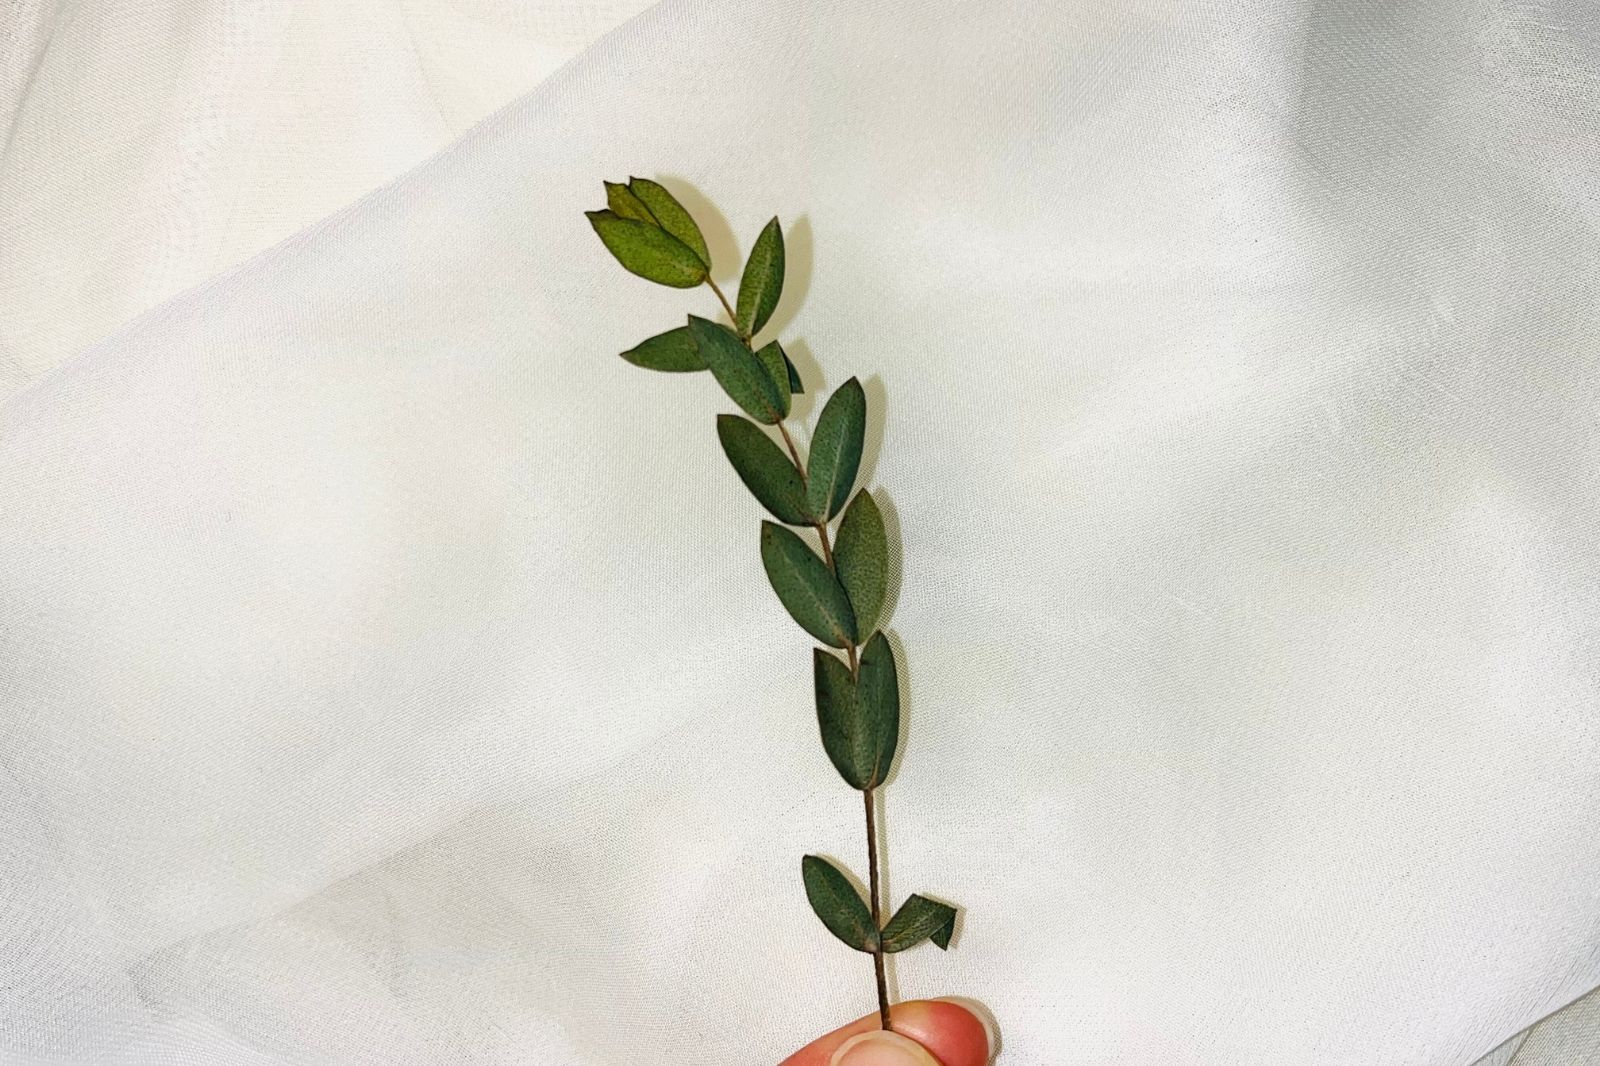
Start with your pressed green to serve as a backdrop. Then arrange your chosen dried flowers in a small cluster. Cut small pieces to work with.
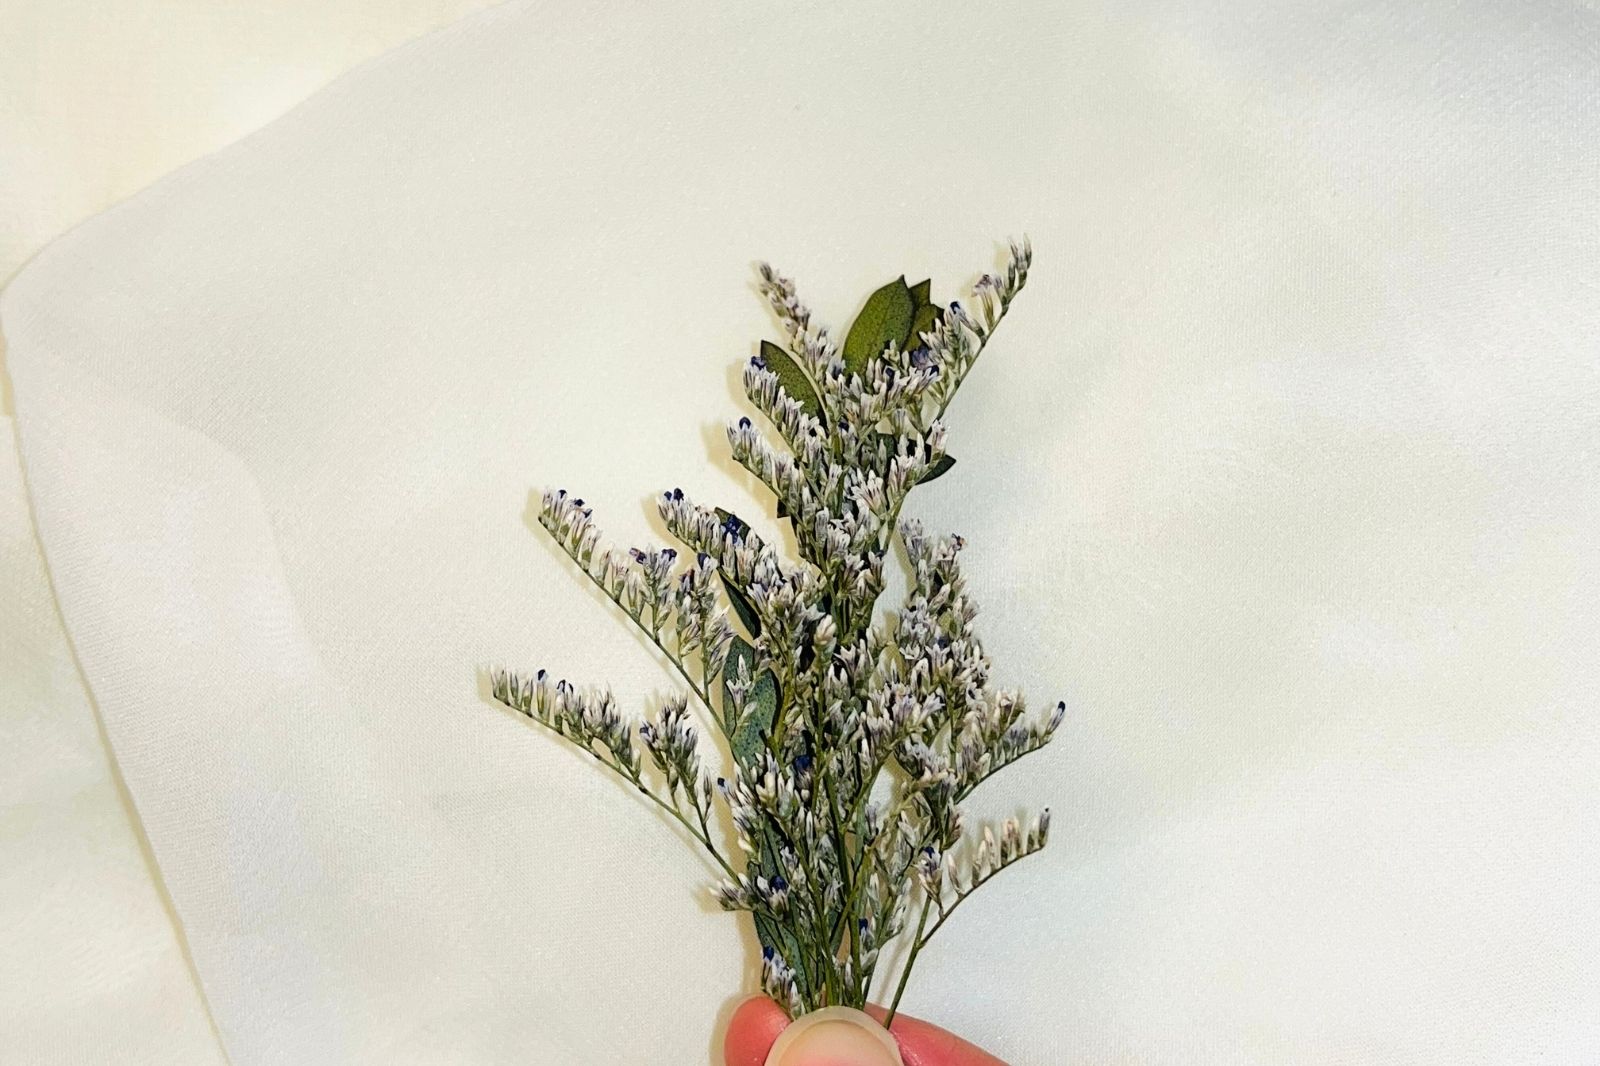
3. Add Accent Flowers
Position the largest flower/main flower as the focal point and surround it with smaller accent blooms. Experiment with different arrangements until you find one that looks balanced.
4. Secure with Floral Tape
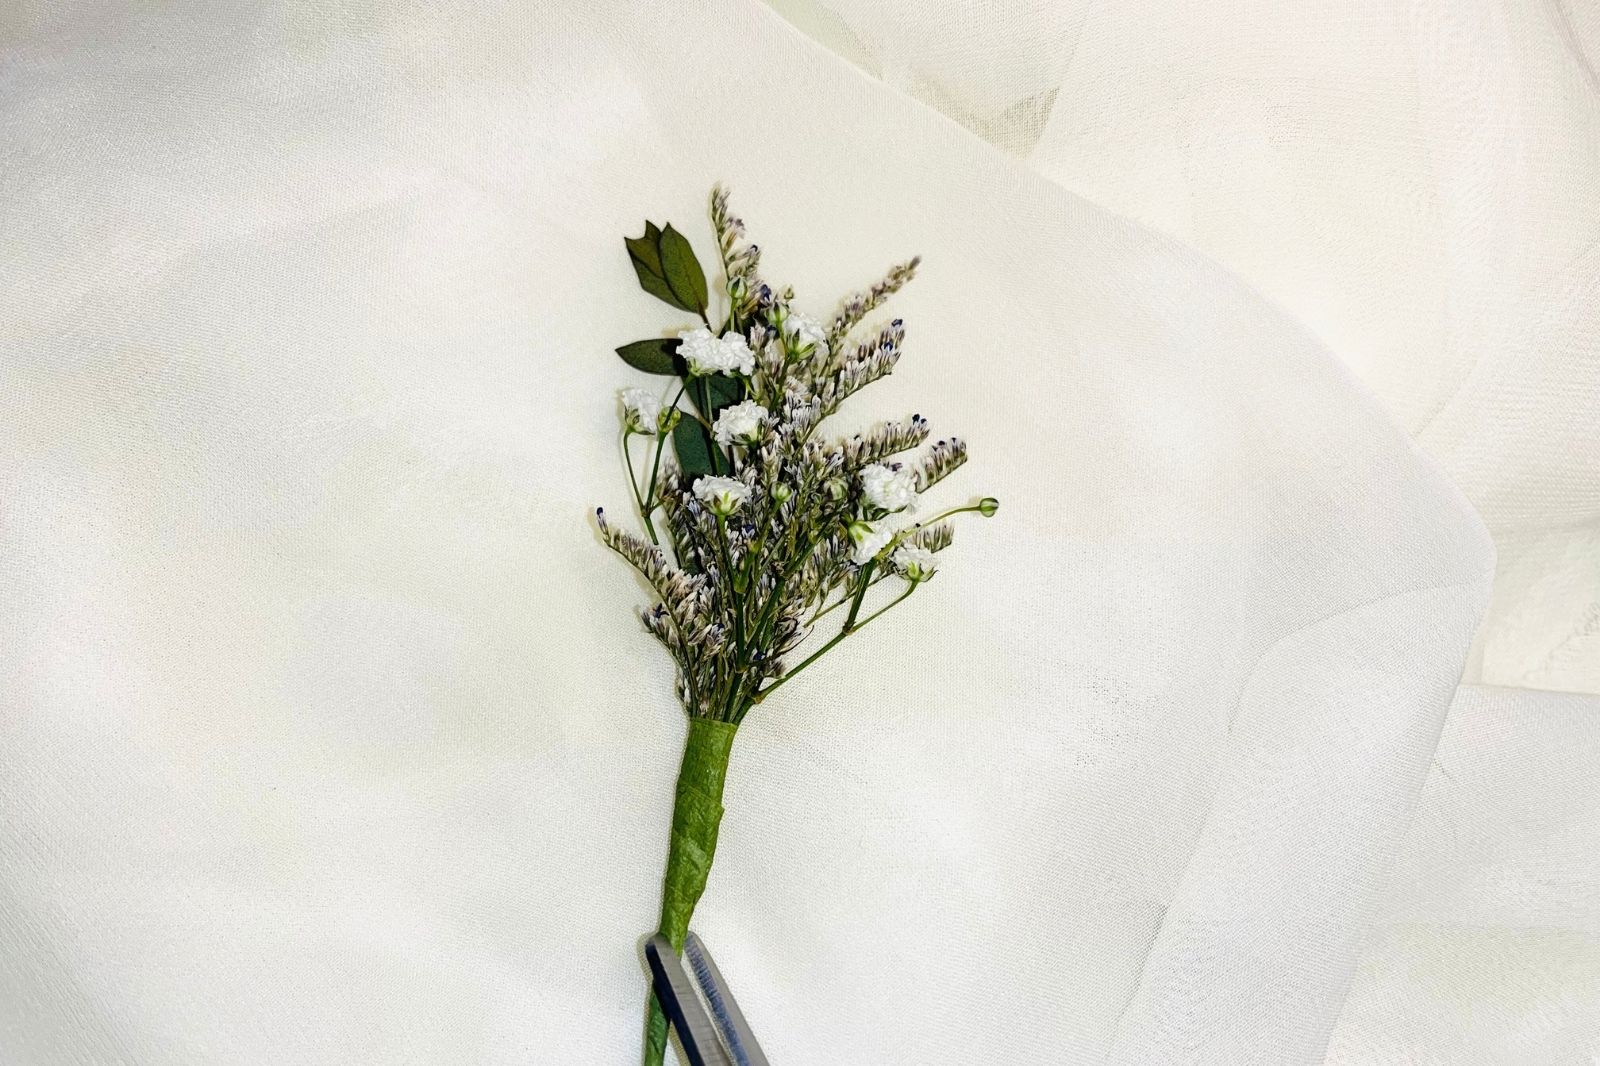
Wrap the entire flower stem with floral tape, starting from just below the flower cluster and working your way down. This tape will help create a neat and cohesive look and provide additional stability. Cut the end of the boutonnière so it’s neat. Continue to create as many boutonnières as you need.
5. Add Finishing Touches
Make sure each boutonnière you make is the same length. Add extra decorations such as ribbon, twine, or small embellishments if you want or you can keep each boutonnière simple. If you do glue anything, be sure to dry it completely.
Tips for Success
- Prepare Ahead of Time: Creating your boutonnières in advance will save you stress on the wedding day. Just make sure to store them in a cool, dry place to keep them looking fresh. Also don’t forget to give each one a boutonnière pin or two normal pins to attach them.
- Mix and Match: Experiment with different dried flower varieties and combinations to find a style that complements your wedding theme. Any leftover flowers you don’t use can be made into cards to send to guests.
- Test Your Design: Before making all the boutonnières, create a test version to ensure you’re happy with the design.
Conclusion
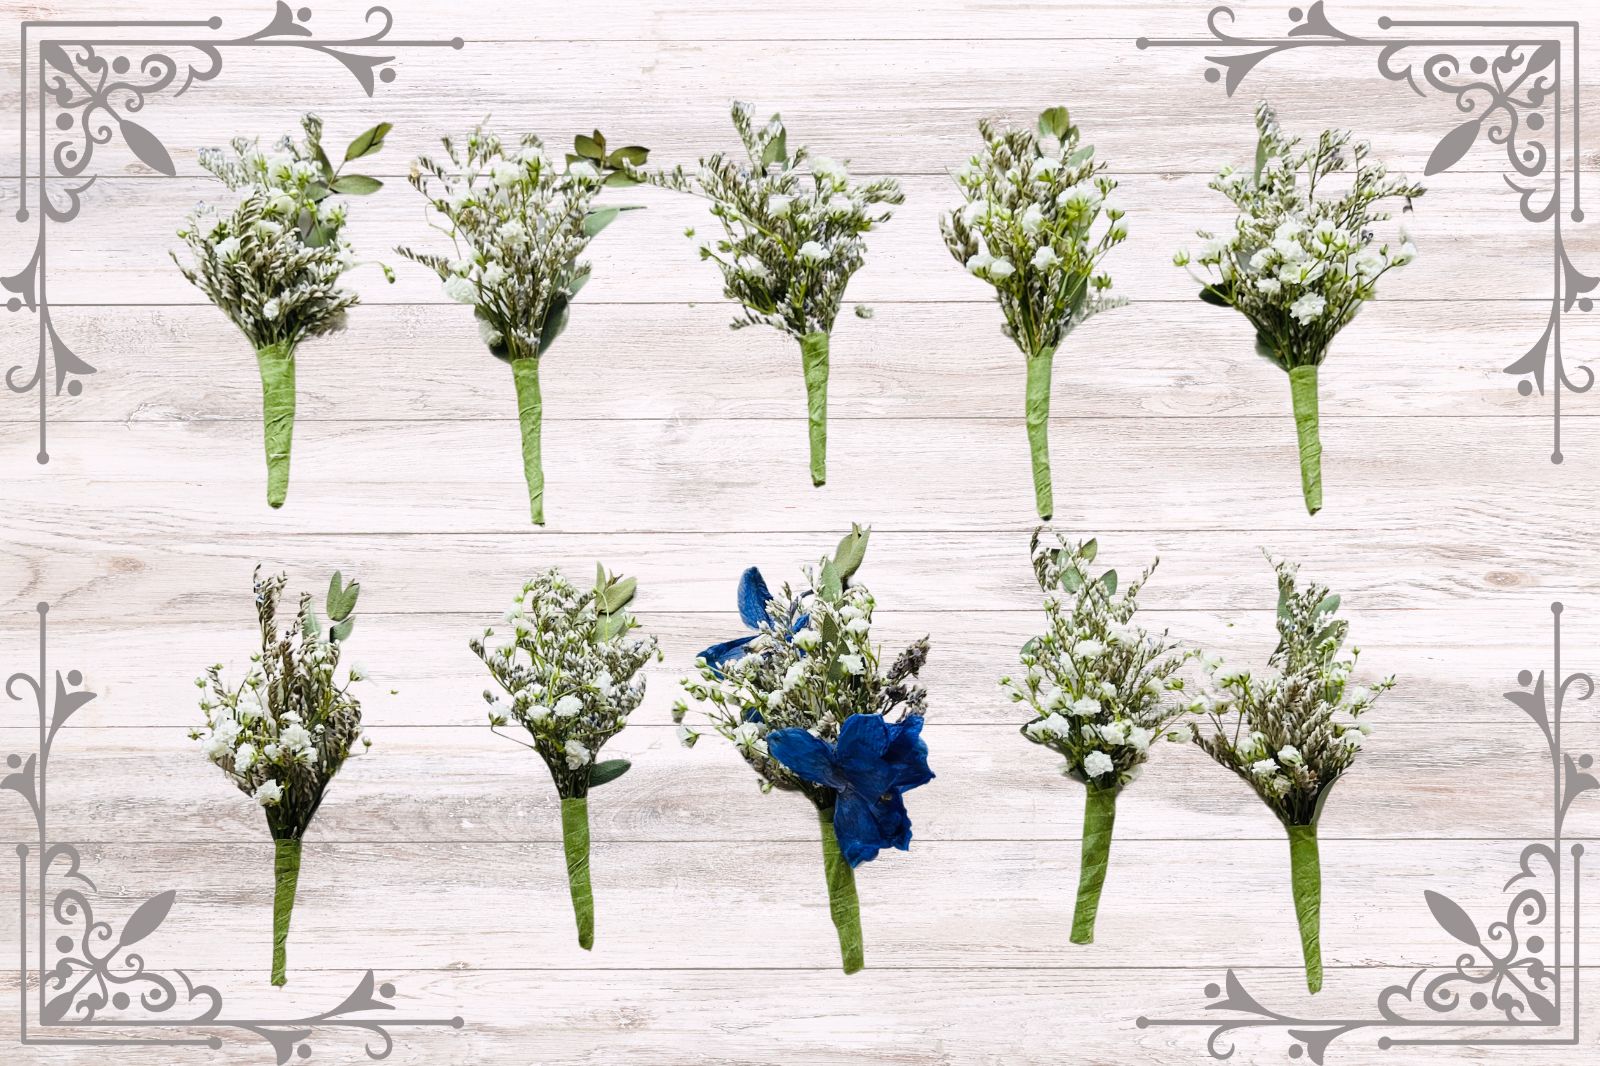
With just a few materials and a bit of creativity, you can craft stunning floral accents for your wedding. Dried flower boutonnières are a beautiful and practical choice. By following these simple steps, you can create elegant, personalized boutonnières that will truly make your wedding day special.
Trusted Insights from Artists
At Art Life Today, our passion for arts and crafts is at the heart of everything we do. We understand that the right tools and materials can make all the difference in your creative projects, so we take our responsibility as reviewers seriously. Our goal is to help you discover the best products that will inspire your creativity and bring your artistic visions to life.