How To Make a Pen Holder With Slab Pottery Method

Image credit: Crockd
Creating a cute little pen holder for your home office using the slab pottery method is a satisfying and creative way to work with clay, and it is sooo easy to do! It all begins with rolling out the perfect slab. Getting this initial step right sets the foundation for the rest of your project. Here’s a detailed guide on how to roll a slab of clay, making sure you get a smooth, even base to work from.
Related: How To Make Pottery at Home
Rolling the Clay
First, you need to consider your rolling surface. Rolling a slab directly onto a shiny kitchen counter or polished wood can be problematic because the clay tends to stick, making it difficult to lift and manipulate. To avoid this, use a slightly porous surface like a piece of canvas or fabric. Personally, I find a canvas-covered board works well. You can easily create one by stretching the canvas over a piece of wood and stapling it down. This setup helps keep the clay from sticking and makes it easier to handle.

For rolling different colored clays, it’s best to use separate pieces of fabric to prevent color contamination. I have one piece of canvas for red clay and another for white and buff clay. Another great option is a vinyl tablecloth with a fabric backing. The fabric side provides the necessary texture to prevent sticking, while the vinyl side doesn’t absorb much water from the clay.
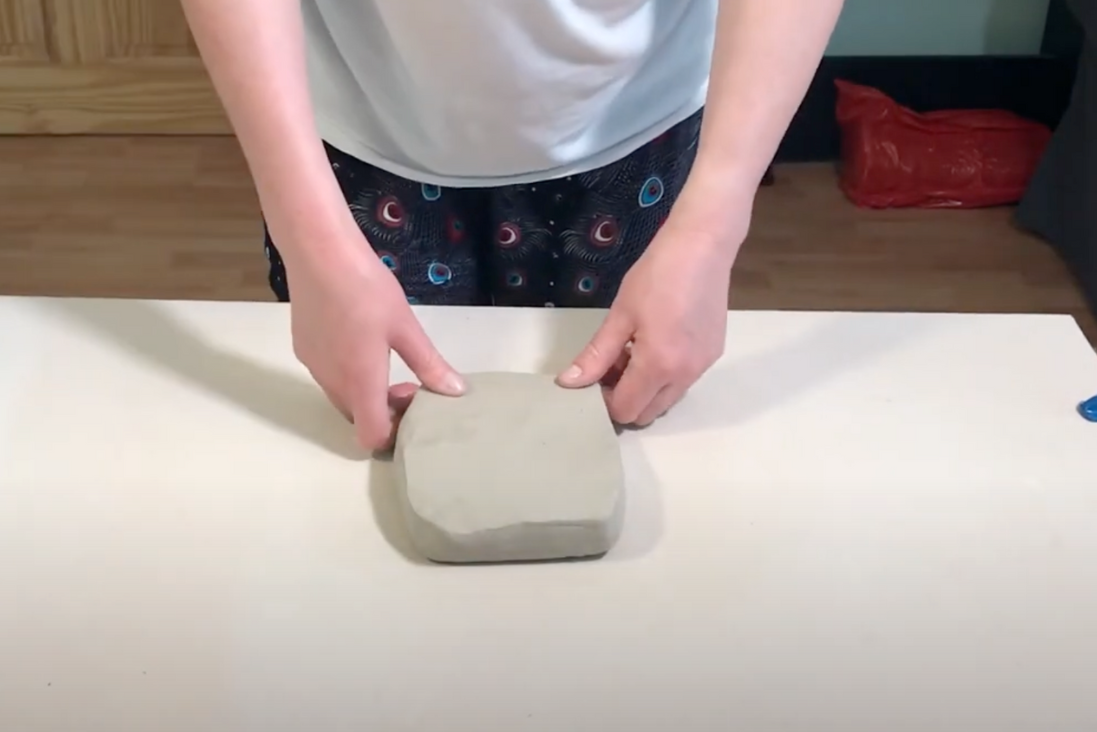
When you’re ready to roll, start by cutting a slice of clay from your block. Shape this piece into a rough circle or rectangle with your hands before you begin rolling. This pre-shaping helps you achieve a more uniform slab and reduces the amount of clay you need to recycle later.
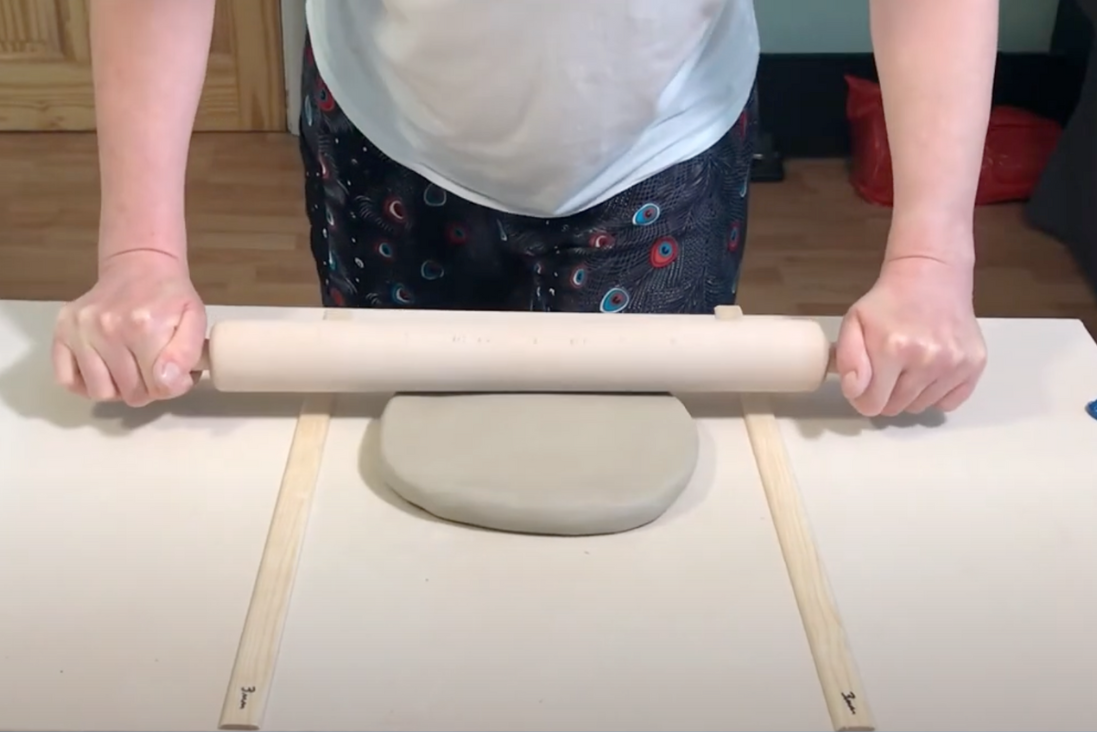
Place the clay on your fabric-covered surface and flatten it a bit with the heel of your hand. This initial flattening makes the rolling process easier. Next, use a rolling pin to roll out the clay. A pasta roller is a fantastic tool for this job, and you can find them from ceramic suppliers or food wholesalers.

Always Use Rolling Guides
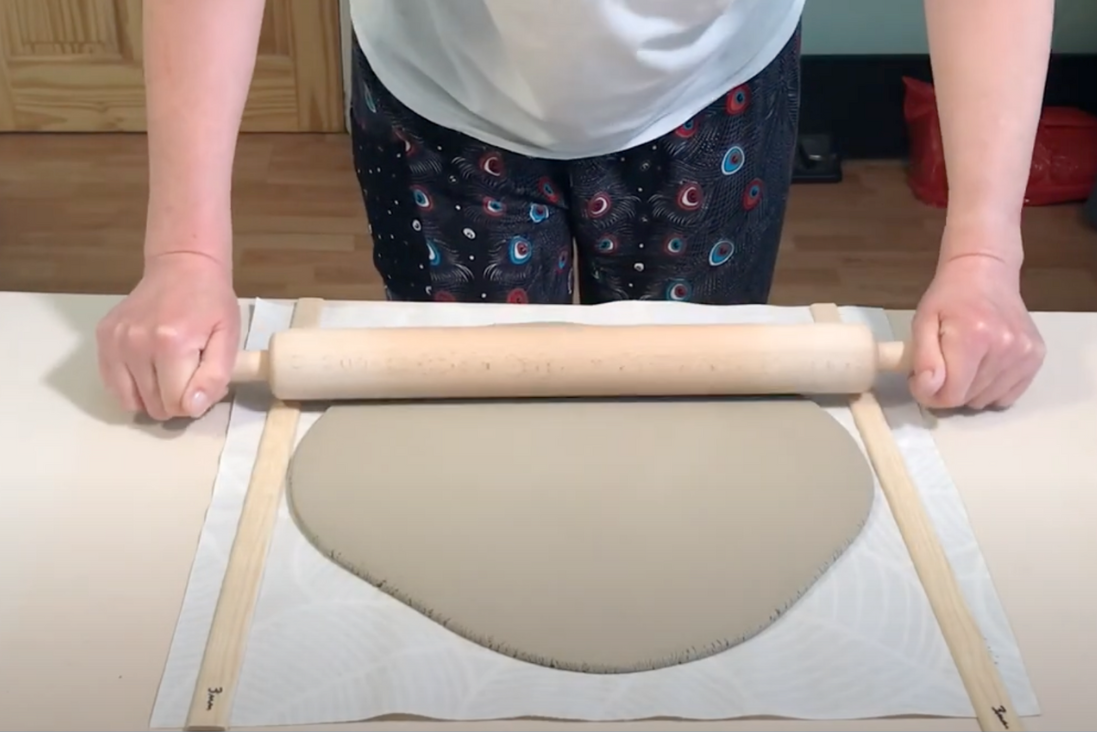
To ensure your slab is of consistent thickness, use rolling guides or sticks. These are strips of wood or dowels that you place on either side of the clay. As you roll, the rolling pin rests on these guides, preventing the clay from getting any thinner than the height of the sticks. You can find these guides in different thicknesses, such as 3mm, 5mm, or 9mm, or you can make your own from materials at a hardware store.
Roll the clay a few times in one direction, then pick it up, turn it over, and rotate it to stretch it evenly. This helps prevent the clay from becoming too stressed and cracking. As the slab gets larger, it’s helpful to roll it on a piece of fabric-backed vinyl or another flexible surface. This makes it easier to lift and turn the slab without distorting its shape.

If you notice any air bubbles or blisters in the clay as you roll, simply use a needle tool to pop them and gently press out the air. This step ensures a smooth, even slab without weak spots.
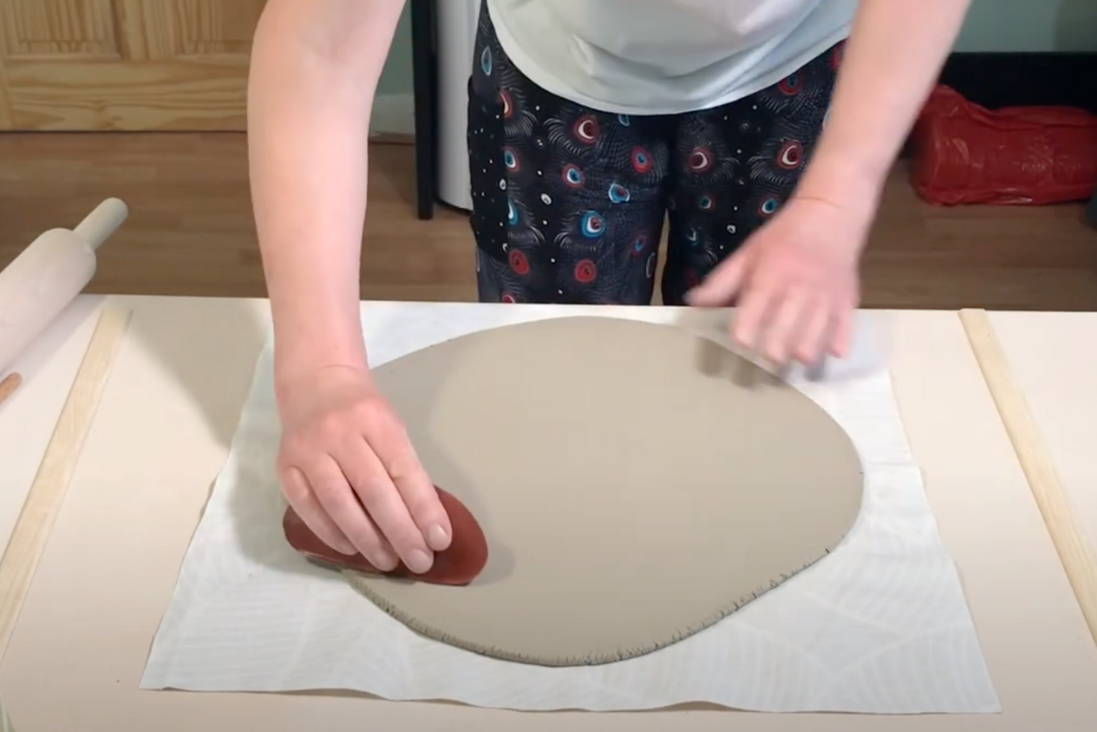
Once your slab is rolled out to the desired thickness, use a rubber rib to compress the clay. Running the rib over the surface smooths out any small cracks or texture from the fabric and aligns the clay particles, making the slab stronger.

For ease of handling, you can slide a flexible chopping board under the fabric. This makes it easy to move the slab aside while you work on another piece. Let the slab firm up for a couple of hours before shaping it into your vase. This slight drying period helps the clay hold its shape better as you continue working with it.
Time to Make the Vase
Step 1: Cutting the Front and Back Panels

Once your slab of clay has firmed up a little, cut out the front and back panels of your vase using a wooden trimmer or a similar tool. In this example, the top of these panels is curved, giving the vase a unique, rounded look. Ensure that both pieces are identical in shape and size for symmetry.
Step 2: Cutting the Side Panels

Next, cut out two rectangular slabs for the sides of the vase. These rectangles should be about half the length of the front and back panels. This size ratio helps maintain a balanced and proportionate structure.
Step 3: Scoring the Edges
To ensure that the pieces adhere well together, score the edges of the side panels and the corresponding edges of the front and back panels. Use a needle tool to create a criss-cross pattern on these edges. Scoring creates a rough texture that helps the clay pieces bond more effectively when you join them.
Step 4: Attaching the Sides

With the edges scored, it’s time to assemble the vase. Attach the side panels to the front and back panels where you scored them. Now, gently press the edges together to ensure they stick. Use a flat spatula to press gently on the inner seams, reinforcing the bond between the pieces. This step is crucial for the structural integrity of your vase.
Step 5: Smoothing the Seams
Once the sides are attached, smooth out the seams on the outside of the vase. This process not only makes the vase look neat and polished but also strengthens the joints. Take your time with this step to achieve a seamless look.
Step 6: Creating the Base
Cut out a rectangle for the base of the vase. Now, score the edges of this piece as well as the bottom edges of the assembled vase where the base will be attached. Use the same scoring and pressing method to attach the base to the rest of the vase. Ensure that the base is securely attached and that the seams are smoothed out both inside and outside.
Step 7: Final Touches and Drying

After assembling your vase, let it dry. Depending on the thickness of the clay and the humidity, this can take several days. Once dry, you can paint your vase in any design you like. The vase can serve as a beautiful decor piece for dried flowers or as a unique pencil box.
Trusted Insights from Artists
At Art Life Today, our passion for arts and crafts is at the heart of everything we do. We understand that the right tools and materials can make all the difference in your creative projects, so we take our responsibility as reviewers seriously. Our goal is to help you discover the best products that will inspire your creativity and bring your artistic visions to life.