How To Turn Plastic Buckets Into a Beautiful DIY Storage Basket
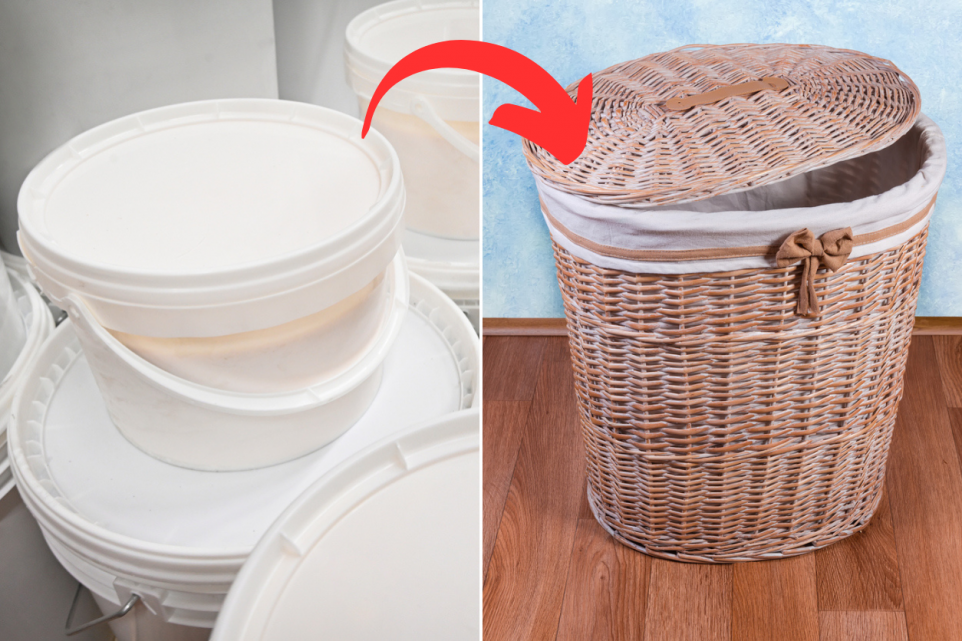
Summer is the perfect time to get creative and tackle fun DIY projects, especially those that breathe new life into items you already have lying around. Recently, I had a couple of 8-quart buckets destined for the trash, but inspiration struck — why not turn them into something beautiful and useful? This project is not only a great way to repurpose plastic buckets but also a fun activity to get the kids involved in. Let’s dive into making a gorgeous storage basket using some simple materials!
Materials You’ll Need
- Two 8-quart plastic buckets
- Jute rope (3 mm and 6 mm)
- Macrame rope (4 mm)
- Cotton fabric
- Hot glue gun
Step-by-Step Guide
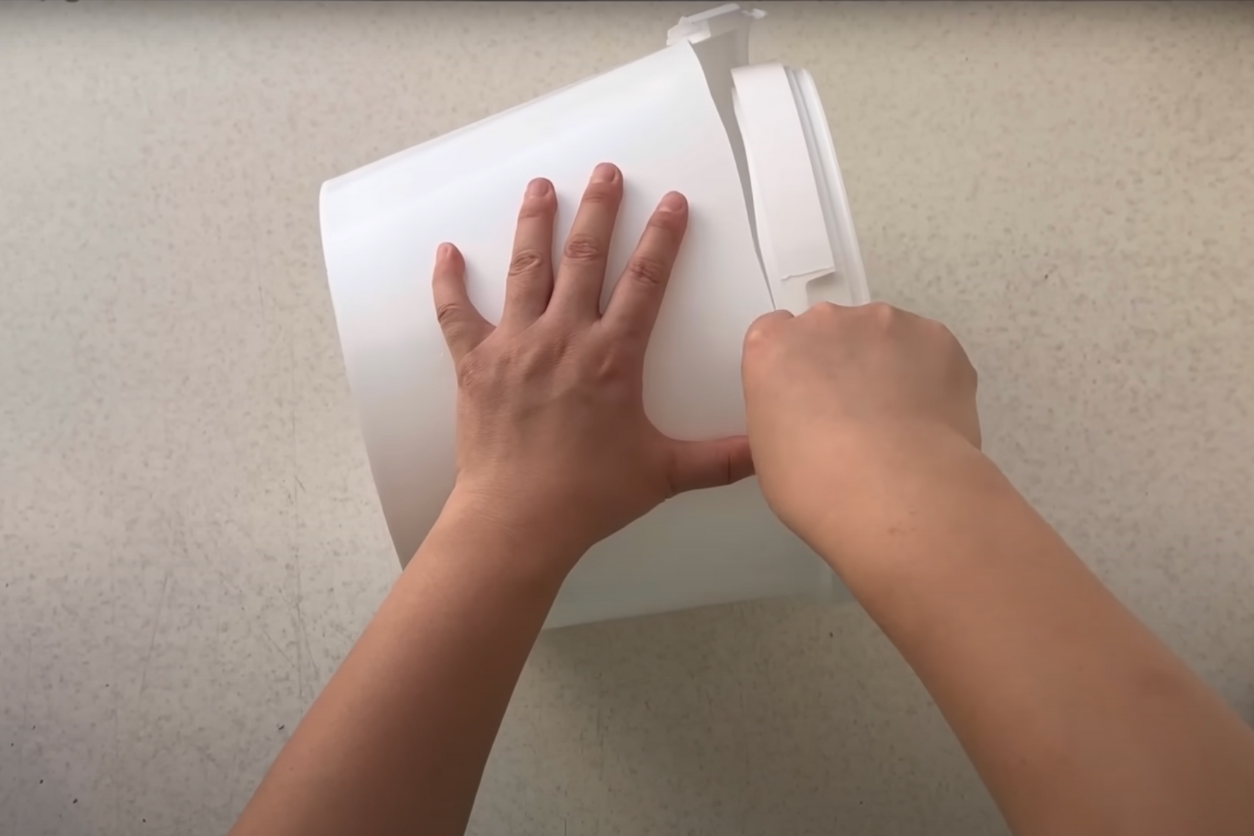
Prepare the Buckets
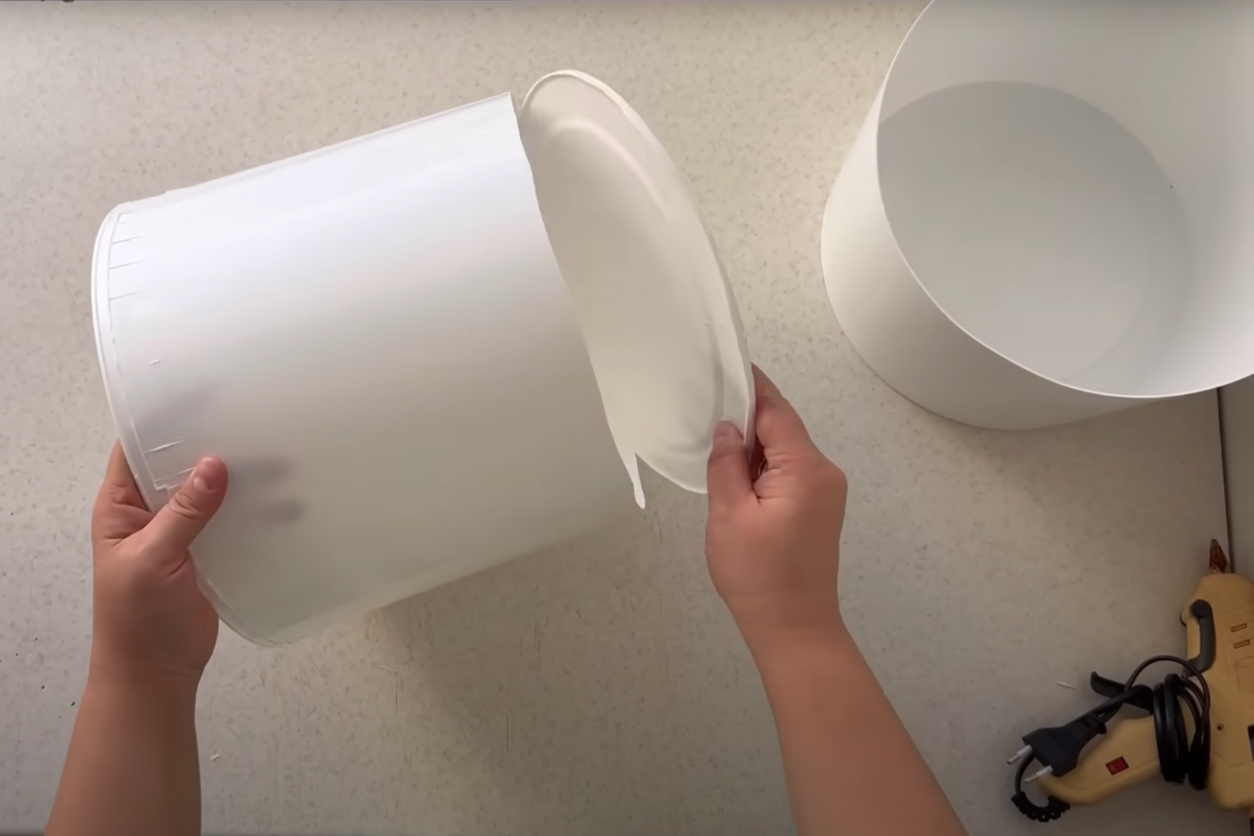
Take one of the plastic buckets and use a cutter to remove the entire rim, creating a smooth surface.
For the second bucket, cut off only the outer edge of the rim to make the opening slightly larger.
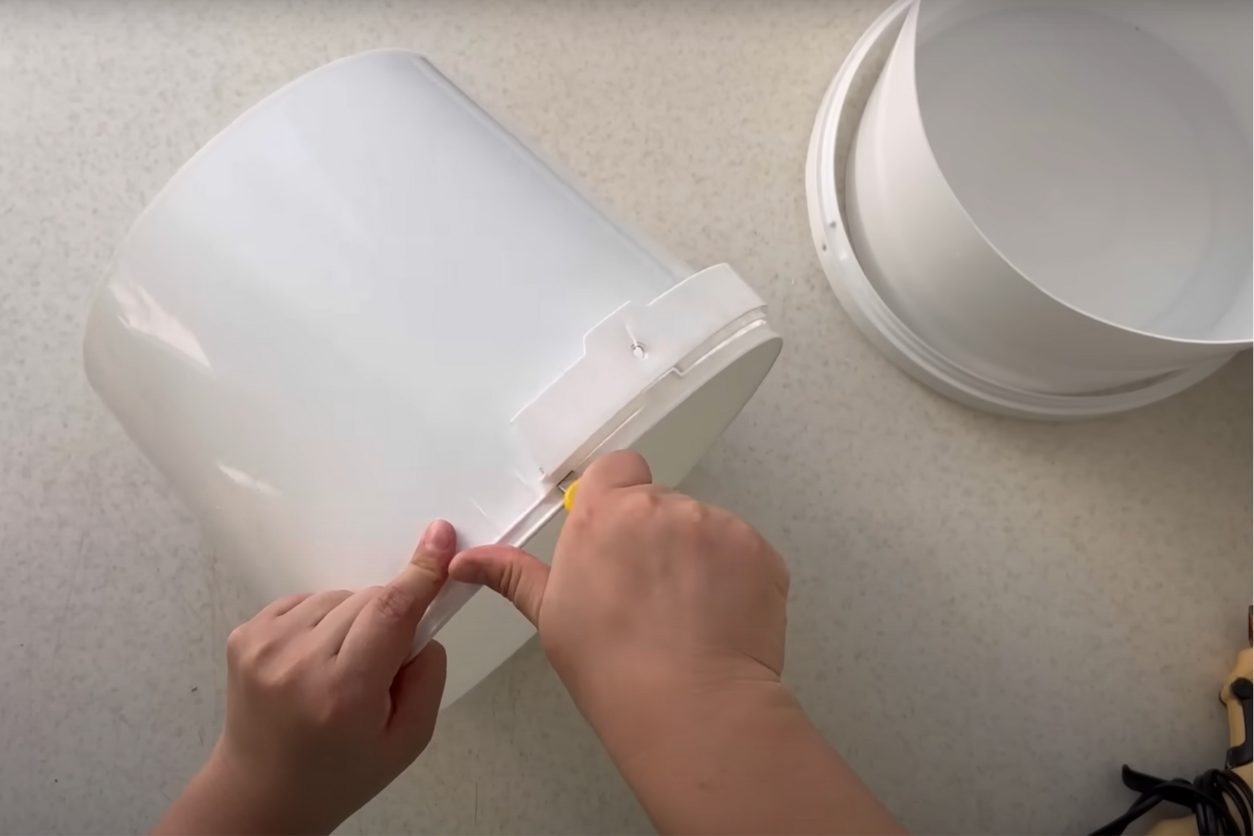
Now, cut off the bottom of this bucket so it’s open on both sides.
Assemble the Buckets
Turn the second bucket (the one with both ends open) upside down and fit the first bucket into it, creating a tall, smooth container.
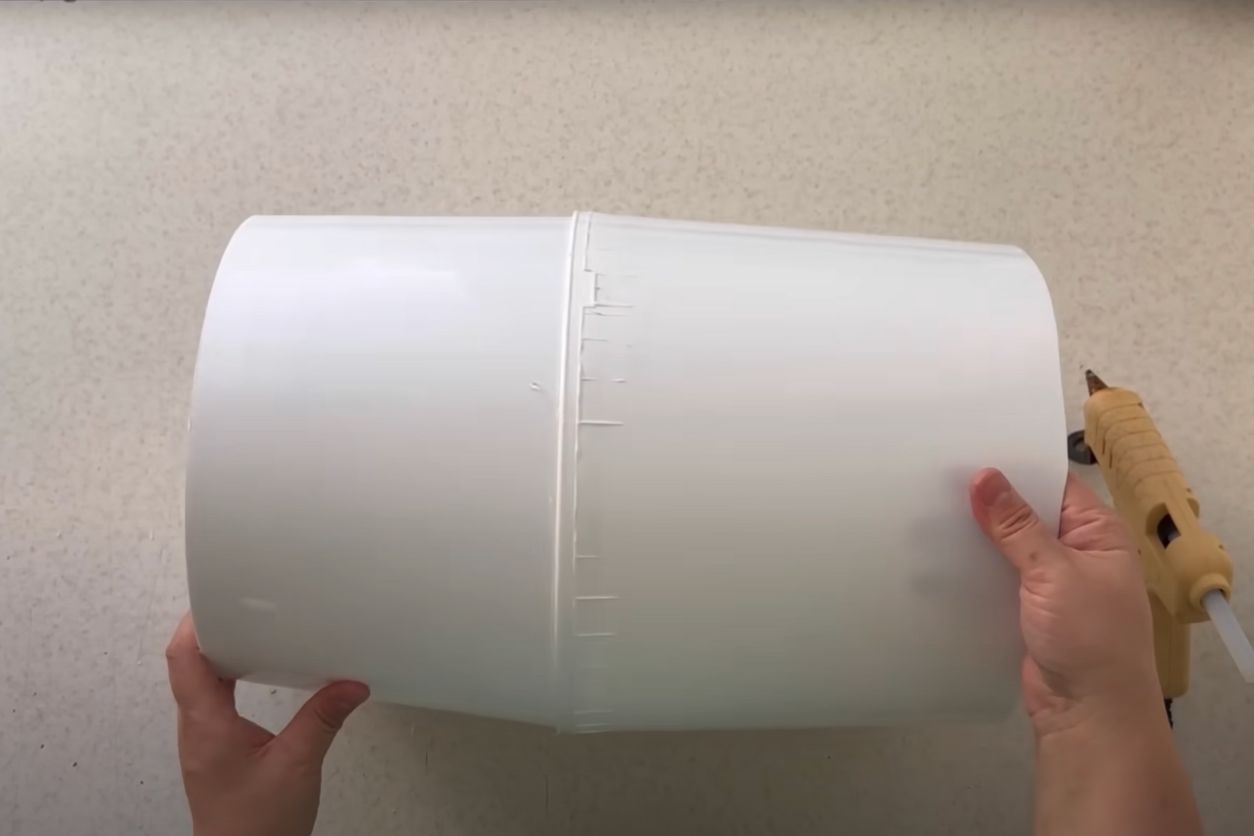
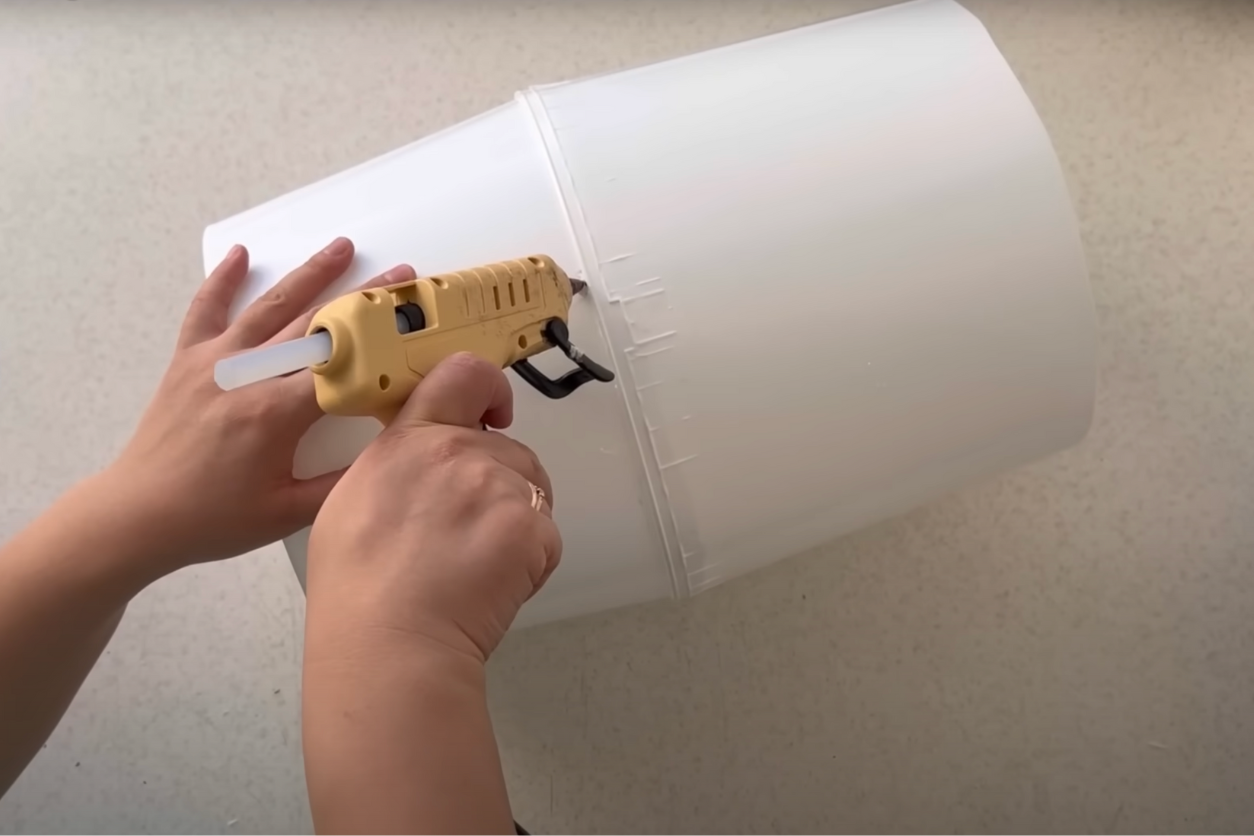
Use a hot glue gun to secure the two buckets together at the seam, applying pressure to ensure a strong bond.
Decorate with Jute Rope
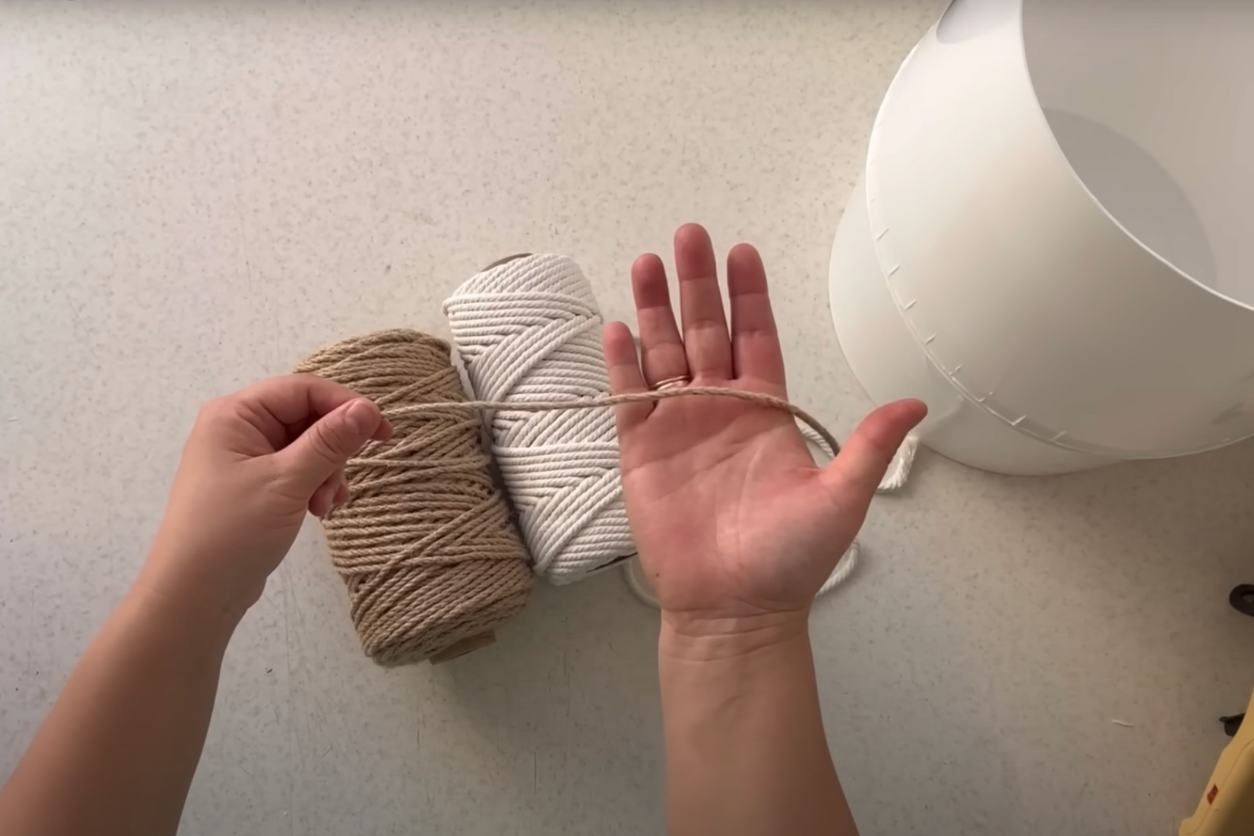
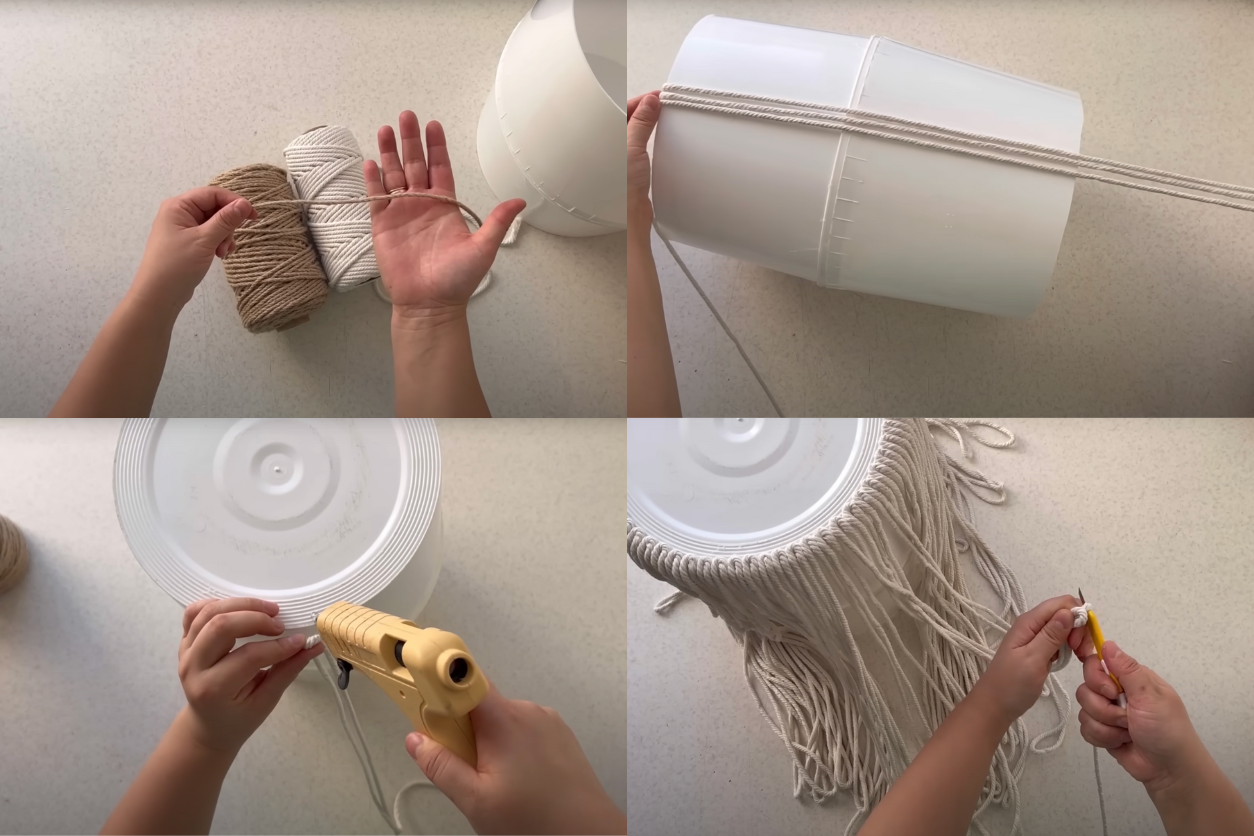
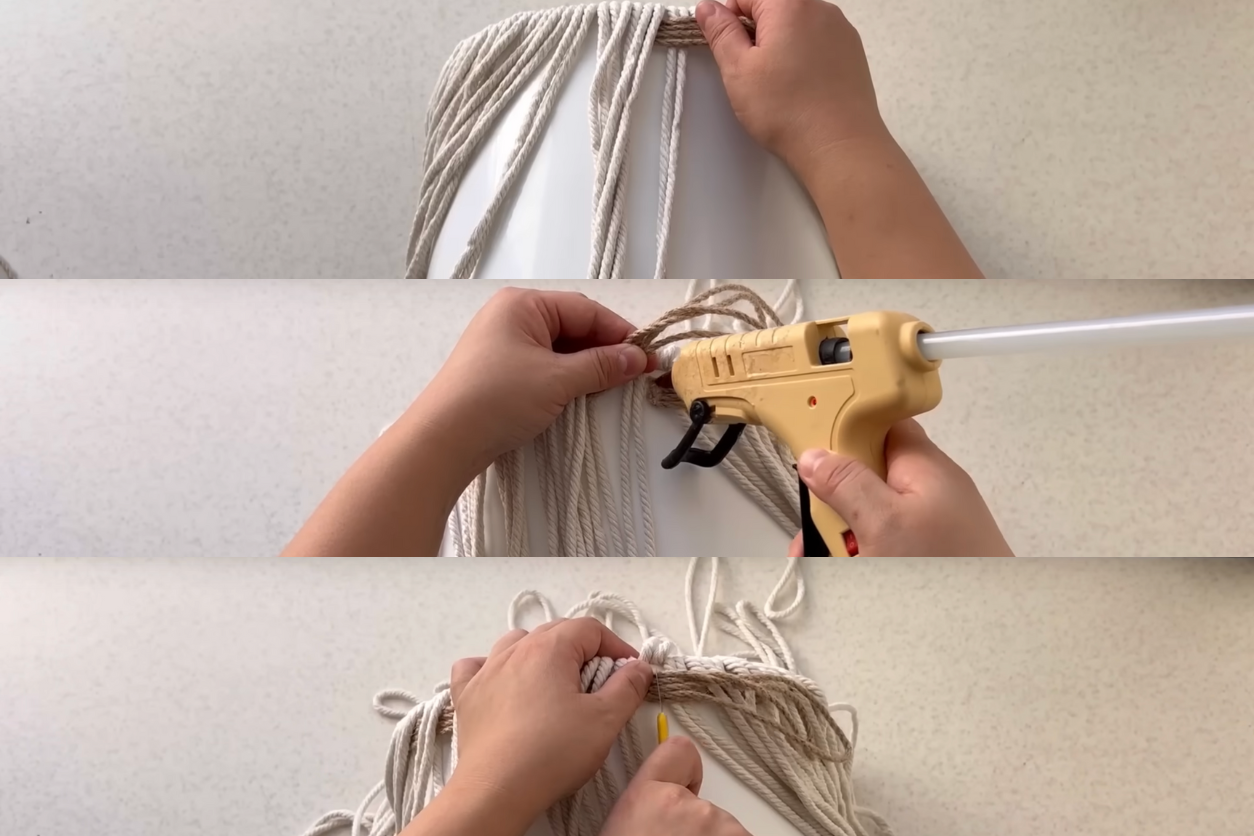
Turn the assembled bucket upside down. Starting with the 3 mm white jute rope, hot glue two strings at a time around the entire edge of the bottom. Make sure the rope is slightly longer than the bucket’s height to fold in excess later for an inner border.
Next, take four strings of the 6 mm brown jute rope and hot glue them diagonally across the base, over the white ropes.
Weave the Pattern
Begin weaving by placing two white strings under and two over the brown jute strings. Continue this pattern until you reach the starting point.
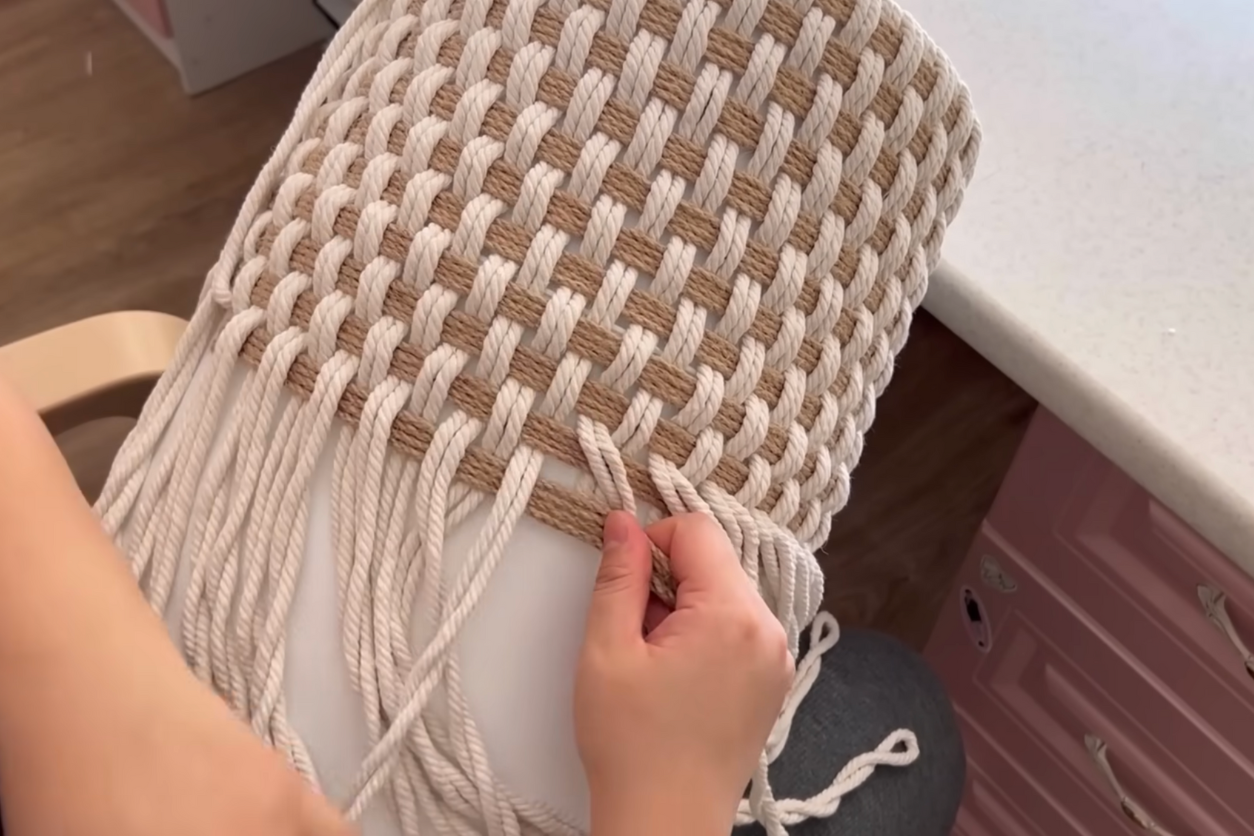
Secure the end of the brown jute rope with hot glue, making sure it blends seamlessly without gaps. Repeat this weaving pattern around the entire bucket.
Finish the Top Edge
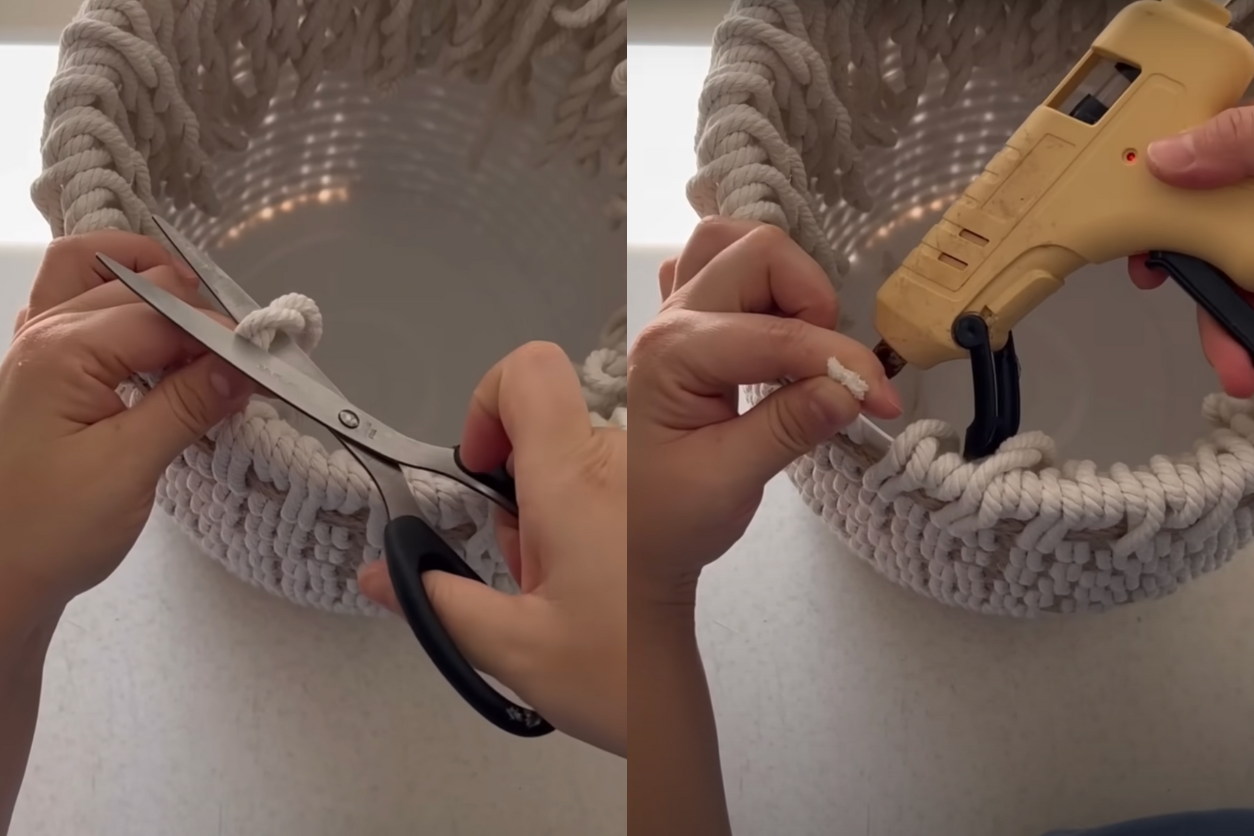
Once the entire bucket is covered, trim any excess white jute rope, leaving about an inch to fold and hot glue to the inner rim. This creates a neat, finished edge.
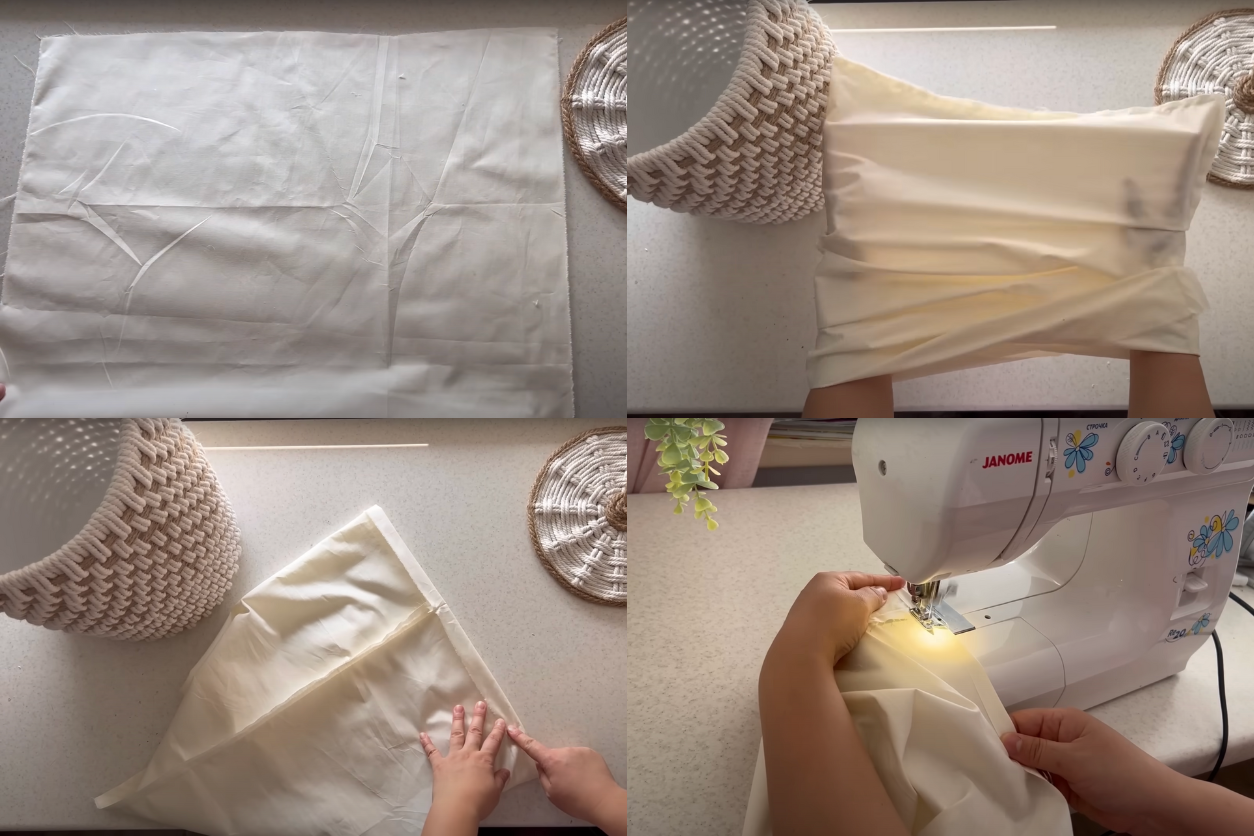
Add a Fabric Liner (Optional)
To give your basket a polished look, you can line the inside with cotton fabric. Measure the fabric to fit the interior, then use the hot glue gun to attach the bottom and the side seams, turning the fabric into a bag. Now, fold the top hem and sew it for a clean finish before inserting the liner into the basket.
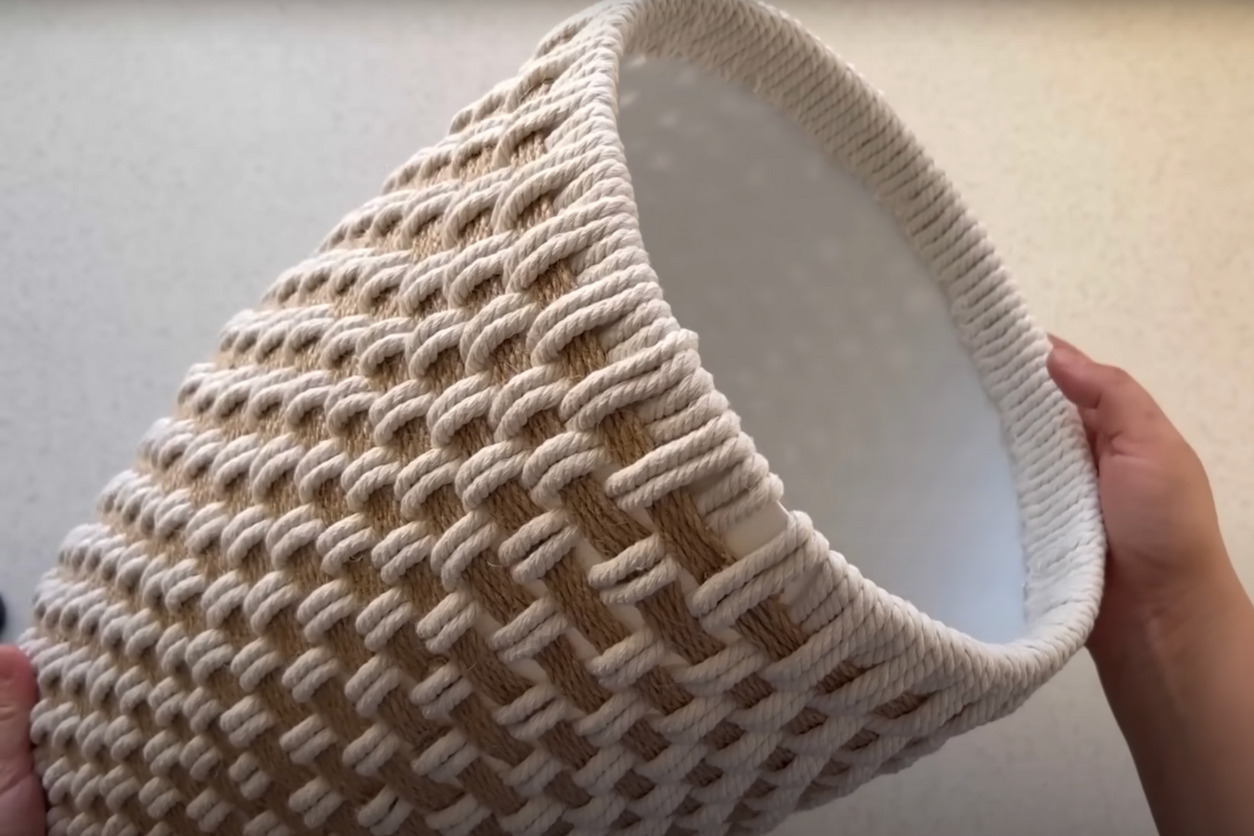
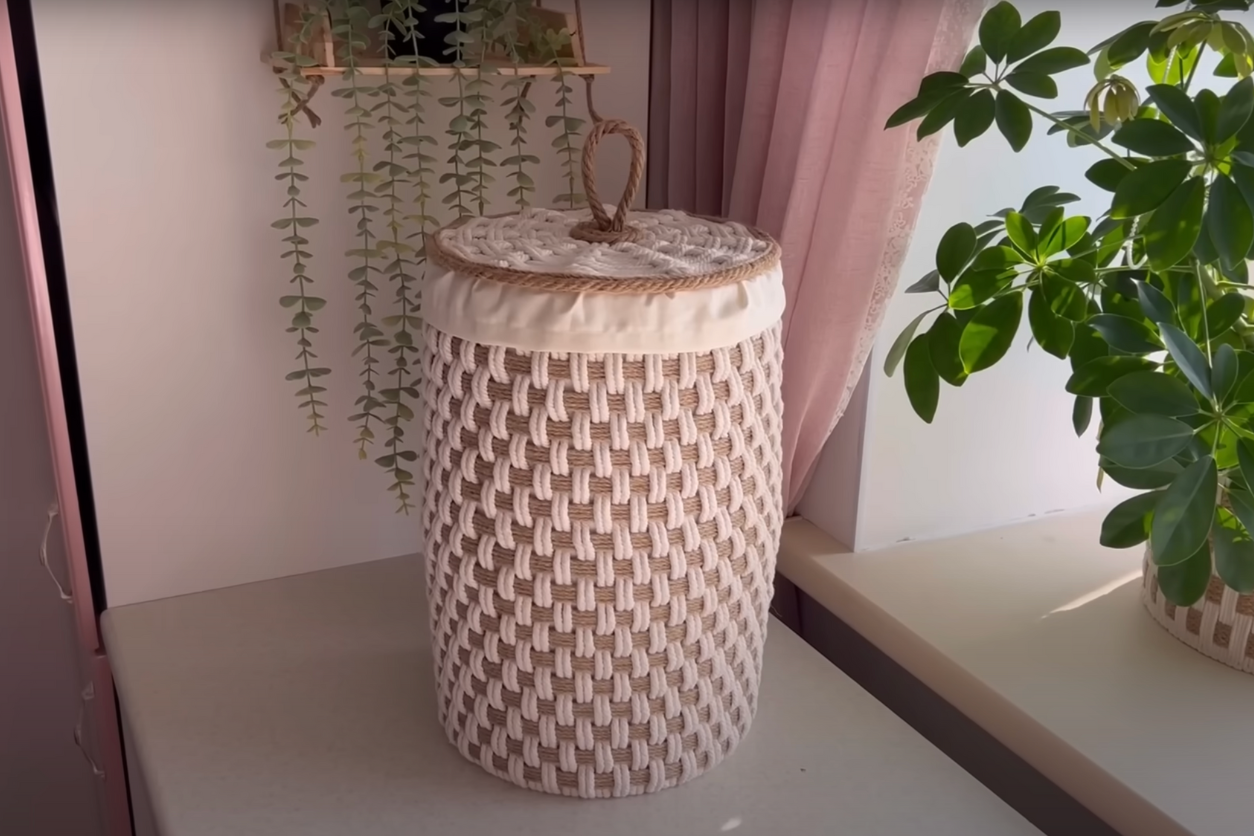
And there you have it! A stylish, custom storage basket that not only looks beautiful but also repurposes old plastic buckets in a creative and practical way. This basket will add a charming touch to any room, and the best part is you made it yourself.
Trusted Insights from Artists
At Art Life Today, our passion for arts and crafts is at the heart of everything we do. We understand that the right tools and materials can make all the difference in your creative projects, so we take our responsibility as reviewers seriously. Our goal is to help you discover the best products that will inspire your creativity and bring your artistic visions to life.