How To Make Awesome Party Hats With Just 4 Items

Summer in our backyard is always buzzing with birthday celebrations. With so many birthdays for my kids, nephews, and nieces, I’ve found that creating personalized party supplies really takes the festivities to the next level. There’s something special about adding a personal touch that store-bought decorations just can’t match. That’s why I’ve been eager to learn how to make our own party hats. So, let’s dive into this fun and easy DIY project that will add a unique flair to any summer party!
Materials You’ll Need:
- Store-bought party hats (for the elastic and template)
- Stapler and tape
- Scissors
- Ribbon (optional for decoration)
- Scrapbook paper or thick cardstock
- Vinyl (optional, for reinforcing thin paper)
Step-by-Step Guide
Start by gathering all your supplies. For Scarlet’s birthday, I chose some beautiful scrapbook paper with tiny strawberries to match her vintage Strawberry Shortcake theme. If your paper is thin, you might want to reinforce it with vinyl to make sure it stands up well.
Take the elastic off a store-bought hat and set it aside. You’ll reuse this elastic later to save on costs and reduce waste.
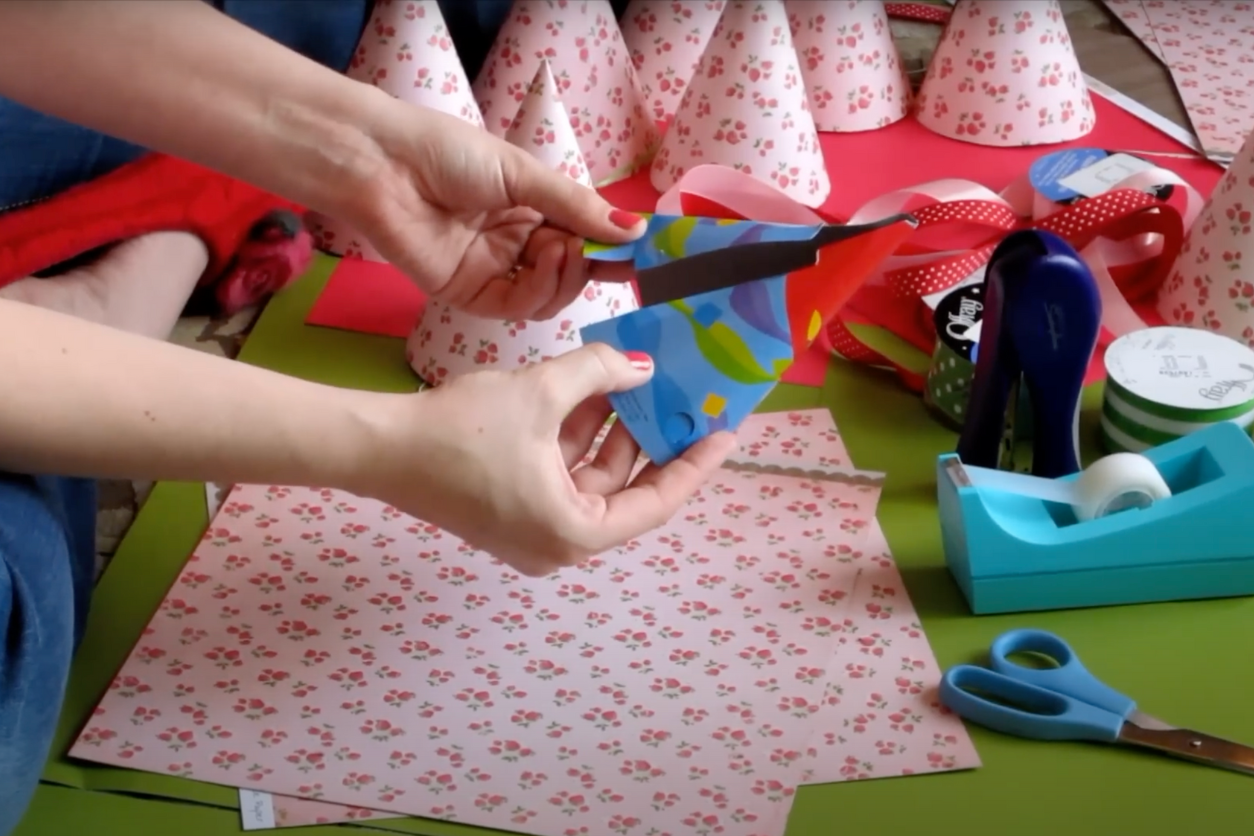
Open up the store-bought hat to use as a template. It might have notches or folds that make it a bit narrow, so feel free to widen the template to your liking. Place it on your scrapbook paper, and if you want your hat to be a bit bigger, pull it slightly away from the edge before tracing.
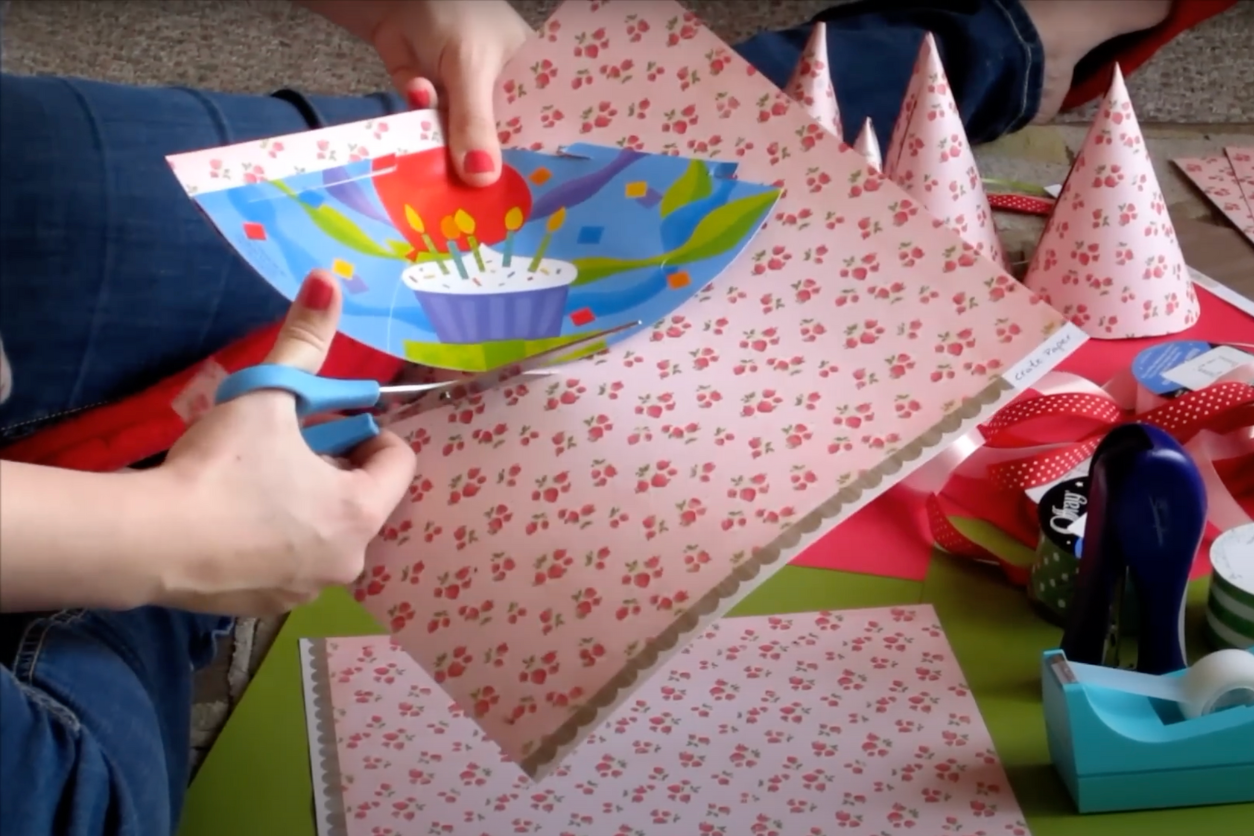
Carefully cut along the traced line, ensuring you come to a point at the center of the arc to avoid a lopsided hat. Once you have your template, use it to trace and cut out additional hats from your paper.
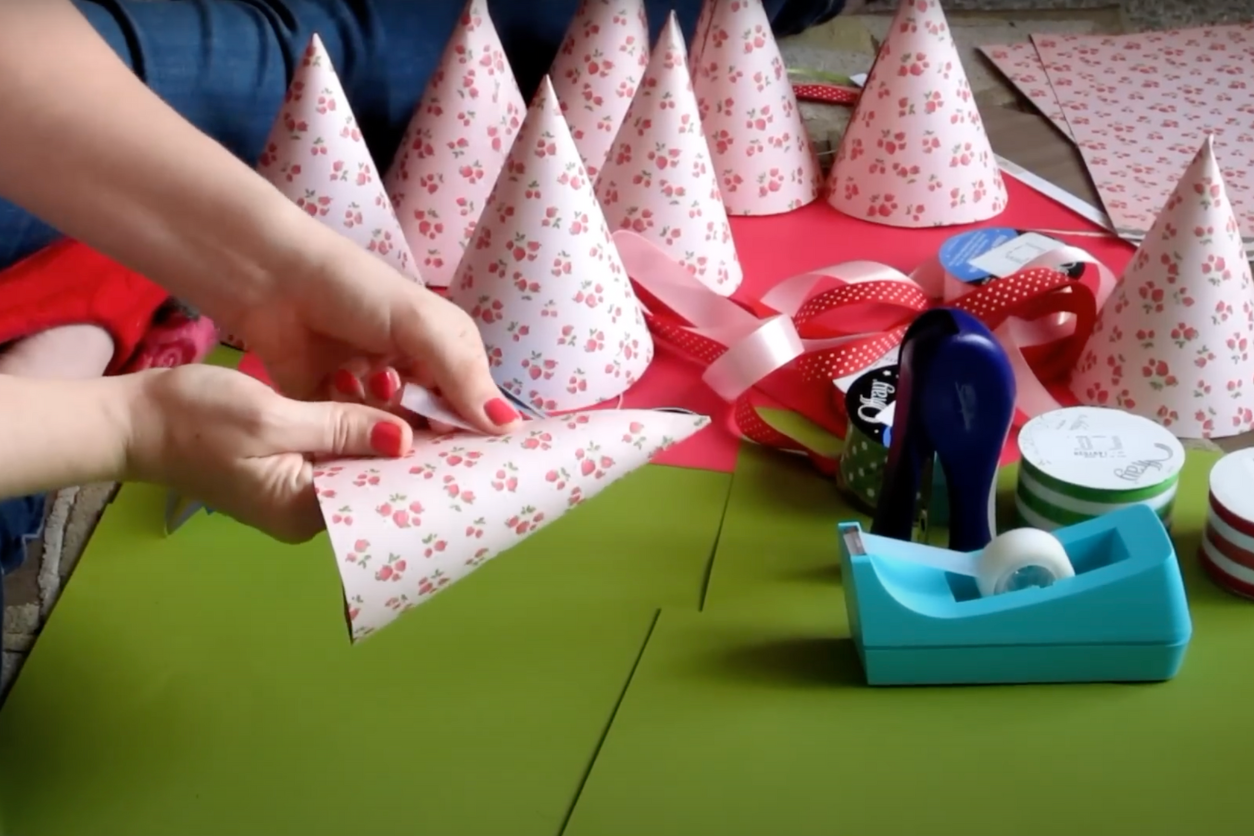
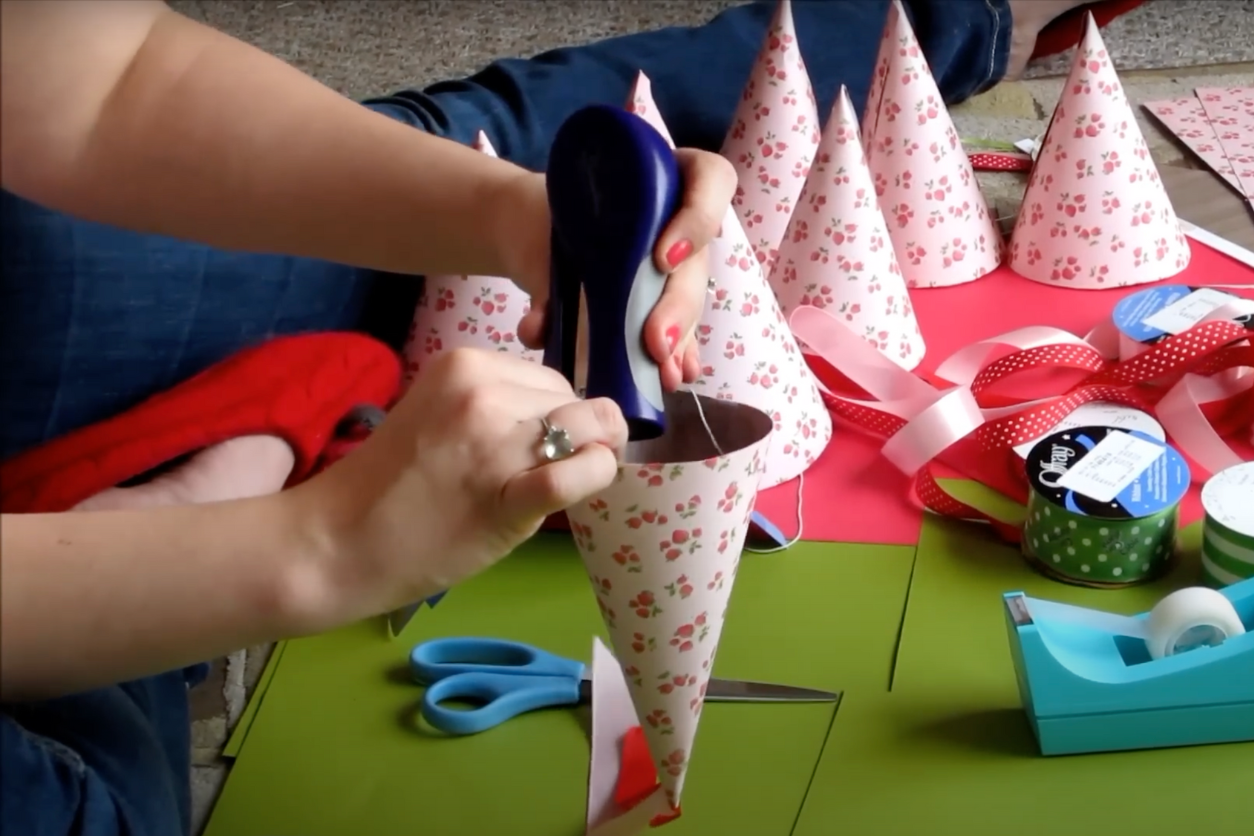
Fold the cut-out paper into a cone shape. Leave a small gap at the top if you want to add a decorative ribbon or “princess peak.” Secure the cone with tape, starting at the bottom and working your way up.
For a whimsical touch, cut ribbons on a diagonal to create sharp points. Slide the ribbons through the small gap at the top of the cone, pulling them out to create a playful, princess-like effect. Use scissors to guide the ribbon if needed.
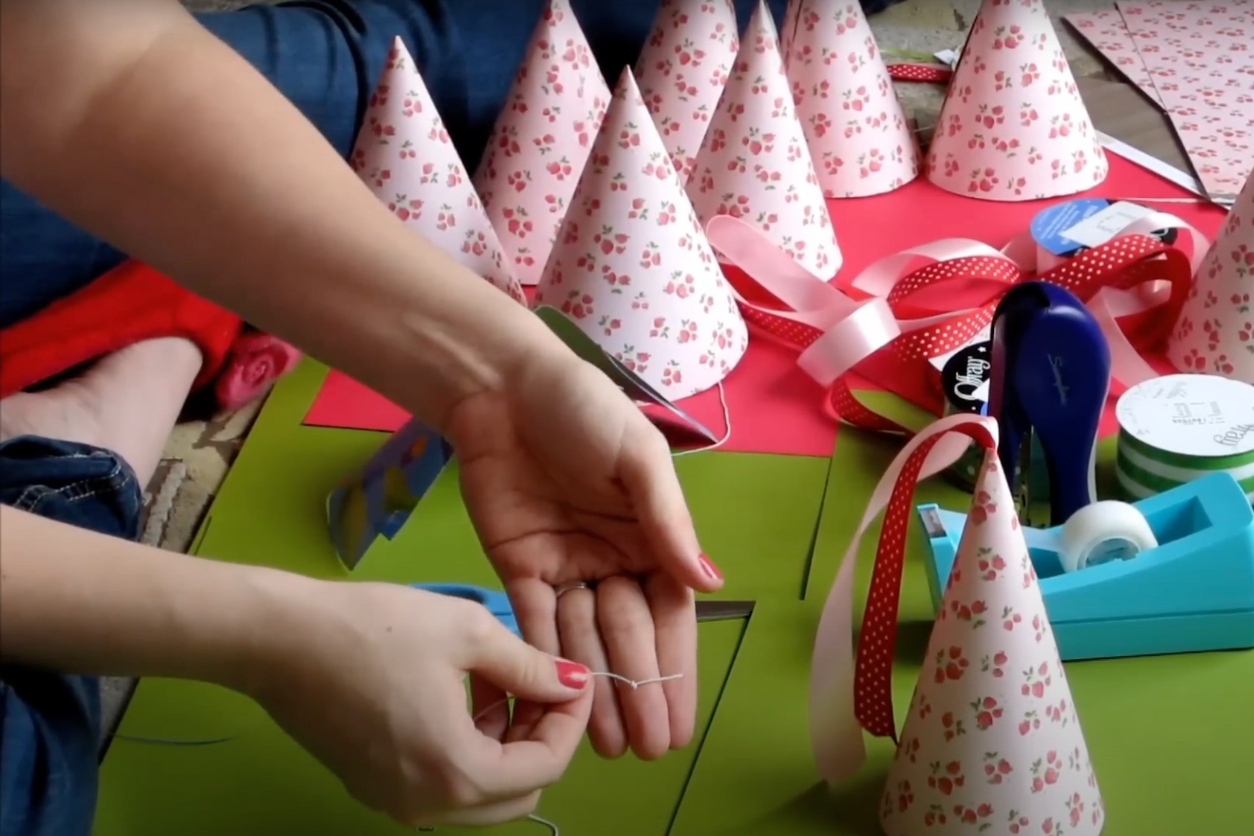
Take the saved elastic and tie double knots at both ends to ensure they stay secure. Position the knots on either side of the seam at the back of the hat. Staple the elastic into place, making sure the finished side of the staple is inside the hat to catch the elastic securely.
You can add more ribbons or any other decorations to personalize your hats further. Once everything is in place, your vintage-inspired party hats are ready to wear!
Trusted Insights from Artists
At Art Life Today, our passion for arts and crafts is at the heart of everything we do. We understand that the right tools and materials can make all the difference in your creative projects, so we take our responsibility as reviewers seriously. Our goal is to help you discover the best products that will inspire your creativity and bring your artistic visions to life.