How to Make a DIY Ceramic Pumpkin Pin: A Charming Fall Craft
@aleehazai on Instagram
One delightful way to celebrate fall is by crafting your own DIY ceramic pumpkin pin. This charming accessory not only adds a festive touch to your wardrobe but also allows you to express your creativity. In this guide, we’ll walk you through the steps to create a beautiful ceramic pumpkin pin that you can proudly wear or gift to a friend.
What You’ll Need
Materials:
- Air-dry clay or polymer clay: Choose a brand that suits your preference (air-dry is easier for beginners).
- Rolling pin: For flattening the clay.
- Clay tools: A craft knife, toothpick, or dotting tool for detailing.
- Pin back: Available at craft stores or online.
- Super glue: To attach the pin back securely.
- Baking sheet or tile: For drying the clay if using air-dry clay.
- Acrylic paints: In orange, green, brown, and any other colors you’d like.
- Paintbrushes: For painting the pin.
- Clear glaze or varnish (optional): To add a glossy finish.
Step 1: Prepare Your Workspace
Before you begin this Halloween craft, set up a clean, flat workspace. Lay down some newspaper or a protective mat to catch any clay remnants. If you’re working with children, make sure they wear old clothes or aprons.
Step 2: Condition the Clay
If you’re using polymer clay, start by kneading a chunk of orange clay in your hands until it’s soft and pliable. For air-dry clay, just break off the amount you’ll need and keep it wrapped when not in use to prevent it from drying out.
Step 3: Shape the Pumpkin
- Form the Base: Roll the conditioned orange clay into a small ball.
- Flatten and Shape: Gently press the ball down to flatten it slightly. Then, use your fingers to create the characteristic ridges of a pumpkin. Pinch the clay slightly at intervals to create segments, mimicking the natural curves of a pumpkin.
- Add a Stem: Roll a small piece of brown or green clay into a thin cylinder for the stem. Attach it to the top of the pumpkin, bending it slightly to give it a natural appearance.
Step 4: Detail Your Pumpkin
For added texture, use a toothpick or a dotting tool to create indentations and lines on the pumpkin’s surface. If you want to add leaves or vines, roll out small pieces of green clay and shape them as desired.
Step 5: Dry or Bake the Clay
If you’re using air-dry clay, place your pumpkin on a baking sheet or tile and allow it to dry according to the manufacturer’s instructions (usually 24-48 hours). If you’re using polymer clay, bake it in the oven at the temperature specified on the package (typically around 275°F or 135°C) for 15-30 minutes. After baking, let it cool completely.
Step 6: Paint Your Pumpkin
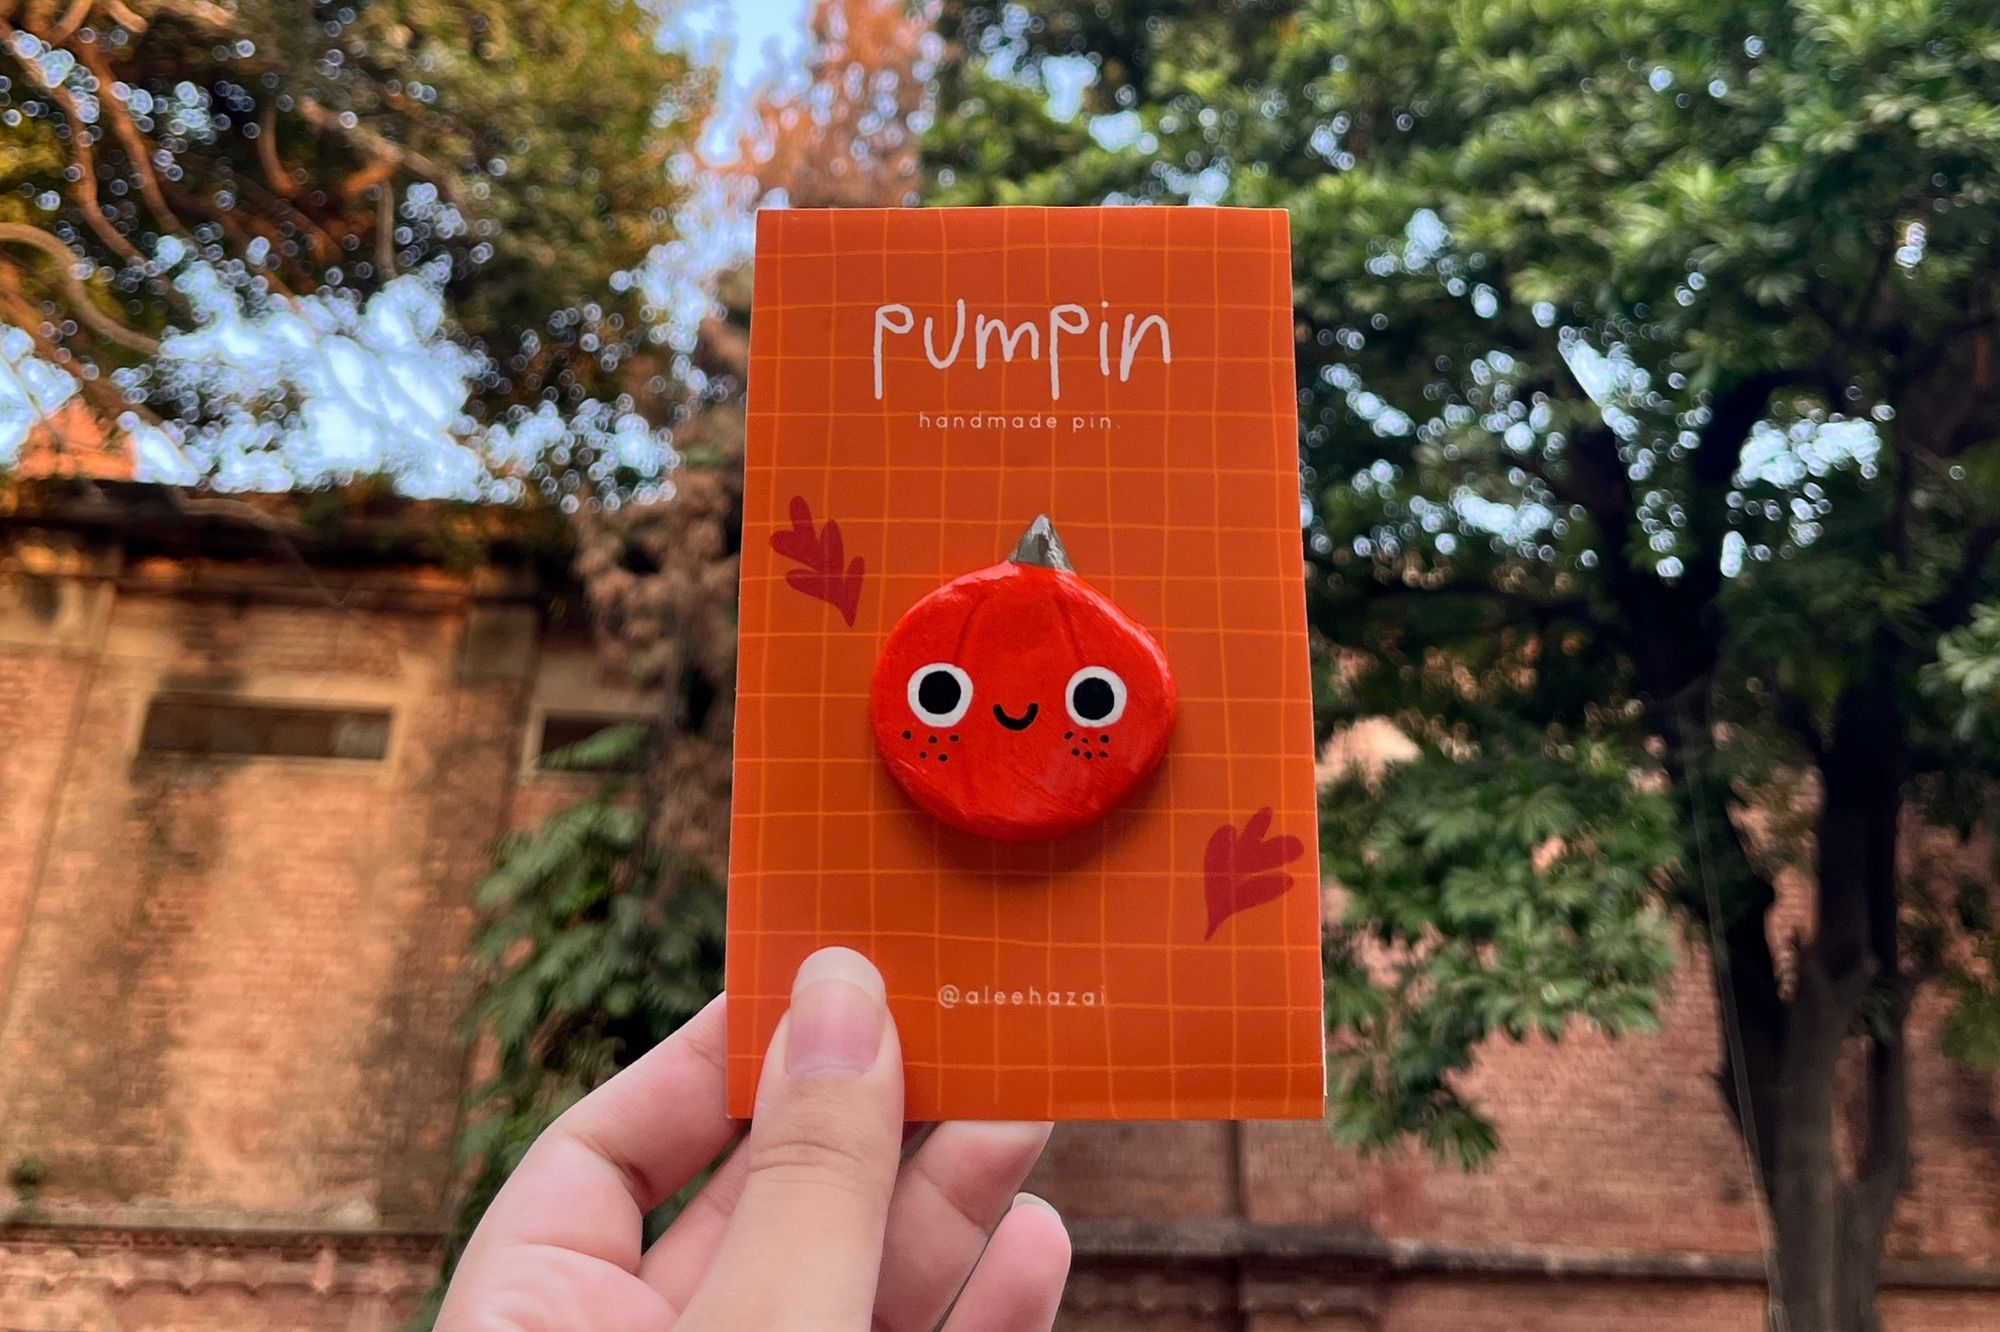
Once your pumpkin is dry or baked, it’s time to bring it to life with color. Use acrylic paints to decorate your pumpkin. You can even create a cute face if you’d like! Use a fine brush for intricate designs. Allow the paint to dry thoroughly.
Step 7: Apply a Glossy Finish (Optional)
For a polished look, consider applying a clear glaze or varnish over the painted pumpkin. This will enhance the colors and give it a beautiful shine. Make sure the paint is completely dry before applying the glaze.
Step 8: Attach the Pin Back
After your pumpkin is fully dry and finished, it’s time to attach the pin back. Use super glue to secure the pin back to the center of the pumpkin’s backside. Hold it in place for a few moments to ensure a strong bond. Allow the glue to dry completely before handling your pin.
Conclusion
Your DIY ceramic pumpkin pin is now ready to be worn! Pin it onto your jacket, backpack, or hat to add a festive flair to your autumn outfit. You can also give it as a thoughtful gift to friends and family who appreciate handmade crafts.
Trusted Insights from Artists
At Art Life Today, our passion for arts and crafts is at the heart of everything we do. We understand that the right tools and materials can make all the difference in your creative projects, so we take our responsibility as reviewers seriously. Our goal is to help you discover the best products that will inspire your creativity and bring your artistic visions to life.