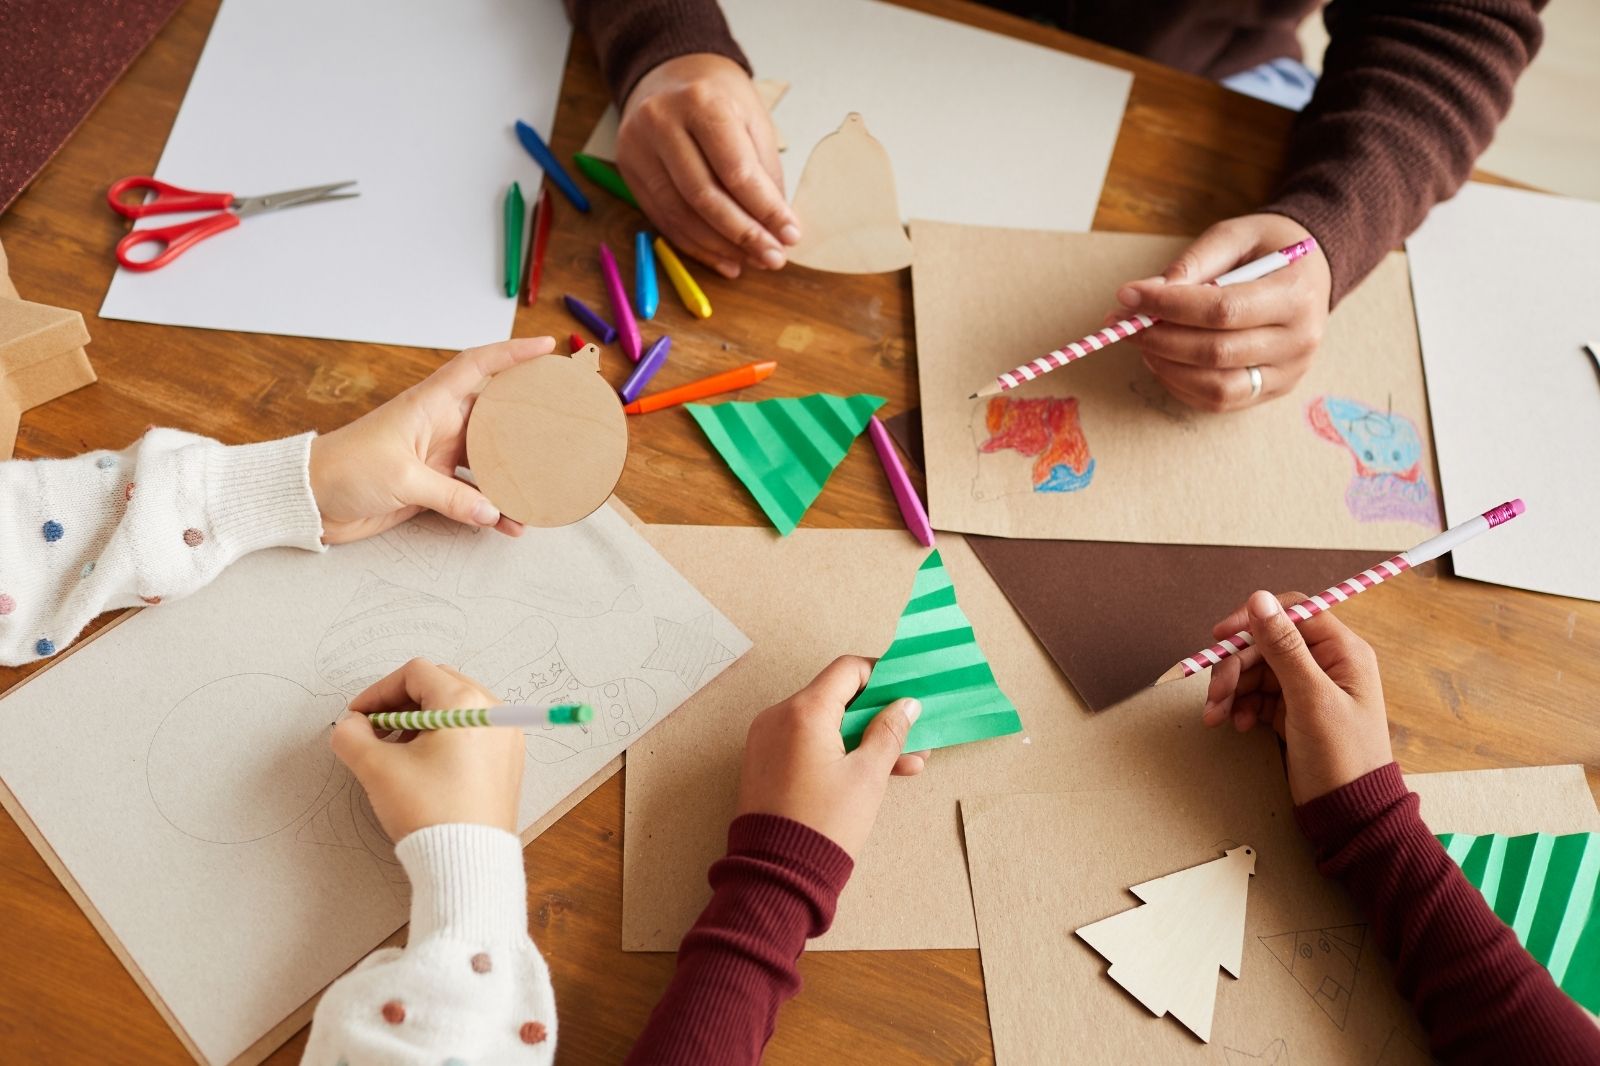
How to Make DIY Christmas Pop-up Cards

There’s something magical about receiving a card that’s not only beautiful but “pops” out at you. Pop-up cards take holiday greetings to the next level by adding a three-dimensional element that delights the recipient. They can be a little pricey. However, making Christmas pop-up cards is simpler and cheaper than you might think. It’s a great way to show creativity and thoughtfulness during the holiday season. Whether you’re creating them for friends and family, or to sell at a holiday market, these handmade cards are sure to spread cheer. Here’s a step-by-step guide on how to make Christmas pop-up cards that are sure to impress.
Materials You’ll Need:
Before you start, gather these materials:
- Cardstock or heavy paper (for the card base)
- Decorative paper, patterned paper, or scrapbooking paper
- Scissors or craft knife
- Glue stick or double-sided tape
- Pencil
- Ruler
- Colored pens, markers, or crayons
- Decorative embellishments (e.g., stickers, glitter, ribbons)
Step 1: Create the Card Base
To make the pop-up card base, start with a piece of cardstock that measures 8.5 x 5.5 inches (or any size you prefer). Fold the cardstock in half lengthwise to create the main structure of your card. Use a ruler to make sure the fold is even and crease it with a bone folder or the edge of a spoon for a crisp line.
Step 2: Plan Your Pop-Up Design
Decide what you want to create for your Christmas pop-up card. Popular themes include Christmas trees, Santa Claus, snowmen, presents, or a winter scene. Sketch your design lightly on a scrap piece of paper to figure out where the pop-up elements will be placed. Keep in mind that the simpler the design, the easier it will be to assemble.
Step 3: Create the Pop-Up Mechanism
The most common pop-up mechanism used in greeting cards is the “V-fold” or “box fold.” This design allows the pop-up element to stand up when the card is opened. Here’s how to make it:
- Cut a Strip for the Mechanism: Take a piece of cardstock that is approximately 1 inch wide and 4 inches long. Fold it in half lengthwise to create a crease down the middle.
- Attach the Mechanism: Glue the ends of the strip to the inner fold of the card, about 1 inch from the center fold. The crease should be positioned so that when the card opens, the strip forms a “V” fold and pops up.
Step 4: Add Your Pop-Up Element
Create your pop-up element by cutting out your chosen design from decorative paper or cardstock. For a Christmas tree, for example, you can cut out a triangle shape with jagged edges, decorate it with tiny paper or foam ornaments, then fold it in half and glue it along the bottom of the “V” fold so that it folds and pops out when the card is opened.
Step 5: Add Decorative Touches
Now that your main pop-up design is in place, it’s time to decorate the rest of the card. Add a festive background by using different art papers, watercolor paint, colored markers, colored pencils, or stamps. Draw snowflakes, stars, or write holiday greetings. Personalize the message to suit the recipient
Tips for Success:
- Practice First: Before committing to your final card, practice making the pop-up element with scrap paper to get comfortable with the process.
- Keep It Simple: If you’re new to pop-up card making, start with simple shapes and designs. More complex mechanisms can be added as you gain confidence.
- Use a Good Adhesive: Make sure to use a strong adhesive to hold the pop-up elements securely in place.
- Let It Dry: Be patient and allow each part of the card to dry fully before moving on to the next step. This will help avoid any accidental shifting of elements.
Wrapping It Up
Making a Christmas pop-up card is a fun and creative way to spread holiday cheer. These cards not only stand out among typical greeting cards but also show how much effort you put into creating something special for your loved ones. Whether you choose a simple design or a more intricate one, these cards are sure to bring smiles and warm wishes to everyone who receives them.
Trusted Insights from Artists
At Art Life Today, our passion for arts and crafts is at the heart of everything we do. We understand that the right tools and materials can make all the difference in your creative projects, so we take our responsibility as reviewers seriously. Our goal is to help you discover the best products that will inspire your creativity and bring your artistic visions to life.