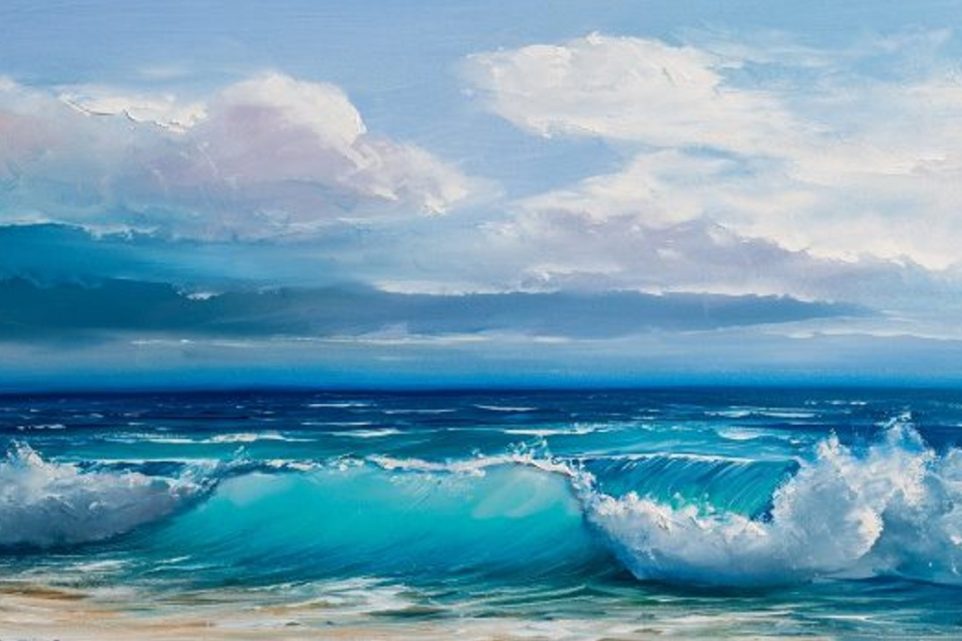
Easy Tips for Painting Fluffy Clouds and More Nature Scenes for Beginners

Are you interested in painting but don’t know where to start? We’re here to help. Painting nature scenes, such as clouds, can be a great way to learn the basics of painting and get some practice with a few simple strokes. In this post, we’ll show you how to paint clouds and other nature scenes, even if you’re just a beginner!
What You Need
Materials
Choosing the right tools can make all the difference in capturing the vibrancy of nature. Acrylics are a fantastic choice for painting landscapes–they dry fast, so you can layer colors quickly and create smooth washes for dreamy skies. Oil paints can work too, but they require solvents and have longer drying times.
For your canvas, think about the scene you want to create. Is it a majestic mountain vista begging for a large format? Or a delicate wildflower study perfect for a smaller canvas or even textured watercolor paper?
Grab a few brushes–a flat brush for washes, a round brush for details, and a filbert brush for blending. Don’t worry about having every size under the sun; start with a basic set and see what feels comfortable in your hand.
Good Lighting
Now, let’s talk light. Seeing those subtle color shifts and tiny brushstrokes is key. Natural light streaming through a window is a painter’s dream. It casts soft, even shadows and lets you see the true colors of your masterpiece.
But hey, sometimes inspiration strikes after dark! In that case, ditch the harsh overhead lights. Instead, grab an LED desk lamp. Look for one that’s adjustable – you want to be able to position it just right to avoid glare on your wet paint. And make sure it offers a bright, cool light that won’t distort the colors you’ve so carefully chosen.
Workspace
Once everything is in place, you’ll need to arrange a workspace that provides enough room for yourself and the painting panel or canvas so you can move around freely while working on it.
A clean workspace is a happy workspace. Less clutter means less chance of knocking over your paint water. Make sure there’s enough room to spread out your paints, brushes, and all your inspiration–reference photos from that perfect hike, that inspiring art book you keep dog-earing, or anything that gets your creative spark flying.
Getting Ready
Positioning the Easel
The angle of your easel can make a big difference in comfort and control. Think about how much background you’re including. For landscapes with sprawling skies, tilt the easel back slightly. If you’re working on details, a more upright position offers better access. The key is to find a sweet spot where you can see everything and reach all parts of your canvas comfortably.
Selecting the Right Brush
Finding the right brush type could make all the difference in accurately depicting every element within a scene. A soft brush is typically used for blending to avoid leaving behind harsh lines. Firmer brushes are more suitable for intricate details, such as bringing out highlights or shadows in a cloud formation or another natural element.
Creating the Scene
Drawing the Outline
Now that everything is ready, identify which areas you want to represent within your image and sketch out a general outline with a pencil to give you more control as you add color and other layers.
Start at the top of your canvas and create little horizontal shapes for where you want the clouds to be. Then, around the halfway point of the canvas, create a horizon by drawing a horizontal line right through it.
Consider adding small details such as trees or plants at the horizon line, and gradually get bigger the closer you get to the bottom of the canvas. This will give the art depth.
Coloring In
Once you have finished drawing out the outlines of all your desired elements in pencil, use your paintbrush and acrylic paint to fill in all those areas by considering their shapes and backgrounds.
Start with the sky being a watered-down blue. Then use a mix of darker blue and gray first, fill in the shadows of the cloud, then use pure white for the puffy tops! The closer to the horizon line, the smaller they will get, so keep that in mind.
Make sure not to cover up sections of other items (such as trees). Then at the horizon line down, take a green and wash it out to fill the entire bottom portion of the canvas. Slowly fill in details like plants and trees.
Keep your brush strokes airy, and premix transition shades before laying color down since acrylic paint dries quickly!
Trusted Insights from Artists
At Art Life Today, our passion for arts and crafts is at the heart of everything we do. We understand that the right tools and materials can make all the difference in your creative projects, so we take our responsibility as reviewers seriously. Our goal is to help you discover the best products that will inspire your creativity and bring your artistic visions to life.