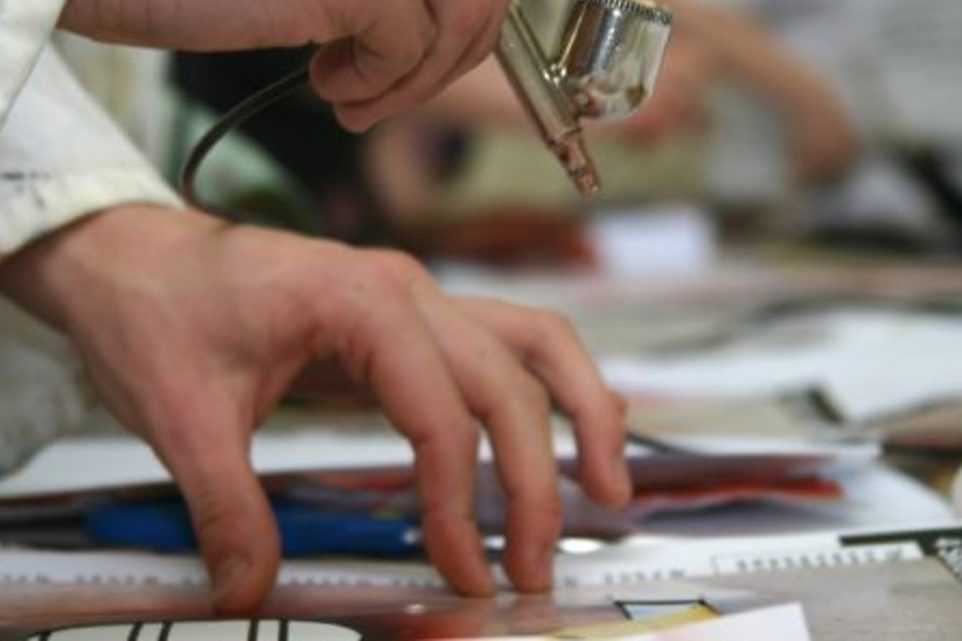
How To Make a Stencil for Airbrushing Textiles, Wood, and More

Have you ever marveled at the precision and beauty of airbrushed art and wondered if you could achieve similar results? Whether it’s enhancing your business’s promotional items or adding a personal touch to your gear, airbrushing with stencils is a technique that, once mastered, can open up a world of creative possibilities. Let’s break down the essentials of airbrushing with stencils, from setting up your equipment to applying the final touches, so you can start creating with confidence.
Setting Up Your Airbrushing Equipment
Before diving into the art of airbrushing, you need the right tools. A dependable airbrush setup is crucial, and I’ve found that starting with a quality airbrush gun and a reliable airbrush compressor makes all the difference. Brands like Iwata have been in my toolkit for over a decade, thanks to their durability and ease of maintenance. You’ll also need a good source of air. While some prefer CO2 tanks for their portability and lack of need for electricity, a compact compressor can be a great start for beginners.
Choosing the Right Stencils
Stencils are your best friends in the world of airbrushing. They come in various materials, but mylar stencils are top-notch due to their durability and reusability. Look for stencils that are at least 5ml thick; these will withstand repeated application and cleaning without tearing. Initially, adhesive stencils might seem convenient, but they lose stickiness quickly and can be affected by skin oils or lotions.
Preparing Your Stencil
Once you have your design, whether created using a vinyl cutter or printed directly for more intricate designs, preparing your stencil correctly is key. Ensure your stencil film is low-tack to prevent residue on your project. Apply it smoothly to avoid bubbles, as these can lead to imperfect edges when painting. For projects like custom hats or shirts, secure the stencil firmly and cover any areas not being painted with painter’s tape to prevent overspray.
The Airbrushing Process
Airbrushing requires a steady hand and a bit of practice. Start with a base layer, especially if you’re working on a dark surface. This might mean spraying a white undercoat before applying your main colors. Use the airbrush in smooth, consistent strokes to fill in the colors, working from light to dark shades. Remember, the closer you hold the airbrush to the surface, the finer the details you can achieve, but this also reduces the area you cover.
Cleaning and Maintenance
Post-airbrushing, cleaning your equipment and stencils is crucial for their longevity. I clean my mylar stencils in an ultrasonic cleaner with alcohol, which removes paint without damaging the stencil. Be sure to avoid any heat as it can warp the mylar. For the airbrush itself, regular cleaning after each use will prevent clogging and ensure it sprays smoothly every time.
Troubleshooting Common Issues
It’s not uncommon to face issues like paint bleed or underspray, especially when you’re new to airbrushing. If paint seeps under the stencil, using the edge of a paper to touch up the mistakes can be an effective way to clean up the edges. Consistent practice will help you get a feel for how much paint to apply and how to best position the stencil.
Final Thoughts
Airbrushing with stencils might seem daunting at first, but with the right setup and a bit of practice, it’s incredibly rewarding. Whether you’re creating promotional materials for your business or just exploring a new hobby, the precision and versatility of airbrushing can bring your projects to life in ways few other techniques can match. Remember, each piece is a learning experience, and each mistake is a step towards mastering this art.
Trusted Insights from Artists
At Art Life Today, our passion for arts and crafts is at the heart of everything we do. We understand that the right tools and materials can make all the difference in your creative projects, so we take our responsibility as reviewers seriously. Our goal is to help you discover the best products that will inspire your creativity and bring your artistic visions to life.