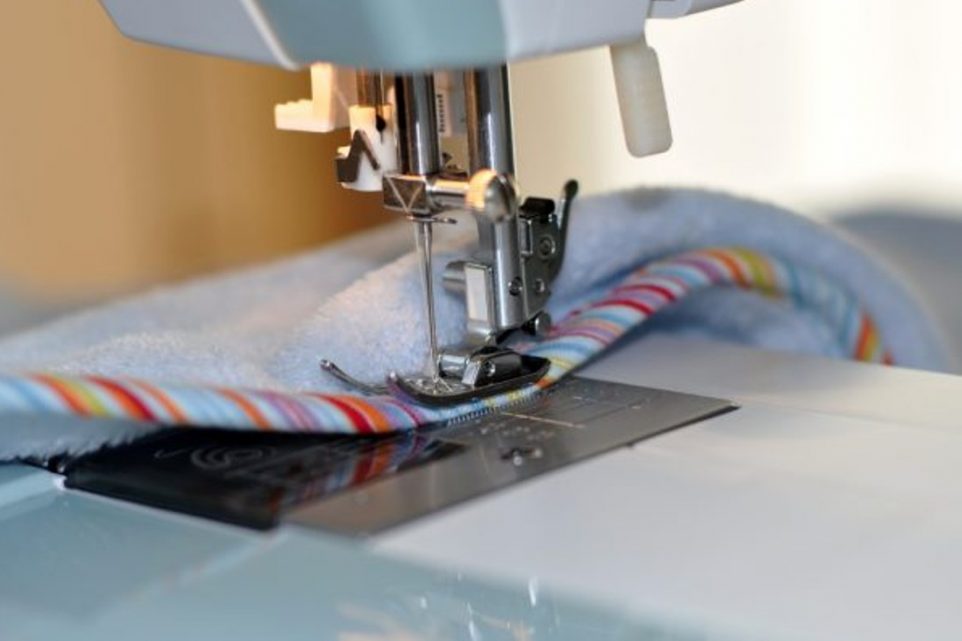
How to Make a Weighted Blanket With and Without a Sewing Machine

Weighted blankets have gained popularity for their potential to promote relaxation and better sleep. These blankets contain evenly distributed pockets of weighted materials, such as glass beads or plastic pellets, that provide gentle pressure, akin to a comforting hug.
While ready-made weighted blankets are readily available, making your own can be a rewarding DIY project. In this comprehensive guide, we’ll explore two methods: one for those with a sewing machine and another for those who prefer a no-sew option. Whether you’re an experienced crafter or a novice, you can create a custom weighted blanket that suits your style and needs.
Materials You’ll Need
- Fabric: Choose two pieces of fabric for the top and bottom of the blanket. Common options include cotton, flannel, or minky fabric. Ensure the fabric is soft and comfortable to the touch.
- Polyester Fiberfill: You’ll need this for stuffing the blanket’s pockets.
- Weighted Material: Beads or plastic pellets are commonly used as the weighted filler. Be sure to choose a non-toxic, hypoallergenic option.
- Sewing Pins or Fabric Tape: For securing the fabric layers (when using the sewing method).
- Measuring Tape or Ruler: To measure and cut the fabric accurately.
- Scissors: For cutting the fabric and filler.
- Funnel: Helpful for filling the pockets with the weighted material.
- Sewing Machine and Thread: Required for the sewing method.
- Velcro or Fabric Glue: For sealing the blanket (when using the no-sew method).
The Sewing Method
Step 1: Measure and Cut Fabric
Measure and cut two pieces of fabric to your desired blanket size. Ensure they are of equal size.
Step 2: Sew the Edges
Place the two fabric pieces with their right sides facing each other. Using a sewing machine, sew around the edges, and leave one side open for turning and filling. Turn the fabric right side out.
Step 3: Create Pockets
Measure and mark equally spaced lines on the fabric, forming pockets for the weighted material. The size of the pockets will depend on your desired weight distribution.
Step 4: Fill the Pockets
Use a funnel to pour the weighted material into each pocket. Fill them evenly to distribute the weight. Sew along the marked lines to seal and create individual pockets.
Step 5: Close the Open Side
Fold the open side inward and sew it shut, ensuring no weighted material can escape.
Step 6: Secure and Finish
To prevent the weighted material from shifting, you can quilt the blanket by sewing through all layers along the pocket lines.
The No-Sew Method
Step 1: Prepare the Fabric
Cut two pieces of fabric to your desired blanket size.
Step 2: Secure the Edges
Place the two fabric pieces with their wrong sides facing each other. Use double-sided fabric tape or heavy-duty fabric glue to secure the edges, leaving one side open for turning and filling. You can also hand sew around the edges for more durability.
Step 3: Create Pockets
Measure and mark equally spaced lines on the fabric. Using more double-sided fabric tape, form pockets for the weighted material. Leave the tops open for filling.
Step 4: Fill the Pockets
Pour the weighted material into each pocket and make sure it is evenly distributed.
Step 5: Seal the Open Side
Use fabric tape or fabric glue to seal the open side to ensure no weighted material can escape.
Conclusion
A homemade weighted blanket can be a comforting addition to your relaxation routine or a thoughtful gift for a loved one. Whether you opt for the sewing or no-sew method, the satisfaction of creating a custom blanket that brings warmth and comfort is a rewarding experience. Enjoy the soothing embrace of your DIY weighted blanket and the restful nights it may bring.
Trusted Insights from Artists
At Art Life Today, our passion for arts and crafts is at the heart of everything we do. We understand that the right tools and materials can make all the difference in your creative projects, so we take our responsibility as reviewers seriously. Our goal is to help you discover the best products that will inspire your creativity and bring your artistic visions to life.