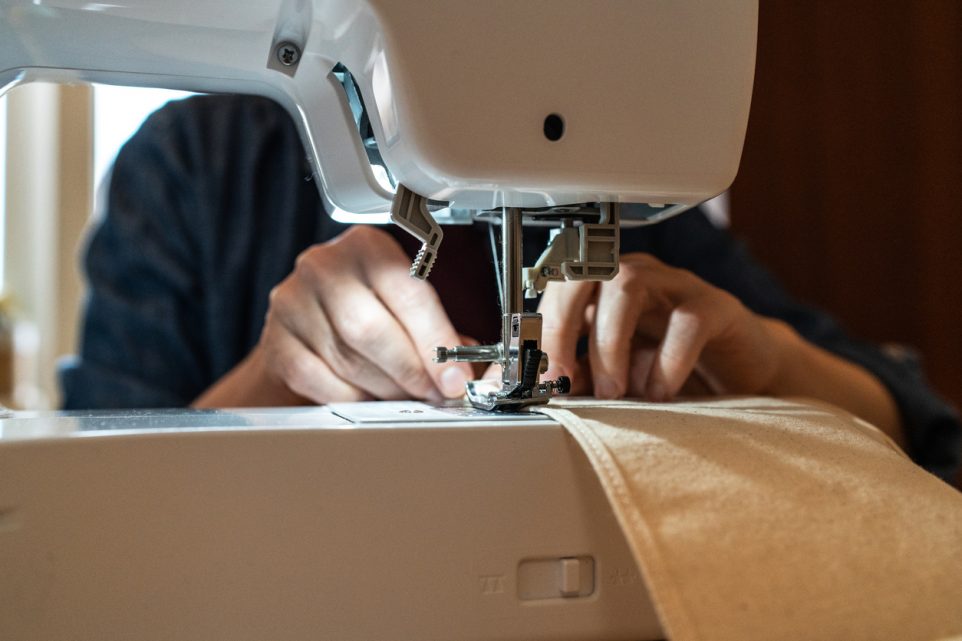
Struggling to Sew Straight Lines? 3 Trick That Work Every Time

Sewing a straight line might seem like a basic skill, but it can be a bit tricky if you’re just starting out. Don’t worry, I’m here to guide you through it with some practical tips and tricks. Think of this as advice from a friend who’s been there, done that, and wants to make it easier for you.
3 Tricks for Sewing in Straight Line
First, let’s set the stage. Sewing a straight line isn’t just about making your project look good—it’s also about making sure everything fits together properly. A straight seam keeps your fabric laying flat and looking neat, whether you’re making a garment, a quilt, or a home decor project.
1. Machine Markings and Guides
Take a good look at your sewing machine. You’ll notice markings on the metal plate, usually in both metric and imperial measurements. These lines are your guides. Align the edge of your fabric with one of these lines, but remember, the real key is not to look at the needle while sewing. It’s tempting, I know, but keep your eyes on the guide line where your fabric meets the plate.
2. Masking Tape Trick
If those tiny lines are hard to see, grab some masking tape. Lay down a strip along the guide line you want to follow. This extends your visual line, making it much easier to keep your fabric straight. Plus, masking tape won’t leave sticky residue on your machine.
3. Use a Seam Guide
Another option is to use a magnetic seam guide. This little gadget sticks to your machine’s metal plate and gives you a physical barrier to run your fabric against. It’s especially handy if you struggle with keeping a consistent seam allowance.
Preparing Your Fabric
Make sure your fabric not hanging off your table and dragging down. If you’re working with a large piece, set up an extra table or a chair next to your sewing station to support the fabric. This keeps everything steady and straight. The feed dogs—the little teeth that pull the fabric through—need the fabric to be over both of them, not just one side. For heavier fabric, you might need to provide some extra support so it flows smoothly through the machine. The feed dogs do the work, so you don’t have to push or pull too hard—guide it gently.
Sewing Technique
Sewing is pretty much like driving a car: look ahead, not at the needle. Focus on the point where your fabric meets the guide. This helps you make small adjustments well before the fabric reaches the needle, resulting in a straighter seam. Keep a light touch on your fabric. Oversteering is a common mistake for beginners. Let the feed dogs do their job and guide the fabric with minimal effort. Too much pulling or pushing can break your needle or misalign your stitch. You don’t need to sew at top speed. Slow and steady wins the race, especially when you’re learning. Taking your time helps maintain control and precision.
Practical Tips
Pin Basting
If you’re sewing a long seam or something tricky, pin basting can be a lifesaver. Place pins along your stitching line to hold the fabric layers together, and remove them as you sew. This keeps everything in place and helps you maintain a straight line.
Drawing the Line
For precision, especially on visible seams or quilting lines, draw your stitching line with a fabric-safe pen or chalk. This visual aid can be incredibly helpful for straight stitches, especially in the middle of a fabric piece where you can’t use the edge as a guide.
Practice with Scraps
Finally, practice makes perfect. Use fabric scraps to practice sewing straight lines before starting on your main project. It’s a great way to build confidence and get a feel for your machine’s quirks.
Trusted Insights from Artists
At Art Life Today, our passion for arts and crafts is at the heart of everything we do. We understand that the right tools and materials can make all the difference in your creative projects, so we take our responsibility as reviewers seriously. Our goal is to help you discover the best products that will inspire your creativity and bring your artistic visions to life.